Advertisement
Available languages
Available languages
Quick Links
Advertisement

Summary of Contents for Innofit FIT-802
-
Page 3: Manuale D'istruzione
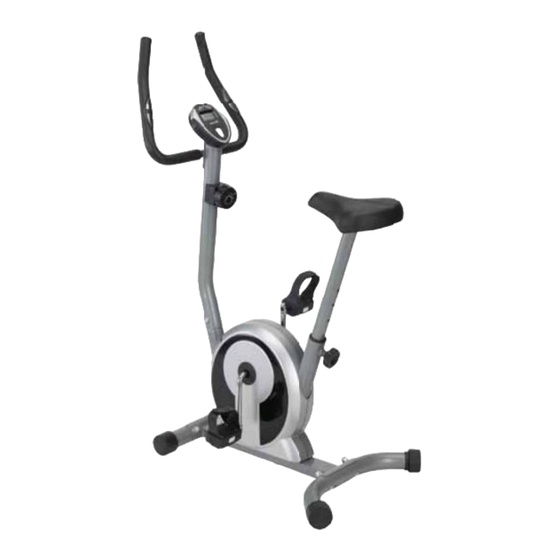
FIT-802 CYCLETTE MAGNETICA MANUALE D’ISTRUZIONE Grazie per aver acquistato la cyclette INNOFIT, che ti permetterà di allenarti e tenerti in forma nell’intimità e comodità di casa tua. Prima di utilizzare il prodotto, leggere attentamente le istruzioni riportate in questo manuale. - Page 4 il proprio medico. 17. La cyclette è stato realizzata solo per uso privato. Non usare in ambienti commerciali, istituzionali, non affittarla. 18. Tenere le mani lontane da tutte le parti in movimento. Fare particolare attenzione, mentre si solleva o si sposta l’apparecchiatura. 19.
- Page 5 Fase 1: Fissare le barre stabilizzatrici (# 4 and #5) al telaio principale. Inserire i bulloni (#13) nei fori delle barre # 4, #5 e del telaio, poi fissarli con rondelle e dadi #14,#15 con la chiave in dotazione (S13-17-19). Fase 2: Usare la chiave in dotazione per fissare i pedali (11+12) alle pedivelle.
- Page 6 Fase 3: Svitare i bulloni #16 e #17, collegare il filo del sensore #21 con quello #24, e il cavo #22 con quello #25 come indicato in figura A-1/2/3/4. Qualora non riusciate ad avvicinare i cavi 22 e #25 a sufficienza per collegarli, allungare il cavetto 22 ruotando la manopola sul tubo 3 e allentare il gancio in metallo sul cavetto 24, svitando il piccolo bullone sottostante.
- Page 7 Fase 6: svitare i bulloni #16 e #17 dal tubo #3, avvicinare il manubrio al tubo #3 e inserire i sensori delle pulsazioni nel tubo (come indicato nella figura sotto), fissare il manubrio al tubo #3 avvitando le viti #16 e #17 con la brugola S6. Fase 7: inserire 2 batterie di tipo AAA nel computer #7.
- Page 8 COME UTILIZZARE LA CYCLETTE DESCRIZIONE DEL COMPUTER FUNZIONI: Il computer visualizza i seguenti valori: TIME: il tempo trascorso allenandosi. 0:00-99:59 MIN: SEC. SPEED: la velocità raggiunta 0.0- 460 KM/H. Trip DISTANCE: la distanza percorsa nell’attuale allenamento 0.00-99.99 KM. CALORIE: il numero approssimativo di calorie da grassi che avete bruciato 0.0-999.9 KCAL. AUTO - SCAN: automaticamente passa da una funzione all’altra ogni 4 secondi mostrandone i valori.
- Page 9 ETICHETTA DATI FIT-802 2x1,5 AAA batt. MADE IN CHINA LOT n. Rev. 00_12.2012 Questo dispositivo è conforme a tutte le direttive europee applicabili. L’apparecchiatura è stata immessa sul mercato dopo il 13 agosto 2005 e deve essere oggetto di raccolta separata.
- Page 10 COME ALLENARSI Posizionare la cyclette su una superficie piana e coprire il pavimento sottostante la cyclette. Tenere i manubri e salire. Iniziare a pedalare, premendo alternativamente il pedale destro e sinistro con un movimento continuo ed omogeneo. Stare eretti o piegarsi leggermente in avanti durante l’allenamento. Tenere sempre la schiena diritta.
- Page 11 FIT-802 MAGNETIC BIKE USER MANUAL Thank you for purchasing INNOFIT magnetic bike, it allows you to train and keep fit in the intimacy and comfort of your home. Before starting using the appliance, please read carefully all the instructions below. It is advisable to save this instruction manual for a future use.
- Page 12 20. Keep packaging elements (plastic bags, cardboard, polystyrene, etc..) out of reach of children as they are potential sources of danger and must be disposed of as provided by law. ASSEMBLY INSTRUCTIONS Place all parts of the exercise bike in a cleared area and remove all packing materials. Do not dispose of the packing materials until assembly is completed.
- Page 13 Step 2: Use the spanner to connect the pedals (11+12) with the cranks. ATTENTION: Each pedals is marked with L&R. Beware to connect the pedival with L to the left crank and the one with R to the right crank.
- Page 14 Step 3: First screw off #16 and #17, then connect #21 with #24, #22 with #25 as the illustrated picture. At last, joint meter tube (#3) with main frame (#1) by screw #16 and #17 on (use S6). Step 4: Screw off #19 and #20 from #9, insert the screws of #9 into the three holes of #8, then screw on #19 and #20 by spanner S13-14-15.
- Page 15 Step 7: Joint wires (#23) with meter wires (#7), #22 with #7, then fix the meter (#7) to (#3) by (S13-14-15). ATTENTION: before use, please ensure the equipment is assembled well and all the parts are properly tightened. Before starting any exercise program, please contact your doctor. This is especially recommended for people over the age of 35 or persons with pre-existing health problems.
-
Page 16: Rating Label
This computer operates with 2 AAA batteries. Remarks: remove the batteries in case of prolonged no- use. When replacing the batteries, use 2 batteries of the same type and brand. RATING LABEL FIT-802 2x1,5 AAA batt. MADE IN CHINA LOT n. - Page 17 This equipment is conformed with all the applicable EU norms. This appliance is placed on the market after 13th August 2005 and must be separately collected. Separate Collection- WEEE (Waste of Electric and Electronic equipment) senza barra minimo 10mm At the end of its use don’t dispose the appliance, including removable parts and accessories, idone con barra minimo 7 mm.
- Page 18 It is possible to adjust the resistance level, and therefore of effort, by turning the knob positioned on the tube. You can adjust the height of the seat by unscrewing the knob under the seat, and then pulling up or down the seat and setting the height by inserting the knob to the desired level.
Need help?
Do you have a question about the FIT-802 and is the answer not in the manual?
Questions and answers