Advertisement
THIS PART NOT TO BE USED WHILE VEHICLE IS IN OPERATION
NOT TO BE USED WITHOUT INCLUDED RESTRAINT DEVICES IN PLACE
NOT FOR USE WHILE UNDER THE INFLUENCE OF DRUGS OR ALCOHOL
NOT INTENDED FOR USE BY ANYONE UNDER THE AGE OF 18
ANY ALTERATIONS SHALL VOID ANY WARRANTY AND/OR LIABILITY
REMOVAL OR ALTERATION OF WARNING LABELS SHALL VOID ANY WARRANTY AND/OR LIABILITY
Included Hardware
Seat Install:
Qty 4
8mm button head bolts
Qty 4
8mm flat washer
Qty 4
8mm lock washer
Qty 2
5/16" x 1 1/4" bolt
Qty 4
5/16" flat washer
Qty 2
5/16" lock washer
Qty 2
5/16 nut
Qty 2
turnbuckle set
Optional Included gun rail
Qty 4
8mm button head bolts
Qty 4
8mm flat washer
Qty 4
8mm lock washer
Required Tools
1/2" socket and ratchet
1/2" open end wrench
5mm Allen
Installation Instructions (High Seat)
1. Tilt bed back to dump position
2. Install both safety anti-tip brackets (as shown in fig. 1) using
the 8mm bolt set and Allen
pg. 1
2015-2020 Can Am Defender Max
Warranty
Eagle Mountain Outfitters warrants Eagle MTX UTV accessories, materials, and workmanship
for a period of twelve (12) months from end user purchase date. End user is required to
produce receipt of sale from dealer for any warranty claims. Any alterations made by end
user voids all warranty.
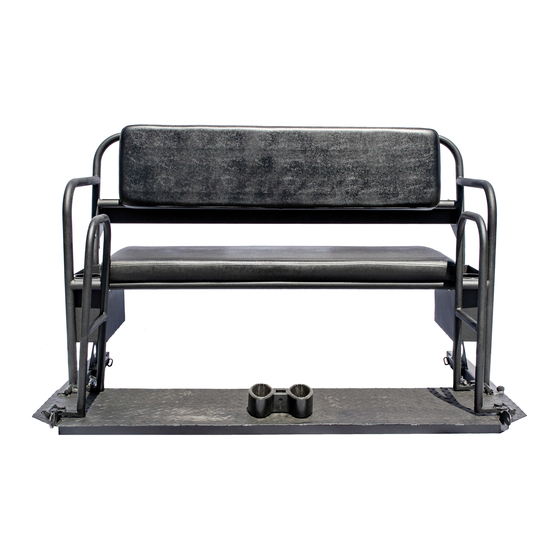
High Seat Installation
Fig. 1
Advertisement
Table of Contents

Summary of Contents for EAGLE MTX Can Am Defender Max High Seat
- Page 1 2015-2020 Can Am Defender Max Warranty Eagle Mountain Outfitters warrants Eagle MTX UTV accessories, materials, and workmanship for a period of twelve (12) months from end user purchase date. End user is required to produce receipt of sale from dealer for any warranty claims. Any alterations made by end user voids all warranty.
- Page 2 3. Using two or more people, place high seat into the bed 4. Close bed and carefully align the safety brackets that are bolted to unit and the protruding mount bracket in front of high seat. (Fig 2) 5. Using the 5/16” bolt sets, bolt through the both safety brackets.
- Page 3 7. Connect the included turnbuckle and clamp to high seat. Lengthen the turnbuckle to reach the cargo hook on the bottom of the bed (fig 4) 8. Hand tighten both turnbuckles. Fig. 4 pg. 3...
- Page 4 Optional Gun Rail Installation A. If there is a roof, remove bolts on rear of unit where the top roof mounting brackets are (fig 5) B. Bolt on the top gun mounting using the allen and 8mm button head, thread on only (fig 6) C.
Need help?
Do you have a question about the Can Am Defender Max High Seat and is the answer not in the manual?
Questions and answers