Advertisement
Table of Contents
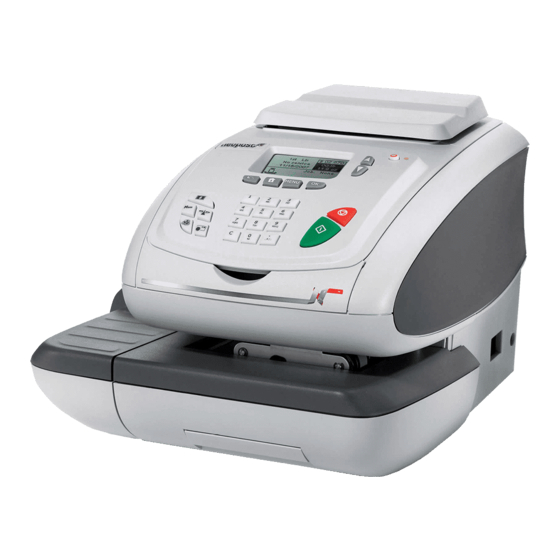
IS/IM300 Series - Replacement Guide
A
On your EXISTING mailing system:
1. Remove ink cartridge
3. Remove meter
5. Remove entry table
Save all parts that you have removed. They will be used in your
replacement mailing system.
300 series replacement guide rev1017b.indd 1
2. Disconnect AC power
4. Disconnect LAN cable or modem
B
On your REPLACEMENT mailing system:
6. Unbox unit & remove packing tape
8. Install ink cartridge
10. Attach entry table
The mailing system will begin the swap process.
See the next page to continue with the setup.
7. Install meter
9. Connect LAN cable or modem
11. Connect AC power
If equipped, turn power switch to the ON position.
REV - 170410
10/13/2017 4:16:55 PM
Advertisement
Table of Contents

Summary of Contents for Neopost IS300 Series
- Page 1 IS/IM300 Series - Replacement Guide On your REPLACEMENT mailing system: On your EXISTING mailing system: 1. Remove ink cartridge 2. Disconnect AC power 6. Unbox unit & remove packing tape 7. Install meter 3. Remove meter 4. Disconnect LAN cable or modem 8.
- Page 2 • Place the old unit in the box and refit the packaging. • Close the box and seal with packing tape. • Attach the shipping label emailed to you by the Neopost call center. • Contact FedEx® within 15 days for pick-up.
Need help?
Do you have a question about the IS300 Series and is the answer not in the manual?
Questions and answers