Table of Contents
Advertisement
Quick Links
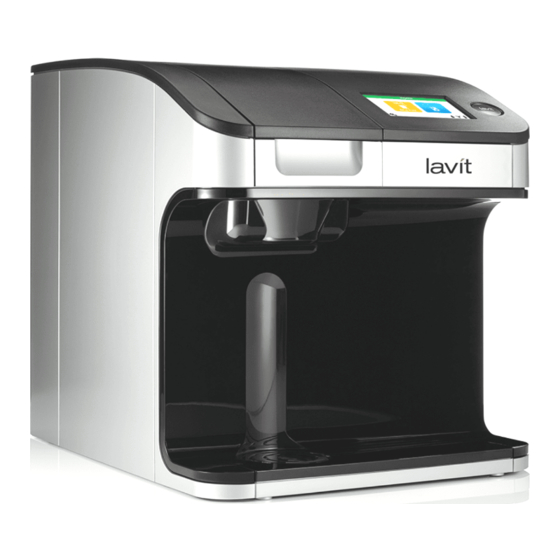
THE LAVIT WATER COOLER
Installation Quick Guide
UNPACK AND INSPECT THE COOLER
THE STYROFOAM PACKAGING, YOU WILL FIND:
CO2 Regulator
Power Cord
Drip Tray
PLACE THE COOLER
AWAY FROM DIRECT SUNLIGHT
AND HEAT. ALLOW ENOUGH SPACE FOR VENTILATION.
ABOVE
ALL SIDES
BEHIND
AND PLUG IN
1.
Turn off the main water supply
2. Tap into your mains water
supply
3.
Install your pressure reducing valve
MAX- 60PSI MIN-45PSI
4. Connect ¼" water supply line to
inlet connection
5. Connect the Power Cord
ON THE OUTSIDE OF
TOPCOVER SCREWS
CO2
PURGE
VALVE
CONDENSER
FAN
POWER
SWITCH
COLD
TANK
POWER Cord
Connection
DRAIN
1/4"QUICKCONNECTWATERINLET
TM
40 to 60 psi pressure reducing valve
✔
¼" quick connect check valve (check local
✔
plumbing codes)
¼" NSF approved water tubing
✔
¼" shut off valve
✔
NSF 42 and 53 rated carbon filter
✔
#2 Phillips head screwdriver
✔
Measuring cup
✔
It is the responsibility of the installer to follow local
codes during installation
4
INSTALL YOUR FILTER
START UP AND FILL TANK
Purge CO2 using purge valve on left upper rear side.
1.
Power on to unit
2.
System will self-check with software version
3.
No CO2 Detected Screen will appear then HOME Screen
4.
will display.
DO NOT INSTALL CO2 AT THIS POINT
Press RED flashing Lavit button to fill water tanks
5.
As the still water tank fills, the WATERFILLING screen will
6.
be displayed.
When the HOME screen appears, the compressor,
7.
recirculation pump, and soda pump will start.
Once Water Droplet Icon turns black – move to next step.
8.
NOW YOU MAY INSTALL THE CO2 TANK
1. Make sure Regulator is in OFF position
2. Before turning on your CO2 tank, purge all CO2 from
system using the purge valve on the left rear of the
cooler
3. Screw Regulator on to CO2 cylinder tightly
4. Connect Regulator and attached to CO2 inlet line
located inside the right-side door.
Advertisement
Table of Contents

Summary of Contents for Lavit Water Cooler
- Page 1 No CO2 Detected Screen will appear then HOME Screen will display. DO NOT INSTALL CO2 AT THIS POINT Press RED flashing Lavit button to fill water tanks As the still water tank fills, the WATERFILLING screen will ALL SIDES be displayed.
- Page 2 2. Do this for each stream BLEED AIR FROM LINES 3. After calibration, verify 12oz volume by creating a new 1. Press the Lavit button to clear the still water line Still and Carbonated Beverage 2. Select Water Only – Medium Soda Water to clear...
Need help?
Do you have a question about the Water Cooler and is the answer not in the manual?
Questions and answers