Table of Contents
Advertisement
Quick Links
Advertisement
Table of Contents

Summary of Contents for Incuvers IRIS
- Page 1 USER MANUAL V1.3.2...
- Page 2 4.4 SETTING UP IRIS WORK WITH KNOB AND DISPLAY 5 | TROUBLESHOOTING 6 | SHUT DOWN 6.1 SHUTTING DOWN THE DEVICE 7 | PARTS AND ACCESSORIES 8 | TECHNICAL DATA 9 | APPENDIX 9.1 ICON LEGEND 9.2 HOW CAN I CUSTOMIZE MY IRIS?
-
Page 3: Device Installation
● Maximum relative humidity of 80%; ● Avoid direct exposure to sunlight; ● Devices that produce excessive heat or cooling should not be used near the IRIS. It is important to note that this product can consistently release N , Air, and CO maintain proper cell culture conditions. -
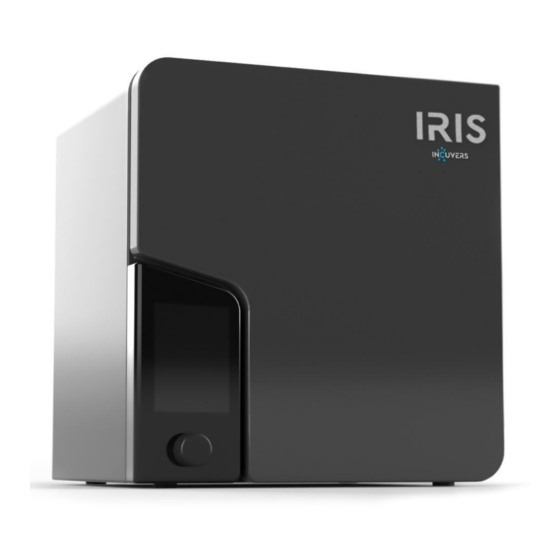
Page 4: Description Of The Device
The IRIS system is fully self-stackable. It is not recommended that you stack more than 2 IRIS systems at a time. Additionally, the movement or disruption of one could interfere with the image capture process of the other. During image acquisition, the incubator should not be disturbed. -
Page 5: Supply Connections
concentration: The CO of the working atmosphere within the incubator can be regulated between 0-20%. The CO gas supply must be of 99.5% purity or medical grade. Concentration: The O of the working atmosphere within the incubator can be regulated between 0.5-21%. The N gas supply must be of 99.5% purity or medical grade. - Page 6 3.3 INTERNAL WORKING AREA The inner chamber of the incubator is a fully enclosed stainless-steel body. *IMPORTANT: Certain internal components of the incubator may be sensitive to strong acids/base. Do not use bleach-based cleaning products with a concentration above 10%. We recommend cleaning the incubator with 70% ethanol and wiping down with a paper towel.
-
Page 7: Getting Started
4 | GETTING STARTED 4.1 PREPARING THE INCUBATOR CHAMBER FOR USE: DECONTAMINATION NOTE! Certain internal components of the incubator may be sensitive to strong acids/base. Do not use bleach-based cleaning products with a concentration above 10%. We recommend cleaning the incubator with 70% ethanol and wiping down with a paper towel. -
Page 8: Gas Connection
99.5% purity or medical grade. *CAUTION Overpressure: The operating pressure of the gas supplied to IRIS cannot exceed 10 psi. Over-pressurization may result in regulation failure and bursting. It is recommended to set the gas supply level to 10 psi before connecting any supply to the device. -
Page 9: Power Supply Connection
Do not connect or use power supply if damages are found. Connecting Power supply: Plug power supply into a voltage appropriate socket. Connect the power jack into the power socket of IRIS as shown in Figure 1. Turn on the device by flipping the power switch located at the back. - Page 10 WORK WITH KNOB AND DISPLAY Upon the successful registration of IRIS, the display and knob located at the bottom right corner of the front can be used for setting up and monitoring experiments locally along with adjusting the optical parameters.
- Page 11 Rotary knob is an efficient way of manually setting condition values (i.e. Co2, O2, and Temperature). When the rotary knob is turned clockwise or counterclockwise, users shall notice it promptly responds to their input. Setting Figure 5. System UI under the menu When rotating the rotary knob, a list of parameters will be shown (Figure 5).
- Page 12 Figure 6. System UI for setting incubation temperature locally with the knob Clockwise increments the value and the reverse is true when rotating the knob counterclockwise. Please note that there are upper and lower constraints in terms of setting incubation parameters. The value shown on the display will no longer change despite the rotating knob when the setpoint value met the upper or lower constraint.
-
Page 13: Troubleshooting
● Check obvious cable or incubator enclosure damage ● Contact support@incuvers.com Idle state does not appear ● double check to ensure that your device has been registered or that someone that has access to the incubator has not performed a factory reset. -
Page 14: Shutting Down The Device
- Shut down the device using the power switch located at the back of the incubator; - Close the gas supply valves; - Disconnect the gas pressure hose from the barbed valve at the back of the device. 7 | PARTS AND ACCESSORIES Technical Support: support@incuvers.com... - Page 15 ● Model Number; ● Firmware Version. *IMPORTANT: Only the use of official Incuvers Inc. components can be used to repair any damaged incubator. Contact Incuvers Inc. for the replacement of any components. *IMPORTANT: Ensure that the PVC tubing is well inserted into the gas nozzles,...
-
Page 16: Technical Data
8 | TECHNICAL DATA Description Imperial unit (US) Metric unit (Int.) External Dimensions 18.5”x14”x19” 47 cm x 35.6 cm x ECHANICAL 48.3 cm Internal Dimensions 10”x11”x16” 25.4 cm x 27.9 cm x 40.6 cm Chamber Volume 25 L 25 L Shelving Space 8’... - Page 17 Optimal Arrangement Inverted MAGING Field of view Single Magnification 20 X Imaging Phase Contrast Fluorescence GFP 488 nm Local Storage 512 GB All specifications are assuming NTP conditions and fresh air...
-
Page 18: Online Mode
9 | Appendix 9.1 Icon Legend Online mode Online mode icon is displayed when there is a connection to the internet on a registered device present. Offline mode Offline mode icon is displayed when this is no connection to the internet, but the incubator is still available in offline mode <see here offline mode>... - Page 19 9.2 How can i customize my IRIS? When you wish to change the device image you need to have access to a device that can connect to the internet such as your phone or a computer. Please log into your online console.
- Page 20 Figure ii. To customize Incubator Name and Avatar (...
- Page 21 7 Bayview Station Rd, Ottawa, ON, Canada...
Need help?
Do you have a question about the IRIS and is the answer not in the manual?
Questions and answers