Advertisement
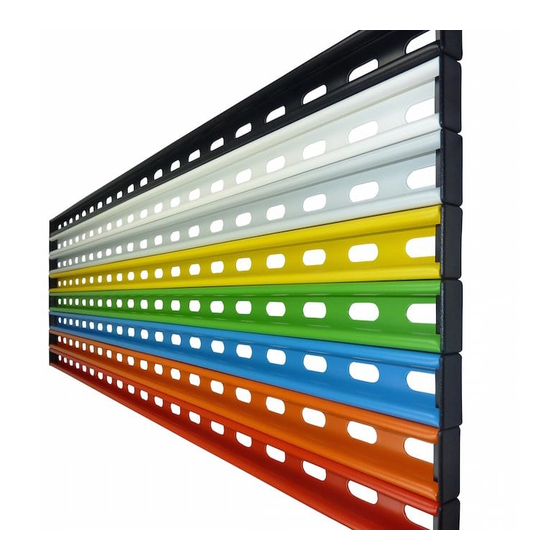
Fitting a GearRail® to the wall
Tools needed : Power drill, tape measure, spirit level, 5mm wood bit
or 8mm masonry bit, hammer, 4mm Allen key
1. Work out where you want the rail carefully and check before you start drilling. Allow space on each side for whatever is on the
rails to overhang beyond the 1M width of the rail. Allow enough height so items are off the floor or above another GearRail or
furniture. See the specific fitting advice for bikes, golf bags, guitars, garden tools, skis and snowboards.
3. Make sure the rail is
level and drill this hole,
through the slot.
To mount the rail (1-4 above). Drill hole 1 first (8 x 70mm in masonry walls), hammer in the fixing (5 x 70mm in wood) and tighten
the hex bolt+washer so the rail does not move but
slot 1 and 20. You can loosen the centre bolt to rotate the rail. Hammer in the expanding fixings (in masonry walls) then re-align the
rail. Tighten the hex bolts+washer till the rail does not move and
5. Push in the spring-nuts, rotate 90
Work out where you want the rail carefully and check before you start drilling. Allow space on each side and below the
rail for whatever is on the GearHooks®. See the specific instructions for bikes, skis etc.
1. In Masonry
- Mark the centre hole at the height and position you have worked
out (see above). Drill an 8mm diameter hole at least 70mm deep.
the drill sideways while drilling
hole and hammer in the grey, expanding fixing.
hole.
If not, drill a new hole. On uneven walls you may need to pack out the ends
of the rail to avoid bending it when tightening the bolts.
2. In a wooden/shed wall
batten to the uprights, at the right height, and fix the rail to this. A 2" x 2" (50mm) batten is ideal. If you don't do this,
the rail may flex and twist between uprights when loaded. Mark the centre hole at the height and position you have
worked out. Drill a 5mm diameter hole at least 70mm deep. You don't need the plug.
3. If fitting to a plasterboard wall
holes at least 70mm deep into these at the height and position you have worked out. You don't need the plug.
You can then add 2/3 additional 'umbrella' fixings (not supplied) for the other parts of the rail that are not already fixed.
4. Remove the end caps and screw in the centre bolt and washer until the rail is LOOSELY held in place. Make sure the
hex driver is fully inserted into the head of the bolt otherwise you risk stripping the head. If it gets too tight to turn,
remove the bolt and spray a little lubricant into the plastic fixing which should ease it.
5. Place a spirit level on top of the rail to ensure the rail is level. Rails can be fixed at an angle if required.
6. Mark 2 more holes through the middle of slot 1 and slot 20. Swing the rail out of the way and drill the two holes.
Clean out the holes and swing the rail back and fix with two more fixings/bolts/washers. You can mark the wall and drill
through the slots without having to move the rail if you wish.
7. Tighten all the bolts starting with the middle. As soon as the bolt head pulls the rail tight against the wall only tighten
a further half turn.
DO NOT OVERTIGHTEN THE
Quick Guide
2.
Remove end caps.
Drill this hole first in
slot 10 or 11. Loosely
tighten the hex bolt.
DO NOT
o
clockwise to lock in place and mount the GearHooks. 6. Re-fit end caps and hang up your gear.
otherwise the hole will be too big. Clean out the
Make sure this is tight in the
- If it's not a solid wall (like a shed wall with uprights on the inside) it is best to fit a horizontal
- you must locate at least 2 uprights (behind the plasterboard). Drill 5mm diameter
BOLT. Re-fit the end caps once the GearHooks are fitted.
OVERTIGHTEN. See below. Check level. Drill the other two holes through
then tighten a further half turn
Do not move
4. Make sure the rail is
level and drill this hole,
through the slot.
only. Check rail is secure.
Advertisement
Table of Contents

Summary of Contents for GearHooks GearRail
- Page 1 1. Work out where you want the rail carefully and check before you start drilling. Allow space on each side for whatever is on the rails to overhang beyond the 1M width of the rail. Allow enough height so items are off the floor or above another GearRail or furniture.
- Page 2 *** IMPORTANT SAFETY INFORMATION *** Safe use of the GearHooks® hooks and rails, and all quoted loads, rely on the quality of the wall and how well they have been fitted. We cannot accept any responsibility for the quality of the wall to which the hooks or rails are fitted or the standard to which they have been fitted.
Need help?
Do you have a question about the GearRail and is the answer not in the manual?
Questions and answers