Table of Contents
Advertisement
Advertisement
Table of Contents

Related Manuals for Optoma CinemaX P1 SmartFIT

Summary of Contents for Optoma CinemaX P1 SmartFIT
- Page 1 SmartFIT Installation Guide for Fixed Frame Screen and Wall...
-
Page 2: Table Of Contents
Contents Standard Installation Step A: Preparation Step B: SmartFIT Distance Cards Overview Step C: Fixed Frame Screen Installation with SmartFIT Step D: Using SmartFIT Geometry Correction App With Fixed Frame Screen Step E: Wall Installation with SmartFIT Step F: Using SmartFIT Geometry Correction App with a Wall Advanced Installation (Experienced Users Only) Step G: Advanced Installation –... -
Page 3: Step A: Preparation
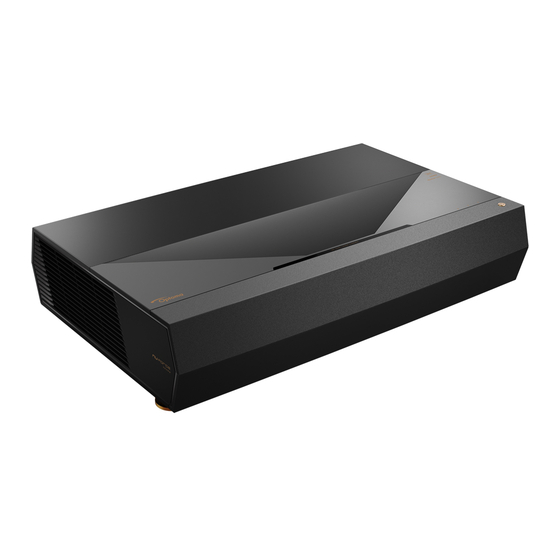
Step A: Preparation What’s Required 1. Optoma 4K Ultra Short Throw Projector (example: CinemaX P1, P1-TV, UHZ65UST – see Support Model List on Page 18). 2. SmartFIT Distance Cards x2 (included in the box). 3. Projection Surface: Fixed Frame Screen, Fixed Frame ALR Screen (Ambient Light Rejection) or “prepared”... -
Page 4: Step B: Smartfit Distance Cards Overview
Screen, Fixed Frame ALR Screen and Wall. The Distance Cards are marked accordingly (starting from the top): Optoma ALR101 / Thick Fixed Frame / 120-inch Wall line is intended for the Optoma 100-inch ALR101 Fixed Frame Screen, 100-inch Fixed Frame Screens with a thick frame (back to front) and 100-inch image projected onto a Wall. - Page 5 SmartFIT Distance Cards Overview Optoma ALR101 Fixed Frame Screen / 120” Fixed Frame Screen (Thick Frame) / 120” Wall Optoma ALR101e Fixed Frame Screen / 100” Fixed Frame Screen (Thin Frame) 100” Wall 85” Wall...
-
Page 6: Step C: Fixed Frame Screen Installation With Smartfit
Step C: Fixed Frame Installation with SmartFIT 1. Assemble Fixed Frame Screen (non-ALR or ALR) – do not mount the Fixed Frame Screen until instructed later in this Installation Guide. 2. If you plan to use the “Wall” as a projection surface – please proceed to STEP E. - Page 7 4. Turn on projector and follow the out-of-box first-time setup wizard. 5. Press menu key on the remote control. Select “Setup” Test Pattern choose “Yellow Border” Pattern...
- Page 8 6. Attach the SmartFIT Distance Cards to the bottom of the projector by sliding the distance card in from the side (left and right) until you feel the Distance Card hook the rear feet (closest to the wall or projection surface). 7.
-
Page 9: Step D: Using Smartfit Geometry Correction App With Fixed Frame Screen
Step D: Using SmartFIT Geometry Correction App With Fixed Frame Screen 1. Please download SmartFIT App for Android or iOS to your Smartphone. 2. Ensure that the Smartphone and projector are on the same wireless (Wi-Fi network) network. 3. Open the SmartFIT app, follow the onscreen instructions and then select “auto”... -
Page 10: Step E: Wall Installation With Smartfit
Step E: Wall Installation with SmartFIT 1. Turn on projector and follow the on-screen first-time setup instructions. 2. Press menu key on the remote control. 3. Select “Setup” Test Pattern choose “Yellow Border” Pattern. 4. Ensure the test pattern is level on the top and sides – we strongly recommend the use of a “level tool”. -
Page 11: Step F: Using Smartfit Geometry Correction App With A Wall
Step F: Using SmartFIT Geometry Correction App with a Wall 1. Please download SmartFIT App for Android or iOS to your Smartphone. 2. Ensure that the Smartphone and projector are on the same wireless (Wi-Fi network) network. 3. Open the SmartFIT app and follow the onscreen instructions. Once the SmartFIT Auto Geometry Correction is complete, save the result by selecting “Finished”... - Page 12 2. If the wall is concave or seriously bowed – we recommend using the manual 81-point manual warping tool. To access the warping tool: Press the menu button the remote > Geometric Correction > Warp Calibration. For more information please see the Geometric Correction Guide at https://www.optoma.com/support/download...
-
Page 13: Step G: Advanced Installation - Fixed Frame Screen
Step G: Advanced Installation – Fixed Frame Screen and Wall Installation without SmartFIT (Experienced Users Only) This installation method is for those who preferred to manually align the projector image to a Fixed Frame Screen or the Wall without the use of SmartFIT (Auto Geometry Correction). - Page 14 4. Turn on projector and follow the out of box first-time setup wizard. 5. Press menu key on the remote control. Select “Setup” Test Pattern choose “Yellow Border” Pattern...
- Page 15 6. Attached the SmartFIT Distance Cards to the bottom of the projector by sliding the Distance Card in from the side (left and right) until you feel the Distance Card hook the rear foot. NOTE: Instead of using the Distance Cards, the Installation Reference Guide (page 17) can be used to determine Projector...
- Page 16 Due to the depth of some screens it may be necessary to move the Projector back an inch or two. 9. Fixed Frame Screen Installation Tip: Most Fixed Frame Screens, including Optoma ALR-101 and • ALR-101e include 4 mounting brackets. To ensure the Fixed Frame Screen is flat against the wall and even –...
- Page 17 0.407 / 16” 0.358 / 14.09” 0.437 / 17.2” Screen surface Values (D) and (H) are for reference. Note there is a +/-5% tolerance in these values. Please double check before fitting screen to wall Optoma 4K UHD Laser Cinema...
- Page 18 Supported Model List CinemaX P1 PNF7328 PNF7367 PNF7379 UHZ65UST PWF6430 PWF6469 PWF6481 VDPG PTF5532 PTF5570 PTF5583 P1 - TV PCF3634 PCF3672 PCF3685 PEF9109 PEF9155 PEF9192 PPF4736 PPF4774 PPF4787 PSF8210 PSF8256 PSF8293 P1e –GW PNF7311 PNF7357 PNF7396 P1 – SW PWF6413 PWF6459 PWF6498 PEF9130 PEF9165 PEF9171 PTF5515 PTF5561 PTF5600 PSF8231 PSF8270 PSF8272...
Need help?
Do you have a question about the CinemaX P1 SmartFIT and is the answer not in the manual?
Questions and answers