Table of Contents
Advertisement
Advertisement
Table of Contents

Related Manuals for Tristar Products Trix Trux Hot Rod

Summary of Contents for Tristar Products Trix Trux Hot Rod
-
Page 2: Important Safeguards
IMPORTANT SAFEGUARDS WARNING Prevent injuries! Carefully read all instructions before use! • Choking Hazard - Small Parts. Not for children • The cords on this product present a potential under 3 years. strangulation hazard. To avoid strangulation and entanglement, keep cords out of reach •... -
Page 3: Table Of Contents
IMPORTANT SAFEGUARDS Components Battery Installation and Vehicle Operation Stunt Ramp Assembly Connecting Track Monster Ramp Stunt 10 Tidal Wave Stunt Rumble Road/Cliffhanger Stunt Double Stunt Super Challenge Aerial Stunt Labeling... -
Page 4: Components
Components ASSEMBLY REQUIRED AERIAL CLAMP (x1) MOTORIZED VEHICLE (x1) MONSTER RAMP RUMBLE ROAD/ TIDAL WAVE STUNT (x1) CLIFFHANGER STUNT (x1) STUNT (x1) AERIAL LINE Side Rails (x2), Side Rails (x2), Side Rails (x2), HOLDER (x1) Rail Connectors (x3) Rail Connectors (x3) Rail Connectors (x3) DECAL STUNT-TO-STUNT... - Page 5 NOTE: Not to scale. CURVED TRACK (x3) STRAIGHT TRACK (x3) C-CURVE TRACK (x2) TRACK-TO-TRACK CONNECTOR (x6) AERIAL LINE (x2)
-
Page 6: Battery Installation And Vehicle Operation
Battery Installation and Vehicle Operation FRONT BACK • • • Loosen screw on Lift vehicle body Note the markings the back of the vehicle from chassis as shown that show the battery with a Phillips-head screw and unhook from orientation. driver by turning counter the latch on the front clockwise. - Page 7 • • • Insert 3 AAA batteries Replace vehicle body Slide button on as shown. and tighten the screw the back of the vehicle by turning screwdriver right to turn the vehicle clockwise. on, and slide it left to turn the vehicle off.
-
Page 8: Stunt Ramp Assembly
Stunt Ramp Assembly MONSTER RAMP RUMBLE ROAD/ TIDAL WAVE CLIFFHANGER • For each of the three • Correctly assembled stunt For the Monster Ramp stunt, stunt ramps, snap ramps should look as levers should be in three rail connectors shown. to the outside of rails. -
Page 9: Connecting Track
Connecting Track • Connect two pieces • Connect two pieces of track together of track together by plugging the track by plugging the track • Connect track to stunts onto both ends of a rail onto both ends of a track- by plugging the track connector. -
Page 10: Monster Ramp Stunt
Monster Ramp Stunt • • Aim V grooves of tires Attach track to stunt at the side rails and place vehicle on track on the stunt. to guide vehicle to the stunt. UNDERSIDE VIEW Place vehicle on track with the track between the front and rear guides on the bottom of the vehicle. - Page 11 • Flip levers down as shown for easy noseplant stunt. • Challenge mode: flip levers up as shown for difficult noseplant stunt.
-
Page 12: Tidal Wave Stunt
Tidal Wave Stunt • Aim V grooves of tires • Attach track to stunt at the side rails and place vehicle on track on the stunt. to guide vehicle to the stunt. - Page 13 • Watch it surf the wave.
-
Page 14: Rumble Road/Cliffhanger Stunt
Rumble Road/Cliffhanger Stunt • Aim V grooves of tires • Attach track to stunt at the side rails and place vehicle on track on the stunt. to guide vehicle to the stunt. - Page 15 • Run vehicle through lower level for rumble road challenge. • Place vehicle on top level for cliff hanger challenge. Can you get it to noseplant?
-
Page 16: Double Stunt Super Challenge
Double Stunt Super Challenge • • Use special stunt-to- Correctly connected stunts stunt connector to attach should look monster ramp stunt as shown. to Rumble Road/ Cliffhanger stunt. - Page 17 • Flip levers on Monster Ramp up as shown to activate hanging Cliffhanger challenge.
-
Page 18: Aerial Stunt
Aerial Stunt • Snap the connector on the two lines into • Snap the other ends of the two lines into the aerial clamp as shown. the line holder as shown. - Page 19 • Place aerial clamp on the edge of a table • Place the V grooves of the tires on top or shelf and turn the screw clockwise of the lines as shown for high-wire action. to secure it tight. Turn screw counterclockwise to loosen it.
- Page 20 Aerial Stunt • Hang the vehicle upside down with • Place the V grooves of the front two tires the V grooves of the tires on top of the lines on top of the lines as shown for hanging as shown for inverted flipped-out action. high-wire action.
- Page 21 • Add special aerial clamp-to-track connector by • Plug track onto peg on the connector to go plugging the pins on the connector from Aerial stunts to ground action. into the holes on the clamp as shown.
-
Page 22: Labeling
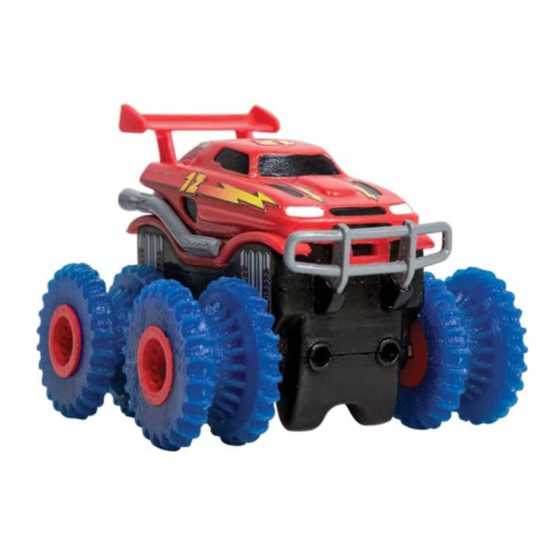
Labeling Locate the diagram of the vehicle and label sheet included with this set. Peel off labels from sheet and apply them as shown. Hot Rod... - Page 23 Special Ops...
- Page 24 Labeling Locate the diagram of the vehicle and label sheet included with this set. Peel off labels from sheet and apply them as shown.
- Page 25 Monster Truck...
- Page 26 Special COLLECT THEM ALL! Monster Truck...
- Page 28 Distributed by: Tristar Products, Inc. Fairfield, NJ 07004 © 2017 Tristar Products, Inc. Patent Pending Made in China TTX_Stunt_Guide_Web_V1...
Need help?
Do you have a question about the Trix Trux Hot Rod and is the answer not in the manual?
Questions and answers