Advertisement
Quick Links
Advertisement

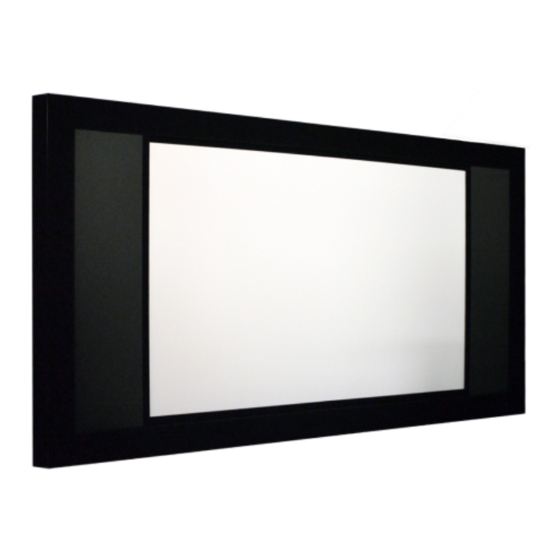
Summary of Contents for DT DT SCREENS Dynamic 2S
- Page 1 Installation Manual Dynamic 2S...
- Page 2 PLEASE READ PRIOR TO INSTALLATION Before installation of this projection screen you should fully read these instructions to ensure you are aware of the full installation procedure. In addition to the screen and accessories and in order to carry out the installation you will need: •...
- Page 3 Important Notes The symbols below show important notes that must be read and understood at each stage of installation = Warnings (Safety or Installation Quality) = Information (Installation requirements or tips) Dynamic 2S Installation Manual – V0.2...
- Page 4 Unpacking Each screen is carefully packaged in our factory to ensure that it reaches you in perfect condition. Each section is wrapped in protective packaging or in a PVC sleeve to ensure it is protected and stays clean. Do not unpack each piece from its protective packaging until you are ready to install it. This will ensure that you do not damage any of the velvet finished pieces accidentally during installation.
-
Page 5: Installation
Installation • Decide on the height you want the bottom of the visible projected image to be at on your finished screen. Mark this height on the wall where you are installing the screen. Now add 28mm to this further up the wall. This will be the height at which the top of the back plate on the bottom screen sections will sit. - Page 6 Next fir the Top Left section in exactly the same way again tightening the joining sliders and • using a spirit level to check the level. • Take one of the stretcher bars and fit this between the top Left and bottom Left screen profiles.
-
Page 7: Electrical Connections
Electrical Connections • On the bottom section of the frame is the control box. At either end of this are the connections to make to the mask motors and sensors. The mask motor connections are simple push together connectors. • The sensor connectors locate and then push onto the control box and then screw up to make the connection and lock in place. - Page 8 Fabric Installation Your screen is delivered with two fabrics; the black backing fabric and the main screen surface. The first one to be installed is the black backing fabric. Care and time should be taken during handling and installation of the fabric. On larger screens you will need 2 people to complete this task.
- Page 9 Retaining track insertion point Fig. 8 Now unwind enough fabric from the roll to take you to the middle of the screen. Again • ensuring that the top of the fabric is in line with the top of the screen push the fabric into the fabric retaining track in the centre of the top rail of the screen.
- Page 10 Direction of fabric Tucking Fig.10 • Continue this process until you reach the corners of the screen. You may have to pull out the original tucks in the top left and right corners and re-tuck them to ensure that you have no wrinkles in the fabric.
-
Page 11: Electrical Operation
Inner Screen Cover Installation • Install the bottom covers first. The covers are magnetic and simply align and clip into place allowing the magnets to ‘grab’. The barb on the back of them will slot into the groove on the aluminium profile just below the grey plastic fabric retaining track. There are two sections for the top and two for the bottom with a central join. - Page 12 Fitting the Outer Covers Take the Right Cover (C-Section with the [DT] Logo badge in the bottom right. Line this • up onto the black steel plates on the right end of the screen. Allow the magnets to grab into position.
Need help?
Do you have a question about the DT SCREENS Dynamic 2S and is the answer not in the manual?
Questions and answers