Advertisement
Quick Links
Advertisement

Summary of Contents for Fenix 300
- Page 1 N831/R00 (23.03.20) Dual Jet High Speed Hand Dryer Usage and Installation Manual...
-
Page 2: Table Of Contents
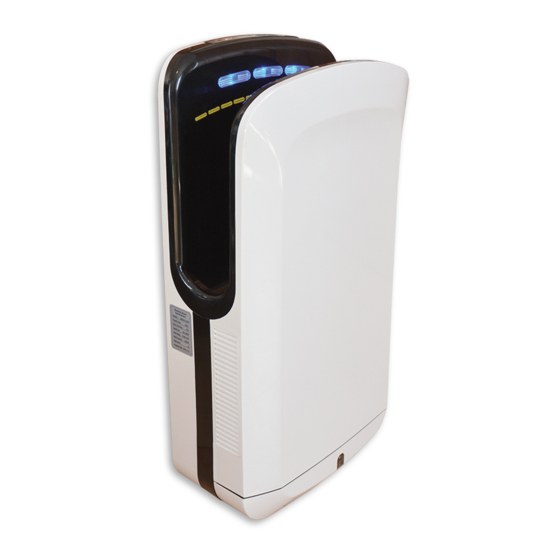
Dual Jet High Speed Hand Dryer Do not attempt to install the unit yourself unless you are a trained service technician. Otherwise, this may affect the safety and proper functioning of the unit. Using “Injection Airstream”, obtain comfort and rapid drying Read this manual thoroughly and carefully before beginning to use the unit, ensuring safety and proper function. - Page 3 If you don't use this unit properly or follow the If you don't use this unit properly or follow the WARNING WARNING safety guidelines carefully, it would lead to safety guidelines carefully, it would lead to serious serious personal injury. personal injury or property damage.
-
Page 4: Part Names And Indicator Descriptions
Part Names and indicator descriptions Using methods How to use the Dual Jet High Speed Hand Dryer Dry your hands about "7" seconds Switch and Indicator descriptions ① ② ③ Power switch: Press the Power switch, turn ON the power supply, power indicator lamp lights Stretch out both hands and Pull them back slowly Until the air blow your fingers... - Page 5 Routine Cleaning Routine Cleaning 1.Open the lid and empty the water. WARNING Caution Pull the lid open with your fingers Before you clean the unit, upward, and then remove the lid Wear gloves when cleaning. turn off the power switch. completely.
- Page 6 Routine Cleaning 1.Cleaning the dirty from the air filter Tap gently by hand or use a vacuum cleaner to remove the dust If the air filter is particularly dirty, please replace it. 2. Re-attach to the unit. (As the original) Reinstall the cotton filter (both the left and right sides) securely into the securing slot in the top panel.
-
Page 7: Troubleshooting
Troubleshooting Wiring Diagram If the following problems occur, please perform checks and fix. Problem Check Action Do the display Turn the ground-fault circuit breaker on. indicators lights up? No air blows Is the power switch even if hands Turn the power switch on. are inserted Are you putting your Put hands all the way in. - Page 8 Names of components and dimensions Precautions before installing 296mm Do not install in the following types of location (otherwise this may cause malfunction): Locations where the unit may come into direct contact with water. Locations where the unit is under direct or strong sunlight Locations where there is a lot of condensation.
- Page 9 Installation diagram Installation Method Installation position Installation location After fixing the installation panel, you can use hang hook in the rear cover Fix the installation panel to the wall, as shown in the below figure. of unit to hang the unit on the wall, as shown the left diagram. The installing method for the installation panel: After hanging the unit on the wall, lock the two anti-theft screws at the Choose the power connection mothod, then mark the position according...
-
Page 10: Test Run
Power connection Test Run ※ The second method of power connection (cut-off plug) Test Run Embed the switch box (with no cover) in Power cord the installation position, used to connect (with ground wire) the power line (the combination of green and yellow wires is ground wire).