Advertisement
Table of Contents
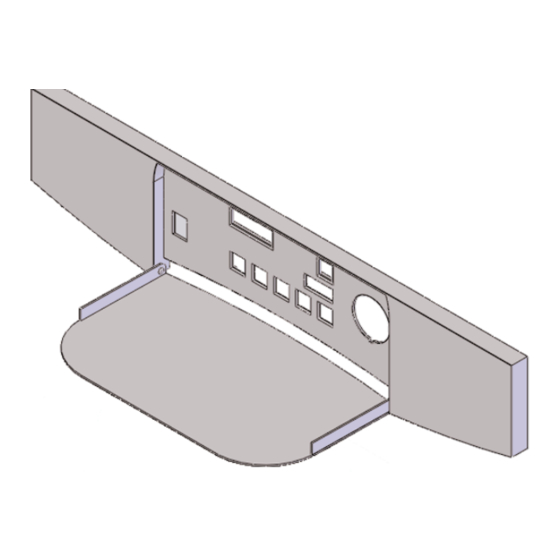
PRESTIGE Front Display/
Control Panel Replacement
Kit Part Number:
Parts Kit:
- Display/Control Panel
- (4) 6-19 x 1/4" Phillips Screws
Recommended Tools:
- Phillips Screwdriver
WARNING
Indicates a potentially hazardous situation
which, if ignored, can result in serious
injury or substantial property damage.
WARNING
For your safety, turn off electrical power
supply at service panel and allow unit to cool
before proceeding. Failure to do so can cause
severe personal injury or death.
PSCS01
NOTICE
Indicates special instructions on installa-
tion, operation or maintenance, which are
important to equipment but not related to
personal injury hazards.
WARNING
Failure to follow instructions below can result
in severe personal injury or damage if ignored.
•
Instructions are for a qualified installer/ ser-
vice technician.
•
Read all instructions before proceeding.
•
Follow instructions in proper order.
1
Advertisement
Table of Contents

Summary of Contents for TriangleTube PSCS01
- Page 1 PRESTIGE Front Display/ Control Panel Replacement Kit Part Number: PSCS01 Parts Kit: - Display/Control Panel - (4) 6-19 x 1/4” Phillips Screws Recommended Tools: - Phillips Screwdriver WARNING NOTICE Indicates a potentially hazardous situation Indicates special instructions on installa- which, if ignored, can result in serious tion, operation or maintenance, which are injury or substantial property damage.
- Page 2 PRESTIGE Front Display/ Control Panel Replacement Instructions 7. Disengage the pressure gauge from the Display / Control panel by depressing the retaining clips 1. Disconnect the electrical power to the unit at the on the side of the pressure gauge. service panel.
- Page 3 PRESTIGE Front Display/ Control Panel Replacement 16. Align the panel mounting screws with the key- NOTICE hole slots on the back jacket panel. The panel mounting screws may be tighten by accessing them through the rear of the 17. Press the panel downward engaging the mount- bottom jacket.
Need help?
Do you have a question about the PSCS01 and is the answer not in the manual?
Questions and answers