Advertisement
Bubble Lens Assembly Instructions
WARNING: Perform all installations with the power source OFF. Be
sure engine has cooled and pressure has been relieved. Follow all
safety practices to prevent SEVERE BURNS.
NOTES:
The Lens Replacement Kit contains the following parts:
Lens
Dial (Lens and Dial are assembled)
O-ring
Screws (6)
Tools needed for the Lens Replacement:
#2 Phillips Screwdriver
Cleaning cloth
Step
1
Clean the vertical sealing surface of the LM500
case to ensure no debris is present that would
affect the O-ring seal.
2
Carefully unpack the lens/dial assembly.
Remove protective film from the lens. Place
the O-ring around the lens.
Note: Installation in temperatures below 60°F may
be more difficult as cooler temperatures will
make the O-ring less pliable.
Continued on next page
Action
00-02-0785
2014-07-16
Section 15
(LM500/LM500-TF)
Diagram
Advertisement
Table of Contents

Summary of Contents for FW Murphy LM500
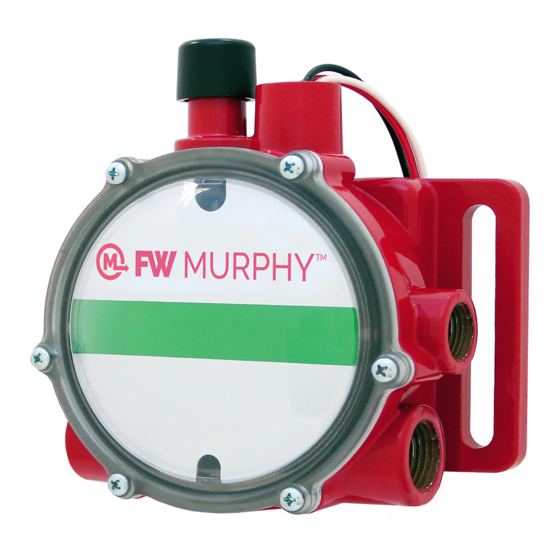
- Page 1 Cleaning cloth Step Action Diagram Clean the vertical sealing surface of the LM500 case to ensure no debris is present that would affect the O-ring seal. Carefully unpack the lens/dial assembly. Remove protective film from the lens. Place the O-ring around the lens.
- Page 2 1/8 turn after the screw bottoms out. Note: For additional information on the LM500 (specifications and installation instructions), search LM500 on the FW Murphy Production Controls’ website (www.fwmurphy.com). At the LM500 web page, select the Literature tab and choose Installation Instructions.

Need help?
Do you have a question about the LM500 and is the answer not in the manual?
Questions and answers