Table of Contents
Advertisement
Available languages
Available languages
Quick Links
For warranty, safety, and other legal information, visit
This device complies with part 15 of the FCC rules. Operation is subject to the follwing two conditions: (1) This device
may not casue harmful interference, and (2) Thsi device must accept any interference received, including interference
that may cause undesired operation. P/N: 700-0163-300
ooma.com/legal
Door and Window Sensor
Quick Start Guide
Advertisement
Chapters
Table of Contents

Related Manuals for ooma Smart Security Door and Window Sensor


Summary of Contents for ooma Smart Security Door and Window Sensor
- Page 1 Quick Start Guide For warranty, safety, and other legal information, visit ooma.com/legal This device complies with part 15 of the FCC rules. Operation is subject to the follwing two conditions: (1) This device may not casue harmful interference, and (2) Thsi device must accept any interference received, including interference...
-
Page 2: Table Of Contents
Activate Account ....... 7 Additional Information Setting up Your Ooma Sensor Checking battery level ......18 Start Pairing Process . -
Page 3: What's In The Box
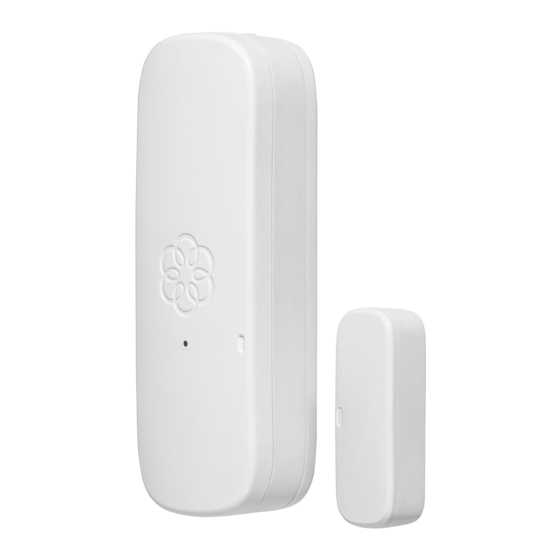
What’s in the Box Small, medium, and large mounting spacers (2) AAA Batteries Screws and Anchors Adhesive Pads Quick Start Guide Door and Window Sensor Quick release button Status indicator light Magnet tab... -
Page 4: Installation And Activation
Installation and Activation Install the App Back cover If you haven’t done so already, install the Ooma Smart Tamper sensor Security app on your iOS or Android device. Visit the Apple Pairing button App Store or Google Play Store and search for “Ooma Smart Security app.”... -
Page 5: Setting Up Your Ooma Sensor
Setting up Your Ooma Sensor Start Pairing Process Pair Your Sensor Once you have finished setting Stand within 10 feet of up your account, press the your Telo Base Station. “Add Sensor” button on the Press and hold the dashboard. Pick “Door and pairing button for 5 Window Sensor”... -
Page 6: Mounting Your Sensor
Mounting Your Sensor Preparing to Mount Your Sensor Take note of the arrows on the Door and Window Sensor and the corresponding magnet tab. When the door or window is closed, the two arrows should less than After pairing your sensor, the next step is to mount it to your door or window. Decide 3/4 inch apart. -
Page 7: Mount With Adhesive Pads (Optional)
Mount with Adhesive If the pieces won’t be level when the door or window is closed, pick either the small, medium or large plastic riser to raise the magnet tab to the same level as the sensor. Pads (optional) Use a damp cloth to clean the area where you want your sensor to be so that the adhesive pads stick properly. -
Page 8: Mount With Screws (Optional)
Mount with Screws If you haven’t already, replace the sensor’s back cover. Then, peel one side of the backing off the (optional) included large adhesive pad. Align it with the Using the back cover as a recessed area on the back of the sensor and stencil, mark the screw holes press firmly. - Page 9 Once the back cover is secure, place the sensor onto it. Take one of the risers and use screws to mount it. When the door or window is closed, make sure the arrows are less than 3/4 inch apart. Slide the magnet tab into place on top of the riser.
-
Page 10: Additional Information
Additional Information Need Help? Checking battery level Ooma has a wealth of available resources if you need assistance. Tap the pairing button to check the battery Support Articles and User Manuals. Access our comprehensive knowledge level. A long flash on the status indicator base at support.ooma.com/security... - Page 11 Détecteur pour porte et fenêtrer Guide de démarrage rapide...
- Page 12 Vérification du niveau de la pile ......38 Configuration de votre détecteur Ooma Référence pour les voyants lumineux d’état ....38 Lancement du processus de jumelage .
-
Page 13: Contenu De L'emballage
Contenu de l’emballage Espaceurs mince, moyen et épais (2) piles AAA Vis et ancrages Bandes adhésives Guide de démarrage rapide Détecteur pour porte et fenêtre Bouton pour ouverture rapide Voyant lumineux d’état Plaquette aimantée... -
Page 14: Installation Et Activation
Si ce n’est pas déjà fait, installez l’appli Sécurité intelligente Détecteur anti- effraction d’Ooma sur votre appareil iOS ou Android. Recherchez “Ooma Smart Security” (Sécurité résidentielle Ooma) Bouton de jumelage dans la boutique Apple App Store ou Google Play Store. -
Page 15: Configuration De Votre Détecteur Ooma
Configuration de votre détecteur Ooma Lancement du processus Jumelez votre détecteur de jumelage Tenez-vous à une distance de 3 m (10 pi) de votre unité de base Telo. Une fois la configuration de votre compte Appuyez sur le bouton de jumelage et terminée, appuyez sur le bouton Add... -
Page 16: Installation De Votre Détecteur
Installation de votre détecteur Préparatifs avant s’installer votre détecteur Prenez note des flèches sur le détecteur pour porte et fenêtre et la plaquette aimantée correspondante. Lorsque la porte ou la fenêtre est fermée, la distance entre les deux Une fois le jumelage de votre détecteur terminé, la prochaine étape consiste à le flèches devrait être inférieure à... -
Page 17: Fixation Avec Des Bandes Adhésives (Facultatif)
Fixation avec des bandes adhésives Si les pièces ne sont pas de niveau lorsque la porte ou la fenêtre est fermée, choisissez un espaceur en plastique (mince, moyen ou épais) afin de soulever (facultatif) la plaquette aimantée pour qu’elle soit au même niveau que le détecteur. Utilisez un chiffon humide pour nettoyer l’endroit où... -
Page 18: Fixation Avec Des Vis (Facultatif)
Fixation avec des vis Retirez l’autre pellicule protectrice de la bande adhésive. Appuyez fermement le côté adhésif à (facultatif) l’emplacement souhaité pendant 30 secondes. En utilisant le couvercle Utilisez la plus petite bande adhésive sur la arrière comme un pochoir, plaquette aimantée. - Page 19 Prenez le couvercle arrière et alignez les trous de vis sur les marques de crayon (ou les ancrages muraux). Placez les vis dans les trous et serrez. Une fois le couvercle arrière solidement fixé au mur, accrochez-y le détecteur. Prenez l’un des espaceurs et fixez-le à l’aide des vis.
-
Page 20: Renseignements Supplémentaires
Besoin d’aide? Vérification du niveau de la pile Ooma vous offre une foule de ressources si vous avez besoin d’aide. Touchez le bouton de jumelage pour vérifier le niveau de Articles de soutien et manuels de l’utilisateur. Accédez à notre base de connaissances la pile.
Need help?
Do you have a question about the Smart Security Door and Window Sensor and is the answer not in the manual?
Questions and answers