Table of Contents
Advertisement
Quick Links
PACKAGE CONTENTS/
HARDWARE CONTENTS/HARDWARE CONTENTS
Screw
AA
SAFETY INFORMATION/
WARNING: Electrical, plumbing or gas lines may be in wall. Before cutting, drilling or hammering, verify their location. If needed, contact your electrician,
plumber or service personnel.
PREPARATION/
Before beginning installation of product, make sure all parts are present. Compare parts with package contents list and hardware contents list. If any part is
missing or damaged, do not attempt to assemble, install or operate the product.
Estimated Installation Time: 20 minutes/
Tools Required for Assembly (not included): drill, 1/4 or 3/8 drill bit, ruler, PH2 screwdriver and pencil.
MOUNTING INSTRUCTIONS/
NOTE: There are 3 standard installation methods: stud mount, drywall mount, and masonry wall mount.
STUD MOUNT INSTALLATION/
1.Locate studs and hold hanger (A) at desired height on wall with screw holes directly over center of stud.
Mark screw holes with pencil.
AB14496
A
BB
x4
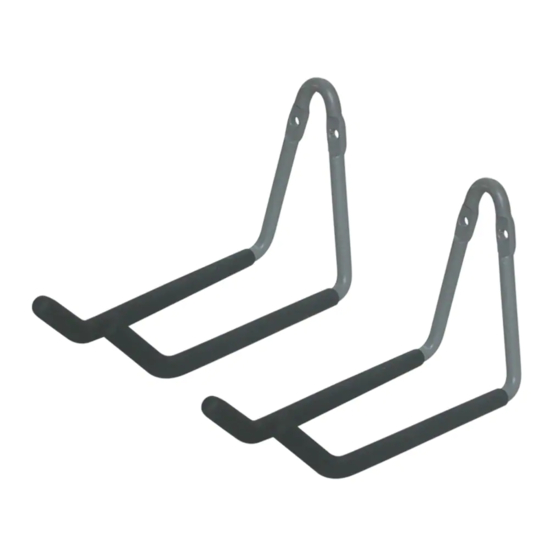
UTILITY HANGER
Hanger
x2
Anchor
CC
x4
ITEM/ARTÍCULO #0217968
MODEL/MODELO #55427
Toggle bolt
x2
1
Advertisement
Table of Contents

Subscribe to Our Youtube Channel
Summary of Contents for Blue Hawk 55427
- Page 1 ITEM/ARTÍCULO #0217968 UTILITY HANGER MODEL/MODELO #55427 PACKAGE CONTENTS/ Hanger HARDWARE CONTENTS/HARDWARE CONTENTS Screw Anchor Toggle bolt SAFETY INFORMATION/ WARNING: Electrical, plumbing or gas lines may be in wall. Before cutting, drilling or hammering, verify their location. If needed, contact your electrician, plumber or service personnel.
- Page 2 2.Level the hanger (A) at desired height and secure to wall with 2 screws (AA). DRYWALL MOUNT INSTALLATION/ 1.Hold hanger (A) level and at desired height on wall. Mark screw holes with pencil. 2. Drill 3/8 in. hole at screw hole marks. Unscrew toggle bolt (CC) from toggle and insert toggle bolt through screw holes of hanger (A).
Need help?
Do you have a question about the 55427 and is the answer not in the manual?
Questions and answers