Eurolyser CUBE Quick Reference
Hide thumbs
Also See for CUBE:
- Starter manual (6 pages) ,
- Starter manual (6 pages) ,
- User manual (43 pages)

Related Manuals for Eurolyser CUBE


Summary of Contents for Eurolyser CUBE
- Page 1 Quick Reference 8e6b5250-532e-4fc8-bc8f-0be2f7ec7200 / DP1.0 / 2013-06-19 1 / 12 Eurolyser Diagnostica GmbH...
- Page 2 Moreover, please remember to reinsert the white transport lock into the CUBE Instrument door before repacking (see following page)! Note: The CUBE Tablet PC is delivered in a separate package and must be returned in this if necessary. WARNING: Wrong packing and/or the use of inappropriate packaging can cause severe damage to the Instrument! 8e6b5250-532e-4fc8-bc8f-0be2f7ec7200 / DP1.0 / 2013-06-19...
- Page 3 Setting up the Eurolyser CUBE Laboratory Photometer Set up the Eurolyser CUBE laboratory photometer. Plug the power supply (AC adaptor plug) to the Instrument and the power cable into the wall socket. Eurolyser CUBE back Power supply USB Socket for connecting a...
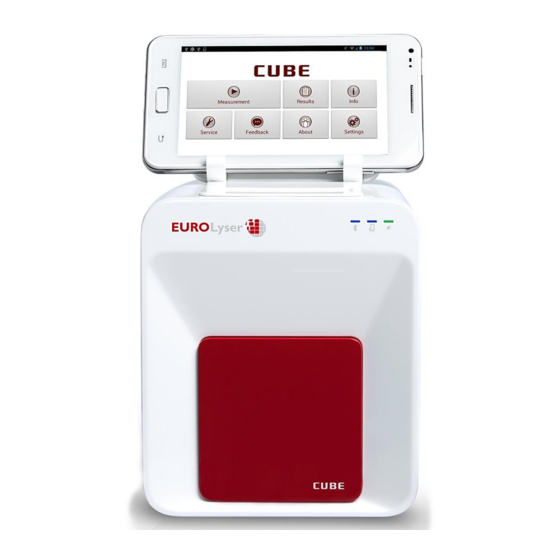
- Page 4 The Tablet PC The Eurolyser CUBE laboratory photometer is operated with a Tablet PC. Connect the Tablet PC to the USB port of the plugged-in Instrument. Then turn on the Tablet PC. Tablet PC Buttons and Interface Power Supply & USB Port Home-Button: press to open the Launcher ...
- Page 5 Handle the test cartridge according the instructions on the package insert and make sure the cartridge is firmly capped before inserting it completely into the proper opening of the Eurolyser CUBE laboratory photometer! Use only test cartridges approved by the manufacturer. Otherwise severe damage to the Instrument and/or incorrect results can occur.
- Page 6 ID. to return to the main menu. How to wake CUBE up or completely switch it OFF When the Tablet PC displays the main menu, the “power safe” function dims the screen. Pressing the Lock Switch will re-illuminate the display to its customary level of brightness.
- Page 7 Kurzanleitung 8e6b5250-532e-4fc8-bc8f-0be2f7ec7200 / DP1.0 / 2013-06-19 7 / 12 Eurolyser Diagnostica GmbH...
- Page 8 5. CUBE Instrument Anmerkung: Sollte das Gerät an den Hersteller zurückgeschickt werden oder aus einem anderen Grund transportiert werden müssen, bitte verpacken Sie alle Teile des CUBE Lieferumfangs wieder gemäß obiger Illustration in die Originalverpackung! Platzieren Sie außerdem das weiße Transportschloss wieder in der Tür des CUBE Instruments (siehe Folgeseite)!
- Page 9 Inbetriebnahme des Eurolyser CUBE Laborfotometers Stellen Sie das Eurolyser CUBE Instrument auf und schließen Sie das Netzteil am Gerät sowie der Spannungsversorgung an. Eurolyser CUBE Interfaces auf der Instrument-Rückseite Spannungsversorgung USB Socket zur Verbindung mit dem PC (für Datenübertragung) USB Port zur Verbindung mit...
- Page 10 Der Tablet PC Der Eurolyser CUBE wird mit einem Tablet PC bedient. Verbinden Sie den Tablet PC mit dem USB Port des eingesteckten CUBE Instruments und schalten sie dann den Tablet PC ein. Tablet PC Tasten und Anschlüsse Spannungsversorgung & USB Port Home-Button: Hier drücken öffnet den Launcher...
- Page 11 Test zu starten. der RFID Karte restliche Anzahl platzieren Sie sie auf der dafür an Tests werden hier angezeigt. vorgesehenen Stelle Das CUBE Laborfotometer liest nun Tippen Sie um mit dem Oberseite des CUBE Instrument. automatisch die RFID Karte, der Test fortzufahren.
- Page 12 Wenn der Tablet PC das Hauptmenü anzeigt reduziert die Stromsparfunktion nach kurzer Zeit automatisch die Helligkeit. Drücken Sie die Sperrtaste um den Bildschirm wieder einzuschalten. Es ist nicht nötig das CUBE Instrument jeden Tag auszuschalten. Um es vollständig abzuschalten muss das Instrument von der Stromversorgung getrennt werden.
Need help?
Do you have a question about the CUBE and is the answer not in the manual?
Questions and answers