Table of Contents
Advertisement
Quick Links
Advertisement
Table of Contents

Subscribe to Our Youtube Channel
Related Manuals for INSTEON 2867-222

Summary of Contents for INSTEON 2867-222
- Page 1 Alert Module Alert Module Owner’s Manual Owner’s Manual...
-
Page 2: Table Of Contents
Contents Getting Started Insteon Alert Module Device Overview Buttons Installation Alert Types Triggering Alert Module from an Insteon Device Local Programming About Local Programming Local Programming Flow Chart Factory Reset Factory Reset Appendix Specifications Troubleshooting Certifications and Warnings Product Warranty... -
Page 3: Getting Started
Getting Started Getting Started Everything you need to quickly get up and running. Everything you need to quickly get up and running. -
Page 4: Insteon Alert Module
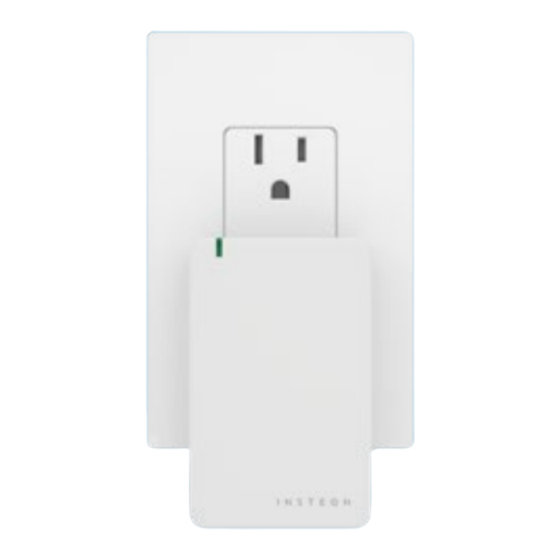
Insteon Alert Module Device Overview Buttons Set Button See sections on Local Programming for set button functions Status LED Armed Disarmed Alert Speaker Set Button Installation Plug Alert Module into an unswitched wall outlet. -
Page 5: Alert Types
Alert Types Alert Module features two types of audible alerts. Choose the suitable alert when creating a Scene using tap-tap linking. Instant Chime Instant Loud Ringing Two short beeps will sound Loud ringing will sound the the moment Alert Module is moment Alert Module is triggered. -
Page 6: Triggering Alert Module From An Insteon Device
Triggering Alert Module from an Insteon Device On your Insteon device, press and On Alert Module, tap the set hold the set button until its LED button until you hear the desired begins blinking. alert tone. On Alert Module, press and hold... -
Page 7: Local Programming
Local Programming Local Programming Use the local programming to link Insteon devices together with the set button. Use local programming to link Insteon devices together with the set button. -
Page 8: About Local Programming
The second device will become the responder. The device automatically exits linking mode after a link has been made with another Insteon device or four minutes have elapsed without linking. -
Page 9: Local Programming Flow Chart
Local Programming Flow Chart Instant Loud Press Ringing Instant Chime Press Linking Mode Unlinking Press Mode Press Exit Instant Loud Ringing Press Multi-Linking Multi- Press Press Mode Unlinking Mode Exit Exit Select Select Arm & Disarm Exit Exit Press... -
Page 10: Factory Reset
Factory Reset Factory Reset A factory reset will erase all links stored in the device’s database as well as A factory reset will erase all links stored in the device’s database as well as any customized properties. any customized properties. -
Page 11: Factory Reset
Factory Reset Simultaneously press and hold the Unplug Alert Module from its set button while reconnecting Alert power outlet Module to power Continue holding the set button When the reset is complete, Alert until Alert Module stops beeping Module will double-beep Your Alert Module has been restored to factory settings. -
Page 12: Appendix
Appendix Appendix Everything else you might need to know about your Insteon product. Everything else you might need to know about your Insteon product. -
Page 13: Specifications
Available Colors White Brand: Insteon FCC ID SBP29922 Industry Canada 5202A-29922 Manufacturer Product No.: 2867-222 Patent No.: Protected under US and Foreign Patents (see www.insteon.com/ patents) UPC: 813922015652 Warranty: 2 years, limited Operation Audio Alert Beeper Setup Memory Non-volatile EEPROM... - Page 14 Multi-Unlink Support RF Beacon Radio Frequency 915.0 MHz Radio Frequency Range 150 feet Scene Commands Supported as Fast-On Fast-Off Controller Scene Commands Supported as Responder Software Configurable Mechanical Dimensions 3.2” H x 2.05” W x 1.05” D 81.2mm H x 53mm W x 26.6mm D Enclosure Material UV stabilized plastic Mounting...
-
Page 15: Troubleshooting
Troubleshooting For detailed troubleshooting information, visit insteon.com/support... -
Page 16: Certifications And Warnings
To minimize heat buildup, ensure the area surrounding this product is as clear of clutter as possible. • Each Insteon product is assigned a unique Insteon I.D., which is printed on the product’s label. • To reduce the risk of overheating and possible damage to other equipment, do not use this product to control loads in excess of the specified maximum(s) or, install in locations with electricity specifications which are outside of the product’s specifications. -
Page 17: Product Warranty
You may also have other legal rights that may vary from state to state. Protected under U.S. and foreign patents (see www.insteon.com/patents) © Copyright 2015 Insteon Rev 11.20.15...
Need help?
Do you have a question about the 2867-222 and is the answer not in the manual?
Questions and answers