Table of Contents
Advertisement
Advertisement
Table of Contents

Subscribe to Our Youtube Channel
Related Manuals for Aprica PRESTO


Summary of Contents for Aprica PRESTO
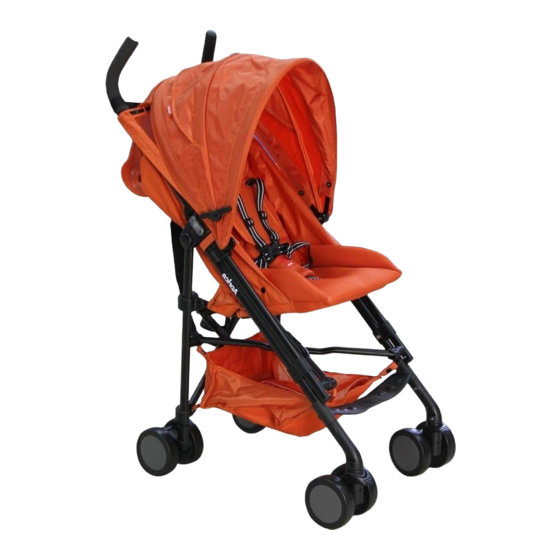
- Page 1 PRESTO ™ owners manual / Please save owner’s manual for future use.
- Page 2 WARN ING Failure to follow these warnings and the assembly instructions could result in serious injury or death. PLEASE SAVE OWNER’S STROLLER TO BE USED only MANUAL FOR FUTURE USE. at walking speed. Product not intended for use while jogging, ADULT ASSEMBLY skating, etc.
-
Page 4: Parts List
BEFORE assembling your product. If any parts are missing, call Customer Service. 1-888-9-APRICA 1-888-927-7422 031-708-0097 TO OPEN STROLLER Before assembly be sure to place stroller on top of a piece of cardboard or other protective cover to prevent damage to floor surface. - Page 5 Pull up on stroller handles as shown. Push down on handle to lock stroller in open position. CHECK that stroller is completly latched open before continuing. SNAP! CLIC!
-
Page 6: Attaching Front Wheels
ATTACHING FRONT WHEELS While holding the button down, attach wheel to the front of the stroller as shown. Repeat with other wheel. that wheels CHECK are securely attached by pulling on wheel SNAP! assemblies. CLIC! ATTACHING REAR WHEELS Attach rear wheels as shown. -
Page 7: To Attach Canopy
TO ATTACH CANOPY Fasten the canopy mounts to the sides of the stroller frame as shown. Snap the buttons on the canopy flap to the back of the stroller as shown. - Page 8 CANOPY Rotate canopy to front or rear position. To expose or cover canopy window. To open or close visor.
-
Page 9: Point Harness
5 POINT HARNESS To open harness, press button. To fasten, slide shoulder straps onto waist straps and lock into crotch buckle. To adjust. - Page 10 3 POINT BUCKLE To convert to 3-pt buckle. Use slide adjuster at waist for tighter adjustment.
- Page 11 SLOTS TO CHANGE SHOULDER HARNESS Shoulder harness anchor—larger child Shoulder harness anchor—smaller child Slide adjuster Unlock harness as shown.
- Page 12 Push straps through front of seat and pull out from the back. Reinsert to desired harness height position. Pull either shoulder harness anchor in the slots that are closest to child’s shoulder height. Use slide adjuster for further adjustment. To fasten, slide shoulder straps into waist straps and lock into crotch buckle.
-
Page 13: Swivel Wheels
SWIVEL WHEELS Front swivel wheels lock for use on uneven surfaces such as grass, SNAP! CLIC! stones or gravel. SNAP! CLIC! - Page 14 BRAKES WARNING Always apply both rear brakes. Check brakes by trying to push stroller. SNAP! CLIC! SNAP! CLIC!
- Page 15 TO RECLINE SEAT WARNING Fabric caught in the latches may prevent them from locking. When returning seat to upright position, do not allow fabric to be pinched in the latch. When making adjustments to the stroller seat, make sure child’s head, arms, and legs are clear of moving seat parts and stroller frame.
- Page 16 To recline, pull down on To raise seat to tab on back of seat as upright position pull up shown. adjustment strap as shown.
-
Page 17: To Fold Stroller
TO FOLD STROLLER Before folding stroller, SNAP! CLIC! Lock front casters Adjust seat to upright position, Close canopy. -
Page 18: To Remove Seat Pad
TO REMOVE SEAT PAD Push button to unfasten harness. Unsnap buttons on both side flaps of seat pad as shown. Pull buckle out of seat pad. Remove pad. - Page 19 REMOVING HEADREST To open harness, press button. Unsnap the buttons on the canopy flap from the back of the stroller as shown. Unsnap the buttons on the headrest from the canopy flap on the back of the stroller as shown.
- Page 20 Pull out the shoulder straps as shown. Remove headrest from stroller.
- Page 21 RAINCOVER WARNING SUFFOCATION HAZARD: ™ Presto strollers only. roller, always make sure canopy is in the open position. Open canopy and wrap rain cover over stroller seat as shown.
-
Page 22: Care And Maintenance
Replace or assemblies. repair the parts as needed. Use only Aprica replacement parts. EXCESSIVE EXPOSURE TO SUN OR HEAT could cause fading or warping of parts. - Page 24 031-708-0097 • • www.aprica.co.kr...
Need help?
Do you have a question about the PRESTO and is the answer not in the manual?
Questions and answers