Advertisement
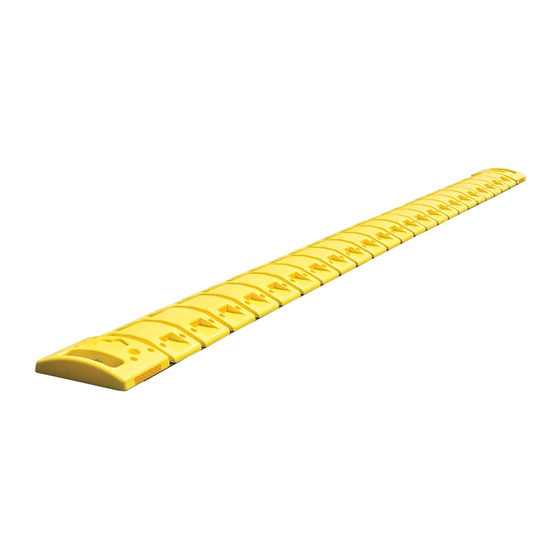
PORTABLE SPEED BUMP #1170/#1171
#1170 Standard (reflective tape only)
#1171 with LED lights
IMPORTANT SAFEGUARDS
•
Read all instructions before operating
•
Do not look directly at the light; may cause injury to your eyes
•
Never use if wiring circuits or batteries are exposed or damaged
•
Turn off before charging
•
Do not use alcohol, flammable or other solvents on or near this unit. Only clean with a damp cloth and
warm water.
•
Store in a clean dry place when not in use
•
Administer close supervision when using around children Do not operate at temperatures above 120°F
or below 32°F
•
Do not disassemble unit. If it is not reassembled correctly, the waterproof seal will not work and could
cause damage.
PARTS IDENTIFICATION
LEDs on #1171
Reflective Tape on #1170
Plug
On/Off Button
Charging Socket
Rubber Base
(under plug)
USB Charging
Cable
120V AC Charger
Magnetic Charging
Adapter & Port
Handle
Storage Bag
SPEED BUMP SET-UP AND REMOVAL (all models)
1.
Remove the Speed Bump from the STORAGE BAG. Use caution when lifting.
2.
Use the HANDLE on the Speed Bump to unroll and maneuver into place. Flip it over so that the
RUBBER BASE is on the bottom.
3.
When finished using, turn it off (#1171) and remove it from the roadway before rolling it up. Roll it up
by reversing the instructions above. If you keep the charging handle on the outside of the roll it will be
easier to charge while storing.
#1171 OPERATION
1.
Keep the PLUG in the CHARGING SOCKET to keep debris from damaging the charging contacts and
magnet while deployed. Note: the plug will only fit one way.
2.
Press the ON/OFF BUTTON:
•
Once for Slow Flash
•
Twice for Quad Flash
•
Three times for Steady-On
•
Four times to turn off
#1171 CHARGING THE BATTERY
Turn off before charging.
1.
The Speed Bump can be charged while it is in the STORAGE BAG.
2.
Seat the MAGNETIC CHARGING ADAPTER into the CHARGING SOCKET and attach the 120V AC
CHARGER to the port on the ADAPTER. Then plug the other end into a 120V AC wall outlet.
3.
The CHARGING INDICATOR on the MAGNETIC CHARGING ADAPTER will read the status of charging.
•
Red = charge in process
•
Green = charging complete
•
Monitor charging and remove the ADAPTER when finished. Replace the PLUG.
•
Do not use the Speed Bump with the ADAPTER attached to it. Damage could occur to the
ADAPTER or the Speed Bump.
WARNING
The battery in this device may present a fire or explosion risk if heated above 212°F (100°C) or incinerated.
Do not disassemble and do not dispose of in fire. Only use the included CE/C/UL certified AC charger
or an equivalent replacement with the same specifications as listed. Failure to do so could be
hazardous or cause damage to the product.
Advertisement
Table of Contents

Subscribe to Our Youtube Channel
Related Manuals for Aervoe 1170


Summary of Contents for Aervoe 1170
- Page 1 PORTABLE SPEED BUMP #1170/#1171 #1170 Standard (reflective tape only) #1171 with LED lights SPEED BUMP SET-UP AND REMOVAL (all models) Remove the Speed Bump from the STORAGE BAG. Use caution when lifting. Use the HANDLE on the Speed Bump to unroll and maneuver into place. Flip it over so that the IMPORTANT SAFEGUARDS RUBBER BASE is on the bottom.
- Page 2 CHARGE TIME (#1171 ONLY) 2½ - 3 hours RUN TIME (#1171 ONLY) Slow Flash: 30+ hours Quad Flash: 50+ hours Steady On: 24+ hours #1170 STANDARD #1171 WITH LED LIGHTS AERVOE INDUSTRIES, INC. Gardnerville, NV 89410 • 1-800-227-0196 www.aervoe.com • mailbox@aervoe.com 1170inst; cs8/17...
Need help?
Do you have a question about the 1170 and is the answer not in the manual?
Questions and answers