Table of Contents
Advertisement
Quick Links
CJV02
IMPORTANT! KEEP FOR FUTURE REFERENCE.
IMPORTANT! Read the instructions carefully before use and keep them for future reference.
Please read these instructions before assembly and use of this product.
Adult assembly is required.
Tool needed for assembly: Phillips screwdriver (not included).
Requires four C (LR14) alkaline batteries for operation (not included).
This product does not replace a cot or a bed. Should your child need to sleep,
then it should be placed in a suitable cot or bed.
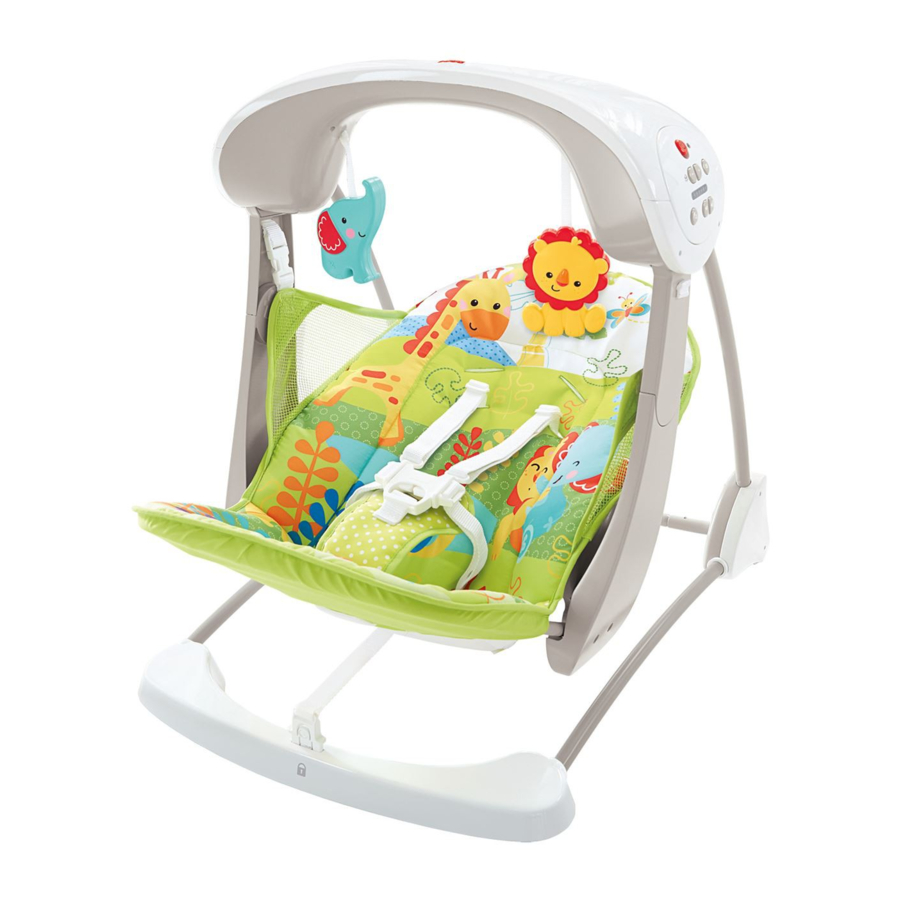
Product features and decorations may vary from photographs.
fisher-price.co.uk
1
Advertisement
Table of Contents

Related Manuals for Fisher-Price CJV02


Summary of Contents for Fisher-Price CJV02
- Page 1 CJV02 IMPORTANT! KEEP FOR FUTURE REFERENCE. IMPORTANT! Read the instructions carefully before use and keep them for future reference. Please read these instructions before assembly and use of this product. Adult assembly is required. Tool needed for assembly: Phillips screwdriver (not included).
- Page 2 Consumer Information WARNING To prevent serious injury or death from falls or being strangled in the restraint system: • Never leave the child unattended. • Always use the restraint system. • Do not use this product once your child can sit up unaided or weighs more than 9 kg.
- Page 3 Parts Please remove all parts from the package and identify them before assembly. Some parts may be packed in the pad. Swing Housing 2 Swing Legs (left and right) Front Cross Brace Seat Rear Cross Brace 4,5 mm x 12 mm Screw – 6 Note: Tighten or loosen all screws with a Phillips screwdriver.
- Page 4 Great Britain: Vanwall Business Park, Maidenhead SL6 4UB. Helpline: 01628 500303. www.service.mattel.com/uk. Mattel Europa B.V., Gondel 1, 1186 MJ Amstelveen, Nederland. Australia: Mattel Australia Pty. Ltd., 658 Church Street, Locked Bag #870, Richmond, Victoria 3121 Australia. Consumer Advisory Service 1300 135 312. New Zealand: 16-18 William Pickering Drive, Albany 1331, Auckland.
- Page 5 Assembly • Rotate the straight tube on each swing leg. • Make sure you hear a "click". Swing Leg PRESS PRESS Swing Leg Rear Cross Brace • While pressing a button on the rear cross brace, fit it into a swing leg. •...
- Page 6 Assembly Front Cross Brace BOTTOM VIEW • Turn the leg assembly over. • Fit the front cross brace onto the swing legs. • Insert two screws into the front cross brace and tighten. • Turn the leg assembly upright.
- Page 7 Assembly Swing Housing BACK VIEW • First, tilt the swing housing so the sockets are facing down. • Then, fit the swing housing onto the free end of each swing leg. Push to "snap" in place. • Pull up on the swing housing to be sure it is secure. Hint: The swing housing is designed to fit onto the swing legs one way.
- Page 8 Assembly • Lower the seat bottom. Seat Pad Back Pocket • Fit the seat pad back pocket onto the seat back.
- Page 9 Assembly Seat Pad Lower Pocket • First, lift the seat bottom . Next, fit the lower seat pad pocket onto the seat bottom . Then, pull the seat bottom down • Fasten the buckles on the side of the seat pad to the buckles on the swing arms. Make sure you hear a “click”.
- Page 10 Assembly Lowest Slots • Insert the waist belts through the lowest slots in the seat pad. Make sure the waist belts are not twisted. Upper Slots Lower Slots Lower S Smaller Baby • Insert the ends of the shoulder belts through the lower slots in the seat pad back. Make sure the shoulder belts are not twisted.
- Page 11 Battery Installation 1,5V x 4 C (LR14) Hint: We recommend using alkaline batteries for longer battery life. • Loosen the screws in the battery compartment door with a Phillips screwdriver and remove the battery compartment door. • Insert four C (LR14) alkaline batteries into the battery compartment. •...
- Page 12 Using the Restraint System WARNING To prevent serious injury or death from falls or being strangled in the restraint system: • Never leave the child unattended. • Always use the restraint system. • Do not use this product once your child can sit up unaided or weighs more than 9 kg.
- Page 13 Using the Restraint System TIGHTEN LOOSEN • To tighten the waist belts: Feed the anchored end of the belt up through the buckle to form a loop . Pull the free end of the belt . Repeat this procedure to tighten the other belt. •...
- Page 14 Easy Conversion Seat Mode • Fit the clip in the seat pad into the slot in the front cross brace. • Make sure you hear a "click". Pull up on the clip to be sure it is secure. PRESS PRESS Clip Swing Mode •...
- Page 15 Power Switch Power LED Swing Speed LEDs Swing Speed LE Vibrations Button Swing Speed Buttons Music/Sounds Button Music/ Volume Buttons Swing Mode Swing Mode • Slide the power switch ON. The power LED will turn on. • Press the swing speed buttons to select any of six speed settings.
- Page 16 Storage & Care IMPORTANT! Remove the batteries for long-term storage. PRESS PRESS • Place the back of the swing on a flat surface. • Press the buttons on the base , and lower the legs Hint: You need to press both buttons at the same time. •...
Need help?
Do you have a question about the CJV02 and is the answer not in the manual?
Questions and answers