
Related Manuals for MIRACO MiraFount 3410-4

Summary of Contents for MIRACO MiraFount 3410-4
- Page 1 INSTALLATION INSTRUCTIONS AND SPECIFICATIONS FOR MODEL 3410-4 READ CAREFULLY MIRACO A DIVISION OF AHRENS AGRICULTURAL INDUSTRIES, INC. BOX 686 GRINNELL, IOWA 50112 PHONE 641-236-5822 TOLL FREE 1-800-541-7866 FAX 1-641-236-3341...
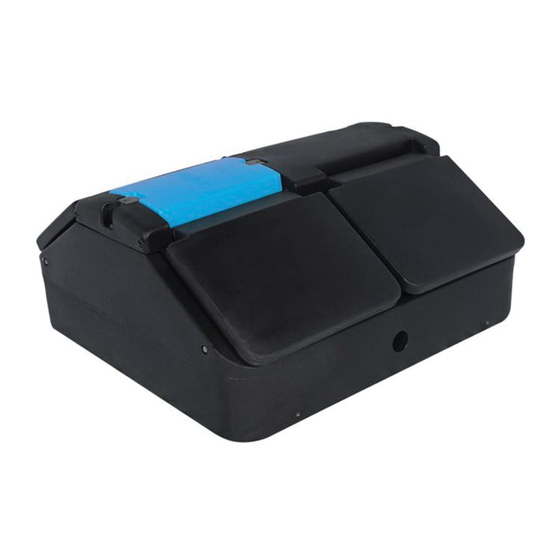
- Page 2 Model # Capacity Gallons Description Dimensions Weight 3410-4 200 hd. hogs 4 lift up lids 34" x 36 " x 16" 80 hd. sows #834 insulated tube Miraco plastic valve with stainless steel rod and ends.
- Page 3 Mirafount #3410-4 Miraco has an insulated tube for heat wells. This 30” long unit provides maximum protection for your water line. Step 2 Pull the paper backing off the rubber gasket furnished in your parts carton. Stick this gasket on the bottom of your tank.
- Page 4 Step 5 Step 6 After you have completed steps 1 thru 4 in the installation With a pen or pencil, make a mark on the fill line 2 ” below booklet, your fill line will be standing above the 4” riser pipe. the top of the 4”...
- Page 5 Step 10 Step 9 AFTER applying pipe sealer to all the male fittings and plug in Make any adjustments before the cement sets up. ” “T,” glue the “T” assembly to the fill line with the threaded fitting pointed at 90˚pointing to the short end of the tank.
- Page 6 Step 12 After PVC cement has been applied, push the riser pipe into the bottom fitting and align with the “T” fitting so the “T” fitting fits into the 1 ” hole at the top of the riser pipe. Step 13 Apply teflon tape sealer to the valve threads.
- Page 7 Step 14 Screw the valve into the elbow so the valve is tight. In most cases, hand tight is sufficient. If wrenches are required, be careful not to over tighten. Step 15 Install the bob float and arm with the brass thumb screw.
- Page 8 12” OR 16” DRAINAGE TILE TREATED PLYWOOD WITH STYROFOAM LINED WALLS OR INSULATED TUBE 3/4” PVC PIPE (1.05-0.D.)
- Page 9 12” OR 16” DRAINAGE TILE TREATED PLYWOOD WITH STYROFOAM LINED WALLS OR INSULATED TUBE 3/4” PVC PIPE (1.05-0.D.)
- Page 11 MODEL 3410-4 MANAGEMENT TIPS 1. For short periods of time when you’re not using the MiraFount in winter, you can dip 3-5 gallons of water out every day and the tank will sustain itself until livestock are using it again. If you plan on not using it for a long time, merely drain it and shut off the water.
-
Page 12: Express Warranty
(5) years from delivery. The Miraco valve and valve parts are warranted to be free of defects in materials and workmanship for a period of one (1) year from delivery. Such warranty does not apply to any Miraco unit that has been subjected to misuse, or material failure to install, operate or maintain in accordance with Miraco’s written instructions, or...
Need help?
Do you have a question about the MiraFount 3410-4 and is the answer not in the manual?
Questions and answers