Advertisement
MONTASJEBESKRIVELSE
Dette armaturet er et Klasse II produkt som IKKE SKAL
TILKOBLES JORD.
This device is a class II product: DO NOT CONNECT THE LAMP and
the pole to the ground wire.
Tilkobling til elektrisk anlegg må kun utføres av kvalifisert
.
personell
Electrical connection must be executed only by competent users
Sjekk spenning før armaturet tilkobles.
Check the input voltage before installing the device.
Slå av nettspenning før arbeide med armaturet.
During the installation or maintenance switch off the line.
I tilfelle det er aktuelt å skifte ut kabel for tilførselspenning ta kontakt med
Catena AS. Kun kabel type H07RN-F skal benyttes.
In case it becomes necessary to replace the power cable, contact the manufacturer
or qualified service personnel. Use only cable type H07RN-F.
Ta vare på montasjebeskrivelsen slik at vedkommende som har
ansvar for drift og vedlikehold kan lese denne før arbeide med
armaturet.
Save a copy of this instruction sheet. Who will care of the maintenance
should read it before operating on the device.
Etter installasjon rengjøres glasset på armaturet.
After installation clean the protective glass to use the luminaire in
optimal condition.
REV 4
11 / 08 / 2013
INSTALLATION GUIDE
ADVARSEL
WARNINGS
Approved
TEC
.
Approved
AQ
Advertisement
Table of Contents

Summary of Contents for DLEDS DETAS Catena STRATOS-N
- Page 1 MONTASJEBESKRIVELSE INSTALLATION GUIDE ADVARSEL WARNINGS Dette armaturet er et Klasse II produkt som IKKE SKAL TILKOBLES JORD. This device is a class II product: DO NOT CONNECT THE LAMP and the pole to the ground wire. Tilkobling til elektrisk anlegg må kun utføres av kvalifisert personell Electrical connection must be executed only by competent users Sjekk spenning før armaturet tilkobles.
- Page 2 STRATOS-N TILKOBLING AV DRIFTSPENNING POWER SUPPLY CONNECTION Enheten leveres med Techno TH-384 plugg og tilsvarende hunnplugg følger med armaturet. Tilkobling gjøres på følgende måte: With the device is also provided the female power connector. For the connection to the cable of the power line proceed as follows: Skru av kabelnippel som i fig.1.
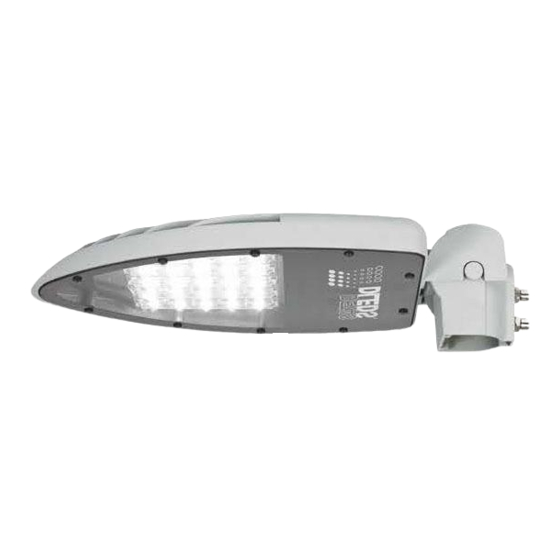
- Page 3 MONTERING PÅ MASTETOPP MOUNTING ON THE POLE Armaturet kan festes på arm eller mastetopp og man bytter mellom de to på følgende måte: To switch from arm mounting to head pole mounting proceed as follows: 1) Løsne mutter (1) (fig. 4) med 6-kant nøkkel M15 og ta bort skrue (2). Unscrew the nut 1 (fig.
- Page 4 Fig. 5 3) For begge montasjene (arm/mastetopp) kan armaturet tiltes opp til 20 grader i steg på 5 grader med spor for hver femte grad (fig. 6). Sett på plass mutter og skruer i ny posisjon (1 og 2 i fig 5) In both ways of mounting, head pole or arm, it is possible to adjust the tilt of the lamp up to 20 °, in multiples of 5 °, (fig.
- Page 5 Merk: Mastefeste er for 60mm diameter mastetopp/arm. Braketter for 38mm, 42mm og 50mm arm leveres separat. Please note: Pole bracket is for 60mm pole diameter. In case of arm/pole with diameter below this an adaptor sleeve/bracket is required (not included in standard scope of delivery). Når armaturet er plassert på...
Need help?
Do you have a question about the DETAS Catena STRATOS-N and is the answer not in the manual?
Questions and answers