Advertisement
Quick Links
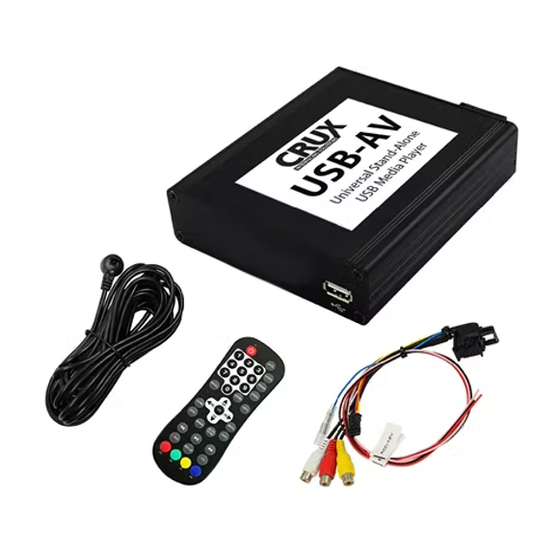
• Playback of audio and video files from USB-media up to 2TB
• NTFS and FAT32 multi partition capable
• Support of all common Audio & Video formats (e.g. MP3, AVI, VOB, MOV, RMVB, JPG,
FLV, MKV, H.264)
• Last position memory
• Controllable by IR-sensor and remote control
• Visualization via ON-Screen display
• Search in Audio + Video files during playback possible
• Scroll page by page possible in Audio + Video files
IR Extension Cable
Remote
control
1
Power and
AV Harness
rev060215
Advertisement

Summary of Contents for Crux USB-AV
- Page 1 • Playback of audio and video files from USB-media up to 2TB • NTFS and FAT32 multi partition capable • Support of all common Audio & Video formats (e.g. MP3, AVI, VOB, MOV, RMVB, JPG, FLV, MKV, H.264) • Last position memory •...
-
Page 2: Audio-Video Output
Audio-Video output Cable colour Assignment ● Yellow Video signal ● Audio signal right ● White Audio signal left Connection for power supply Cable colour Assignment ● black Ground ● +12V Constant ● pink ● blue Cable for connection of IR-control cable Remote control battery installation Before attempting to operate your remote control, install the battery as described below. -
Page 3: Remote Control Operations
Remote control operations Button Function POWER Select power-on or stand-by 1,2,3-0 No function MUTE Mute control SOURCE No function PREVIEW No function AUDIO No function RECALL No function ENTER Select the highlighted item INFO Select OSD menu (only in menu Movie/Photo) ▲... - Page 4 System Setting Menu In the “System Setting” menu you can configure the settings. You can use [▲] and [▼] buttons to highlight the item, you can use [] and [] buttons to change the adjustment and press [OK] to set the setting. Leave out the menu by pressing the [EXIT] button.
- Page 5 Movie Menu 1. In menu mode, select “Movie“. 2. Press [OK] button to show all of the stored movie files. 3. Press [▲] and [▼] buttons to select a movie file and press the [OK] button to start the movie file. 4.
- Page 6 Music Menu 1. In menu mode, select “Music“. 2. Press [OK] button to show all of the stored music files. 3. Press [▲] and [▼] buttons to select a movie file and press the [OK] button to start the music file. 4.
-
Page 7: Photo Menu
Photo Menu 1. In menu mode, select “Photo“. 2. Press [OK] button to show all of the stored photos. 3. Press [▲] and [▼] buttons to select a photo and press the [OK] button to display it. Slideshow will start automatically. 4.