Table of Contents
Advertisement
Quick Links
Advertisement
Table of Contents

Summary of Contents for GajShield UTM Series
- Page 1 GajShield UTM Series...
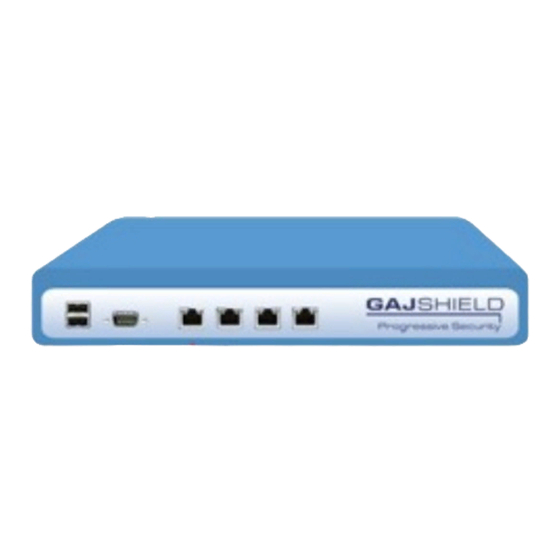
- Page 2 Example: If the WAN router has been terminated on Interface 2 then it would now become WAN. 4. Serial Port : This port is provided for accessing GajShield UTM via command line. NOTE: To acces s Ga jShi el d vi a s eri a l port us e Windows Hyper Terminal or Putty.
- Page 3 Also check your PC gateway & DNS, if you are trying to browse the internet. Example:- If your GajShield firewall IP is 192.168.2.190, use the same IP as your default gateway & DNS. Accessing GajShield from your Personal Computer To start the Quick Wizard, open any Web Browser and type the below mentioned URL.
- Page 4 Use the Quick Wizard for initial Setup of GajShield UTM 1. Above screen appears after logging onto the new GajShield UTM. Admin Password 2. To avoid unauthorized use, GajShield recommends that you change the default password to a more secure password.
- Page 5 GAJSHIELD Date Time Configuration 3. Change Time Zone, System Date & Time according to your region. LAN Configuration 4. Configure LAN IP address & Netmask as per your local LAN network.
- Page 6 GAJSHIELD WAN Configuration 5. Enter ISP IP details under WAN Configuration. Interface Type: GajShield supports 3 types of network modes Standard, PPPoE Connection & DHCP. Standard Mode IP Address & Netmask enter IP details provided by your ISP. • Next Hop IP is ISP Gateway or router IP.
- Page 7 GAJSHIELD iii. DHCP Mode Choose DHCP, if your ISP uses DHCP server to provide WAN IP address. • Confirmation 6. Verify the configuration done using Quick Wizard, Click on Confirm if the data entered is correct, or click on Previous for any changes in configuration.
- Page 8 GAJSHIELD Finish 7. After you click on Confirm, settings are applied on GajShield UTM & below rules are added, these default rules can be modified later if necessary. You have now completed the Quick Wizard & your UTM is ready to go live.

Need help?
Do you have a question about the UTM Series and is the answer not in the manual?
Questions and answers