Sign In
Upload
Download
Table of Contents
Contents
Add to my manuals
Delete from my manuals
Share
URL of this page:
HTML Link:
Bookmark this page
Add
Manual will be automatically added to "My Manuals"
Print this page
×
Bookmark added
×
Added to my manuals
Manuals
Brands
Perma Manuals
Indoor Furnishing
2727
Instruction manual
Perma 2727 Instruction Manual
Extra tall retractable gate
Hide thumbs
1
Table Of Contents
2
3
4
5
6
7
8
9
10
11
12
13
14
15
16
17
18
19
20
21
22
page
of
22
Go
/
22
Contents
Table of Contents
Bookmarks
Table of Contents
Table of Contents
Safety Information
General
Maintenance
Warnings
Mountings
What's in the Box
Parts
Installation
Gate Placement
Inside Opening or Doorway
Outside Opening or Doorway
With Skirting or Baseboard
To Remove
Operation
How to Open
Cleaning Instructions
Support
Warranty Certificate
Warranty Card
After Sales Support
Advertisement
Quick Links
Download this manual
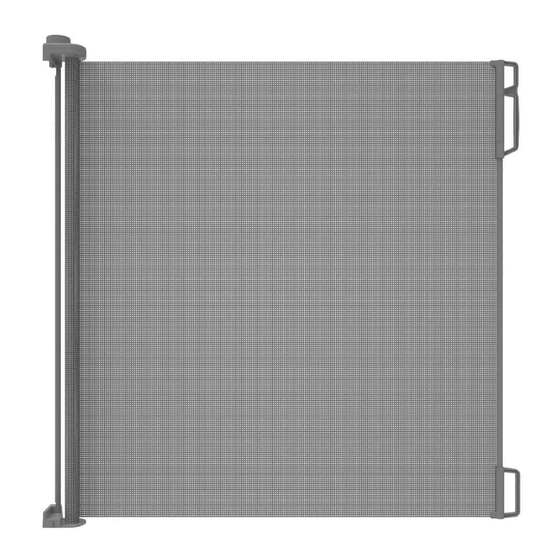
EXTRA TALL
Retractable
Gate
Instruction Manual
IMPORTANT! READ AND
FOLLOW THESE INSTRUCTIONS
CAREFULLY AND KEEP FOR
FUTURE REFERENCE.
This product complies with safety standard ASTM F1004.
#2727
Up to 71'' | (1.8m)
INSTALLATION VIDEO
#2756
#2728
41''
(104cm)
Table of
Contents
Previous
Page
Next
Page
1
2
3
4
5
Advertisement
Table of Contents
Need help?
Do you have a question about the 2727 and is the answer not in the manual?
Ask a question
Questions and answers
Related Manuals for Perma 2727
Indoor Furnishing Perma 2756 Instruction Manual
Extra tall retractable gate (22 pages)
Indoor Furnishing Perma Easy Fit Instruction Manual
Baby gate (16 pages)
This manual is also suitable for:
2756
2728
Table of Contents
Print
Rename the bookmark
Delete bookmark?
Delete from my manuals?
Login
Sign In
OR
Sign in with Facebook
Sign in with Google
Upload manual
Upload from disk
Upload from URL


Need help?
Do you have a question about the 2727 and is the answer not in the manual?
Questions and answers