Advertisement
Quick Links
HOW TO INSTALL AND REPLACE BATTERIES
1.
Unscrew the battery cover on the base using a small Phillips head
screwdriver. Install 3 AA batteries observing the correct polarity
(+/-). Replace the battery cover and tighten the screw. Switch the
Easy Nails to ON mode, using the switch next to the battery
compartment.
ON
OFF
AA X 3
TO CHANGE THE BRUSH
2.
Press the buttons on the side of the robot arm and pull the brush out.
Push a new clean brush into the arm until you hear a click.
Put dirty brushes in a bowl of warm water and wipe clean with a warm damp cloth.
4.
OTHER VARNISH BOTTLES
Your own nail polish can be used once the polish supplied has run out but the bottle
must be bigger than 18mm and smaller than 30mm diameter and between 42mm and
51mm high.
If the bottle is not round or the top not in the middle of the bottle then it might not
be possible to use it with Easy Nails Nail Spa.
18-30mm
Requires 3 x AA Batteries. (Batteries Not Included).
Alkaline batteries recommended.
•
Rechargeable batteries must only be recharged under adult supervision.
•
Rechargeable batteries must be removed from the toy before recharging.
•
Non-rechargeable batteries must not be recharged.
•
Different types of batteries, or new and used batteries must not be mixed.
•
Only batteries of the same or equivalent type as recommended should be used.
•
Batteries should be replaced by an adult.
•
Batteries must be inserted following the correct polarity.
•
Exhausted batteries should be removed from the product.
•
The supply terminals must not be short-circuited.
•
Batteries should be removed from the product when not in use.
•
Do not dispose of batteries in fire.
•
42-51mm
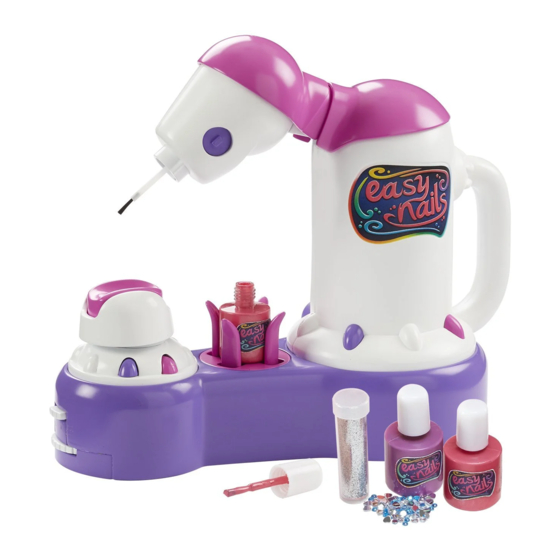
EASY NAILS NAIL SPA
Assembly Instructions
SETUP
3.
1. Switch the switch to Setup
mode.
2. Lower the bottle holder by rotating the dial clockwise (to the left).
3. Take the lid off one bottle of polish and put the bottle into the holder by pushing it in the centre
of the holder. Place the lid upright on the table on a sheet of waster paper or tissue. The nail
polish clasp will auto adjust to hold the bottle tight. (The adjustment option allows you to use
your own polish too).
4. Press the PINK button to move the arm into the dip position.
5. Ensure the bottle is aligned and raise the bottle holder up by rotating the dial anti-clockwise (to
the right) until the brush dips into the polish.
6. Switch the switch into PLAY mode.
7. Easy Nails is now setup.
5.
TROUBLESHOOTING
If the robot arm gets stuck on the bottle it can be released using the button on the side
of the Easy Nail unit.
1. Press this button in to release the arms and manually raise it up as far as it will go then
release the button.
2. Switch the unit off and on again and repeat the setup procedure starting by lowering
the bottle holder.
5+
ON
OFF
SWITCH: ON/OFF
Advertisement

Summary of Contents for EASY NAILS NAIL SPA
- Page 1 Install 3 AA batteries observing the correct polarity (+/-). Replace the battery cover and tighten the screw. Switch the Easy Nails to ON mode, using the switch next to the battery compartment. Requires 3 x AA Batteries. (Batteries Not Included).
- Page 2 EASY NAILS NAIL SPA Play Instructions BEFORE USING YOUR EASY NAILS NAIL SPA: 1. Prepare the following: • Setup Easy Nails Nail Spa • Spare Polish • Glitter • Gemstones • Spare Brushes • Damp Cloth 2. Wash hands especially nails thoroughly in warm soapy water and dry thoroughly to help a good finish.
Need help?
Do you have a question about the NAIL SPA and is the answer not in the manual?
Questions and answers