Table of Contents
Advertisement
Quick Links
Safety Precau�ons
PLEASE READ THESE INSTRUCTIONS CAREFULLY AND SAVE THEM.AS YOU MAY NEED THEM AT A LATER DATE.
1. Read all safety precau�ons and installa�on instruc�ons carefully before installing or servicing this fixture.
Failure to comply with these instruc�ons could result in poten�ally
2. It is recommended that a qualified electrician perform all wiring. This fixture must be wired in accordance
with all na�onal and local electrical codes
3. Do not handle any energized fixture or a�empt to energize any fixture with wet hands or while standing
on a wet or damp surface or in water.
4. This fixture is designed for use in a 120-277VAC, 60Hz fused circuit.
5. To reduce the risk of electrical shock, and to assure proper opera�on, this fixture must be adequately
grounded. To accomplish proper grounding, there must be a separate ground wire (green) contact between
this fixture and the ground connec�on of your main power supply panel.
6. This fixture is intended to be used for general INdoor ligh�ng in dry or damp loca�ons
7. Disclaimer
Changes or modifica�ons not expressly approved by the party responsible for compliance could void the user's
authority to operate the equipment.NOTE: This equipment has been tested and found to comply with the limits
for a Class B digital device, pursuant to Part 15 of the FCC Rules and Canadian ICES-005 (B) / NMB-005 (B).
These limits are designed to provide reasonable protec�on against harmful interference in a residen�al
installa�on. This equipment generates uses and can radiate radio frequency energy and, if not installed and
used in accordance with the instruc�ons, may cause harmful interference to radio communica�ons. However,
there is no guarantee that interference will not occur in a par�cular installa�on. If this equipment does cause
harmful interference to radio or television recep�on, which can be determined by turning the equipment off
and on, the user is encouraged to try to correct the interference by one or more of the following measures:
A• Reorient or relocate the receiver antenna.
B• Increase the separa�on between the equipment and receiver.
C• Connect the equipment into an outlet on a circuit different from that to which the receiver is connected.
D• Consult with the dealer or an experienced radio/TV technician for help.
Any modifica�ons to this fixture may void the warranty and interfere with the safe opera�on of the luminaire.
Opera�on is subject to the following two condi�ons: (1) this device may not cause interference, and (2) this
device must accept any interference, including interference that may cause undesired opera�on of the device.
NEEDED TOOLS
Safety Glasses
Ruler/Tape Measure
Flat Blade Screwdriver
Phillips Screwdriver
Adjustable Wrench
Assembly Instruc�ons
TURN OFF POWER FROM THE MAIN CIRCUIT BEFORE INSTALLING FIXTURE.
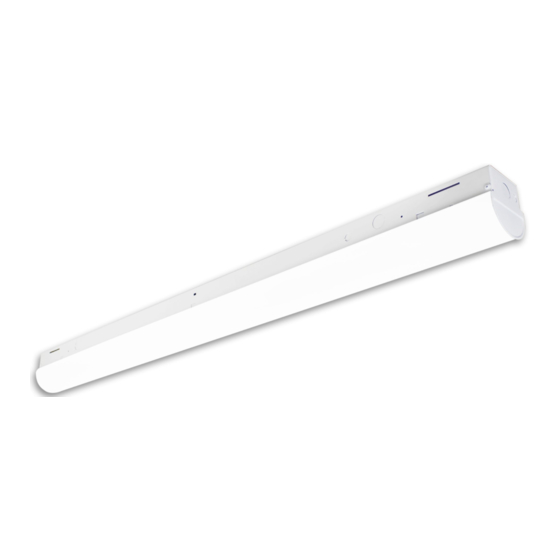
Step 1 . Carefully unpack the fixture from its package.Inspect product for defects due to shipping.
GlobaLux Ligh�ng LLC
LNS Series
Installa�on Instruc�ons
Drill
3/16" Drill Bit
3/32" Drill Bit
Pliers
– 2037 S. Vineyard Ave. Ontario, CA 91761 – 909-591-7605 Fax: 909-590-3220
www.globaluxligh�ng.com
1/3
RIS9709
Advertisement
Table of Contents

Summary of Contents for GlobaLux LNS Series
- Page 1 LNS Series Installa�on Instruc�ons Safety Precau�ons PLEASE READ THESE INSTRUCTIONS CAREFULLY AND SAVE THEM.AS YOU MAY NEED THEM AT A LATER DATE. 1. Read all safety precau�ons and installa�on instruc�ons carefully before installing or servicing this fixture. Failure to comply with these instruc�ons could result in poten�ally 2.
- Page 2 LNS Series Installa�on Instruc�ons Step 2 . Locate desired posi�oning for the fixture on the moun�ng surface.Then moun�ng the bracket on the ceiling. Fig 1 Step 3 . Turn off power to appropriate circuit at the breaker box. Step 4 . Take the lens out of fixture by squeezing and pulling up.
- Page 3 LNS Series Installa�on Instruc�ons Plug the white and black wine of JBox into the quick connector.And connec�ng fixture by quick connector. Connect the ground wire(Green),dimmable wire+(purle) and dimmable wire-(gray) of JBox to fixture by wire nut. Fig 5 Black Grey...
Need help?
Do you have a question about the LNS Series and is the answer not in the manual?
Questions and answers