Advertisement
July 2010
900395-001 Rev. 00
Ovation II Service Light Kit (p/n 600099-001)
About This Document
This document is intended for:
•
Operators of TouchTunes Ovation II digital jukeboxes.
•
TouchTunes Field Service, Customer Support, and Sales personnel.
It describes how to install the Service Light Kit in the Ovation II jukebox (p/n 700225-xxx).
Overview
The Ovation II provides accommodation for a service light module (kit p/n 600099-001) that plugs into the main
wiring harness and illuminates the interior of the cabinet, facilitating servicing in low-light situations.
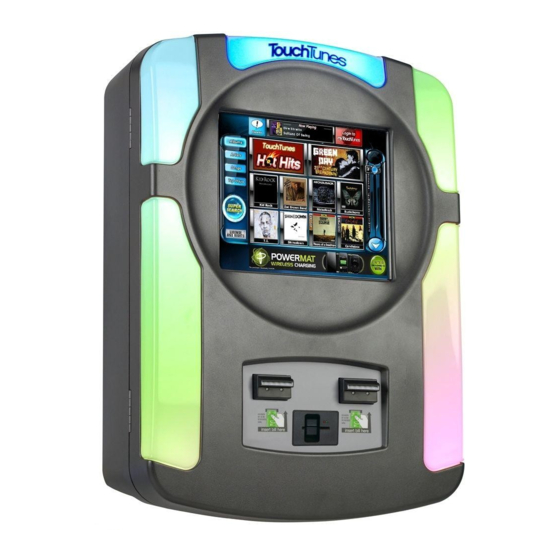
Service Light Module Installed in Ovation II
When the door of the Ovation II is opened, components mounted in a circuit board in the interior of the cabinet
activate a panel of high-intensity LEDs, providing illumination to the interior.
When the door is closed, the service lighting extinguishes.
Mounted on the board are an LED and an infrared photo transistor:
•
The LED shines an invisible infrared light through onto the rear of the upper light show lens on the cabinet door.
•
The infrared photo transistor detects the reflected light, which instructs it to keep the service light off.
Installation Notes
Area enlarged
1 of 4
Advertisement
Table of Contents

Summary of Contents for TouchTunes Ovation II
- Page 1 Area enlarged Service Light Module Installed in Ovation II When the door of the Ovation II is opened, components mounted in a circuit board in the interior of the cabinet activate a panel of high-intensity LEDs, providing illumination to the interior.
- Page 2 Kit Contents The TouchTunes service light kit ships in a single box. If any component appears to be damaged, do not attempt to use or install the system. Notify TouchTunes or your local distributor immediately.
- Page 3 3. Align the holes in the assembly’s mounting bracket (orientation shown below) with those on the wall of the casting, and fasten the bracket in place with the 2 Phillips pan-head machine screws provided. Securing the Service Light Assembly to the Casting 4.
- Page 4 Actions performed immediately before the problem occurred. • Any additional comments. If you require assistance with this or any other TouchTunes product, please call or email technical support. We value your comments. TouchTunes Interactive Networks, Inc. TouchTunes Interactive Networks, Inc.
Need help?
Do you have a question about the Ovation II and is the answer not in the manual?
Questions and answers