Advertisement
Quick Links
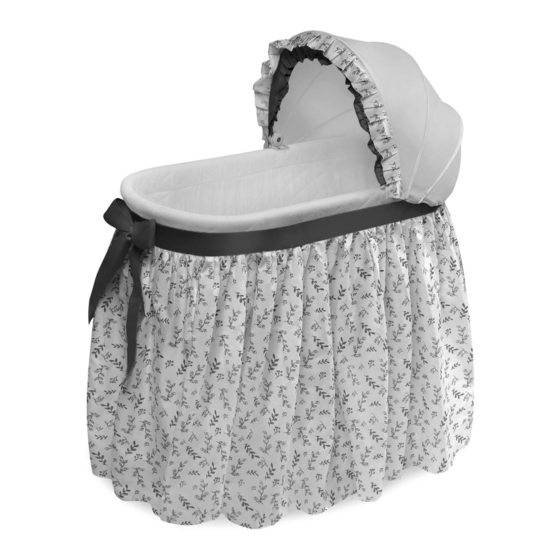
WISHES BABY BASSINET
Assembly Instructions. Adult Assembly Required.
Read all instructions before use. This manual is part of the
product and must be kept for future reference.
MODEL NUMBERS*:
31001 - White
31002 - Gray
31004 - White/Gray Belt
31005 - Gray/Leaf
31006 - Gray/Lantern
VERSION CODE*:
3.0/0819/TG
* Model and Version numbers are needed
if replacement parts are requested
•
assembly video available at Badger Basket's YouTube channel!
FOR REPLACEMENT PARTS:
http://www.badgerbasket.com/parts
Badger Basket®, PO Box 227, Edgar, WI 54426-0227 USA • Web: www.badgerbasket.com
U.S. Based Customer Service Toll-Free (Mon-Thurs 7:00 AM-4:00 PM CST): 1-800-236-1310
Phone: 715-352-2311 • Fax: 715-352-3163
Advertisement

Related Manuals for Badger Basket WISHES 31001


Summary of Contents for Badger Basket WISHES 31001
- Page 1 Badger Basket’s YouTube channel! FOR REPLACEMENT PARTS: http://www.badgerbasket.com/parts Badger Basket®, PO Box 227, Edgar, WI 54426-0227 USA • Web: www.badgerbasket.com U.S. Based Customer Service Toll-Free (Mon-Thurs 7:00 AM-4:00 PM CST): 1-800-236-1310 Phone: 715-352-2311 • Fax: 715-352-3163...
- Page 2 Machine wash cold water, gentle cycle, and air dry or tumble dry on low or no heat. Iron on lowest setting for polyester/cotton. Secure all snaps/straps/tabs before washing. Additional fitted sheets are available and sold separately. White Sheets (2/pack) are Badger Basket Model #31003.
- Page 3 Only a fitted sheet, mattress pad and/or waterproof pad should be used under the baby. • Use ONLY the bedding designed for this bassinet from Badger Basket®. Secure the bedding as instructed in this manual and check regularly to ensure it remains properly attached.
- Page 4 A×2 B×1 C×1 BODY CANOPY D×1 E×1 F×1 BASKET VINYL/FOAM PAD FITTED SHEET G×1 H×1 I×1 Does not apply to all models. Only applies to bedding sets with belt loops on the liner around the top rim of the bassinet. BOTTOM BELT LINER/SKIRT...
- Page 5 Unfold the BODY (B) and attach both of the LEGS (A). The wheels rotate and can be locked in the cradle position (the bassinet will rock) or in the bassinet position (the bassinet is stationary). Rotate the wheels by gently pulling the wheel assembly out towards the end of the leg post, rotate the wheel to the up or down position as desired, and then let the wheel snap back into place on the leg post.
- Page 6 Unfold the LINER/SKIRT (I) and position it on the frame. Then zip all of the zippers around the top rim of the bassinet on all sides around the BODY (B). Back Side Make sure insert pin is inserted fully into the retaining box prior to pulling zipper.
- Page 7 Insert the BOTTOM (G). Push the clips through the holes in the fabric. Position the clips on the outside.Then apply pressure to BOTH SIDES of the BOTTOM (G) on the inside at the same time to snap the clips into place. It is helpful to have assistance with this step so one person can position the clips on the outside and then the second person can apply pressure to both sides on the inside.
- Page 8 Fully insert the CANOPY (C) posts into the clips on the BODY (B). IF APPLICABLE TO YOUR MODEL: Thread the BELT (H) through the belt loops on the LINER/SKIRT (I) and tie the ends into a bow. FINAL ASSEMBLY CLIP POST...