
Related Manuals for Garlando G-100

Summary of Contents for Garlando G-100
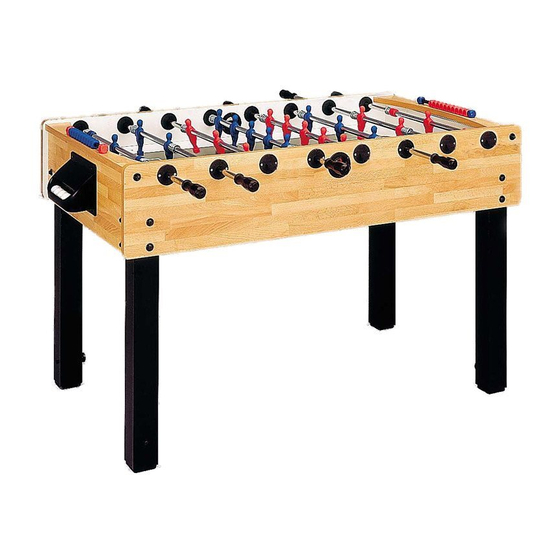
- Page 1 ASSEMBLY INSTRUCTIONS BAUANLEITUNG ISTRUZIONI PER IL MONTAGGIO WITH GOING OUT RODS MIT STANDARDSPIELERSTANGEN CON ASTE USCENTI...
- Page 2 Keep them clean. Garlando does not accept any responsibility for damages resulting from disregarding these instructions. Pag. 2...
- Page 3 Benutzen Sie kein pflanzliches Öl oder eine andere Art von Fett, da Sie sonst Gefahr laufen, Schmutz anzuziehen und die Kugellager zu verstopfen. Halten Sie die Kugellager sauber. Garlando übernimmt keine Haftung für Schäden, die durch die Nichtbeachtung dieser Gebrauchsanweisung entstehen. Pag. 3...
- Page 4 E’ preferibile non usare grassi vegetali o minerali, che potrebbero attirare lo sporco e intasare i cuscinetti a sfera. La ditta Garlando declina ogni responsabilità in caso di danni derivanti dalla mancata osservanza delle istruzioni. Pag. 4...
-
Page 5: Parts Supplied
Parts supplied 2A201-5 2A203-5 cod. cod. desc. ball entry filler. desc. plastic handle. N° N° additional parts: N° 6 screw 3,5 x 16. 2A38-05 cod. desc. goal mouth 2A38-06 cod. N° desc. adjustable foot. N° additional parts: N° 8 screw 3,5 x 16 2A201-101 cod. - Page 6 Place the football table cabinet upside down. Secure each leg using the bolts supplied, taking care to insert first the plastic washer (fig.1). Fix the bolts using the spanner (fig.2) supplied. fig. 1 fig. 2 Insert the adjustable feet choosing the required height (fig.3) and fasten them using the bolts supplied (fig.3-4).
- Page 7 Match the two bearing retainers with screw holes as in fig. 9 and fix them into their housing (fig.10) from the outside of the table cabinet. fig. 9 fig. 10 Match the two bearing retainers with no screw holes as in fig. 11 and insert them into their housing from the inside of the table cabinet.
- Page 8 Place the ball entry fillers as in fig.17 and fasten them using the screws supplied by a cross screwdriver (fig.18). fig. 17 fig. 18 fig. 19 Pag. 8...
Need help?
Do you have a question about the G-100 and is the answer not in the manual?
Questions and answers