Advertisement
Table of Contents
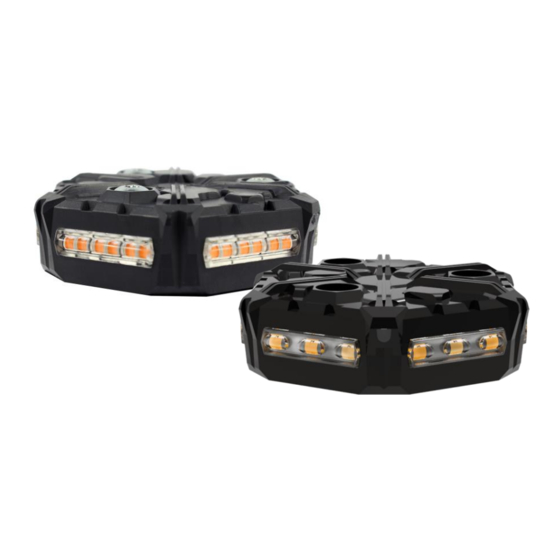
Installation & operation instructions for 100 & 200 series LED beacons
Series 100 & 200 LED BEACON
Flush Mount
Features
• No fog lens
• Low profile design
• Completely sealed
• No moving parts
Style
Series
Flush Mount
112A
Flush Mount
124A
Flush Mount
212A
Flush Mount
224A
Innotecgroup.com
Voltage
Power
12V
8.5W
24V
8.5W
12V
8.5W
24V
8.5W
Safety Message to Installers and Service Personnel
It is important to read and follow all instructions shipped with this product.
In addition, listed below are some other important safety instructions and
precautions you should follow:
• To be an effective warning device, this product produces bright light that
can be hazardous to your eyesight when viewed at a close range. Do not
stare directly into this lighting product at a close range or permanent
damage to your eyesight may occur.
• Do not install the beacon in an area that would block, impair or blind the
driver's vision. Ensure that the beacon is mounted in a position that is
outside of the driver's field of vision, so the driver can safely operate the
vehicle.
• Never attempt to install aftermarket equipment that connects to the
vehicle wiring without reviewing a vehicle wiring diagram available from
the vehicle manufacturer. Ensure that your installation will not affect
vehicle operation or mandated safety functions or circuits. Always check
the vehicle for proper operation after installation.
• Proper placement and installation are vital to the performance of this
warning device. Install this product so that output performance of the
system is maximized and the controls are placed within convenient reach
of the operator so that he/she can operate the system without losing eye
contact with the roadway.
Color
Certifications
Amber
SAE J845 Class 2 & 3, ECE R10, IP67
Amber
SAE J845 Class 2 & 3,ECE R10, IP67
Amber
SAE J845 Class 1, ECE R65, R10, IP67
Amber
SAE J845 Class 1, ECE R65, R10, IP67
Warranty
5 Years
5 Years
5 Years
5 Years
Advertisement
Table of Contents

Summary of Contents for INNOTEC 100 Series
- Page 1 Installation & operation instructions for 100 & 200 series LED beacons Safety Message to Installers and Service Personnel Series 100 & 200 LED BEACON It is important to read and follow all instructions shipped with this product. Flush Mount In addition, listed below are some other important safety instructions and precautions you should follow: •...
- Page 2 Permanent Surface mount installations Figure 1 Figure 2 Permanent Surface Mounting: 1. Select the desired location on a flat surface for the beacon to be mounted. The visibility of the flash and ease of wiring access should be taken into consideration in the selection of the mounting location. 2.
- Page 4 Installation & operation instructions for 100 & 200 series LED beacons Safety Message to Installers and Service Personnel Series 100 & 200 LED BEACON It is important to read and follow all instructions shipped with this product. Magnetic mount In addition, listed below are some other important safety instructions and precautions you should follow: •...
- Page 5 Magnetic Mount usage and limitations Temporary Mounting, Magnet Mount: Figure 1 The Magnet Mount base is constructed of durable EPDM rubber with magnets inside, for a secure, temporary mount. The beacon should be placed on the roof where the least amount of curvature occurs and the greatest magnetic attraction exists.
- Page 6 Manufacturer Limited Warranty and Limitation of Liability: Manufacturer warrants that on the date of purchase this product will conform to Manufacturer’s specifications for this product (which are available from the Manufacturer upon request), and Manufacturer further warrants that this product is free from defects in materials and workmanship.
Need help?
Do you have a question about the 100 Series and is the answer not in the manual?
Questions and answers