Table of Contents
Advertisement
Advertisement
Table of Contents

Related Manuals for Cuisinart Grind & Brew Automatic


Summary of Contents for Cuisinart Grind & Brew Automatic
- Page 1 Grind & Brew Automatic DGB625BCU...
- Page 3 Congratulations on your purchase of the Cuisinart Grind & Brew Automatic. For over 30 years Cuisinart’s aim has been to produce the very finest kitchen equipment so that cooks at home as well as professional chefs have the tools to express their creativity.
-
Page 4: Table Of Contents
Contents Product Description Safety Cautions Unpacking Instructions Instructions for Use Setting the Clock ..........Setting the Programme Time . -
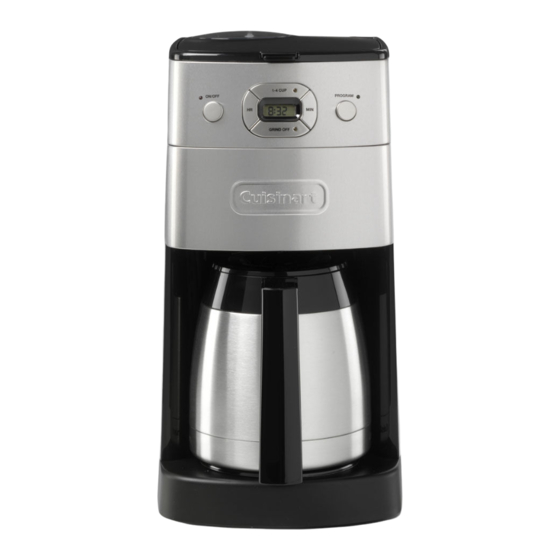
Page 5: Product Description
Product Description Grind Chamber Reservoir Cover with Release Button Control Panel Filter Compartment Filter Compartment Release Button (not shown) Water Reservoir with Water Level Indicator Glass Carafe Warming Plate... -
Page 6: Safety Cautions
Do not use the appliance if it has fallen or shows signs of damage. Discontinue use immediately (see “UK After Sales Service” section). No repair can be carried out by the user. Return the appliance to the ‘Cuisinart Service Centre’ for inspection and repair or replacement (see “UK After Sales Service” section). - Page 7 This appliance complies with the basic requirements of Directives 04/108/EEC (Electromagnetic Compatibility) and 06/95/EEC (Safety of domestic electrical appliances). Do not use any attachments other than those recommended or sold by Cuisinart. WARNING: A cut off plug inserted into a 13 amp outlet is a serious safety (shock) hazard.
-
Page 8: Unpacking Instructions
Unpacking Instructions Place the box on a large, sturdy flat surface. Remove the instruction booklet and any other literature. Turn the box so that the back of the coffeemaker is down and slide the coffeemaker from the box. ... -
Page 9: B Setting The Programme Time
N B When scrolling, the numbers will advance slowly and then speed up. When the number displayed approaches the desired time, press and release to advance one digit at a time. N B Be sure the PM indicator is on if a PM time is desired. Exiting the Time Set Mode ... -
Page 10: C Inserting Charcoal Water Filter
Exiting Set Programme Time Mode Press and release “Programme Set” button. Press any function besides “Hours” or “Minutes” to exit mode and activate the selection function. N B If you do nothing for a period of five seconds the mode will be excited. Inserting Charcoal Water Filter N B Your appliance comes with two charcoal water filters that eliminates chlorine, bad tastes and odours from tap water. -
Page 11: D Preparing To Brew
Lift the water filter holder out of the water reservoir. Press down on the filter compartment and pull toward you to open. Place filter into the holder and snap it closed. N B Caution must be used when inserting the charcoal filter. Improper placement can tear the filter skin. - Page 12 Lift the grinder basket lid using the recess on either side. Fill the basket with the desired quantity of beans. Grinder basket lid Reservoir cover Grinder basket Water filter holder Water reservoir N B Use 1 level scoop of whole beans per cup. For 1 to 4 cups, use 1½ level scoops per cup. Do not add more than 14 scoops.
- Page 13 Restarting the process will not affect coffee results. If you do not want the grinder to come on again, press the “Grind Off ” button before pressing the “On/Off” button. Inserting the Coffee Filter Press the filter basket door release button to open door. ...
-
Page 14: E Grinding & Brewing The Coffee
The Glass Carafe To position the lid before brewing, insert the front tabs of the lid towards the pouring spout and push down at the rear until it clicks into place. Place the glass carafe with its lid on, onto the warming plate, you are now ready to brew. ... - Page 15 Brewed Coffee When the brewing cycle has completed, 5 beeps will sound and the unit will automatically shut itself off. Coffee will continue to stream from the filter for several seconds. The brew-through, pour through lid allows coffee to drip from the appliance through the closed lid.
-
Page 16: F Brewing 1-4 Cups
Brewing 1-4 Cups This function brews the coffee at a slower rate to extract maximum flavour from the coffee for a more rounded flavour in just 1-4 cups. Add 1½ scoops of coffee beans per cup to the grinder basket and fit the grinder lid. ... -
Page 17: Cleaning & Maintenance
Cleaning & Maintenance Always clean and dry all parts after every use. Always turn the appliance off and remove the plug from the mains outlet before cleaning. Open the reservoir lid. Remove the grinder basket lid by using the recessed area on each side of the lid. - Page 18 harsh cleaning agents to clean the resting plate. Do not dry the inside of the water reservoir with a cloth as lint may remain. De-scaling Always use the charcoal water filters provided and replace on a regular basis (i.e. every 90 days or after 90 uses).
-
Page 19: Guarantee
UK Guarantee This Cuisinart appliance is guaranteed for domestic consumer use for 3 years. The guarantee covers defects under normal use from date of purchase and ceases to be valid in the event of alteration or repair by unauthorised persons. -
Page 20: After Sales Service
Cuisinart will either repair or replace the product, as appropriate. Out of Guarantee Contact the Cuisinart Customer Care Line on 0870 240 6902 (09:00 to 17:00 hrs Monday to Friday) or, alternatively, email your enquiry to support@cuisinart.co.uk for details of the... - Page 21 If you wish to proceed with the repair or replacement, return the product to the Cuisinart Service Centre at the following address: Cuisinart Service Centre P.O. Box 506 WIGAN WN1 9AA Enclose your name, address and contact number along with details of the fault.
- Page 24 IB-10/089A...
Need help?
Do you have a question about the Grind & Brew Automatic and is the answer not in the manual?
Questions and answers
How do I set the auto off timer