Advertisement
Quick Links
Quick Installation Guide
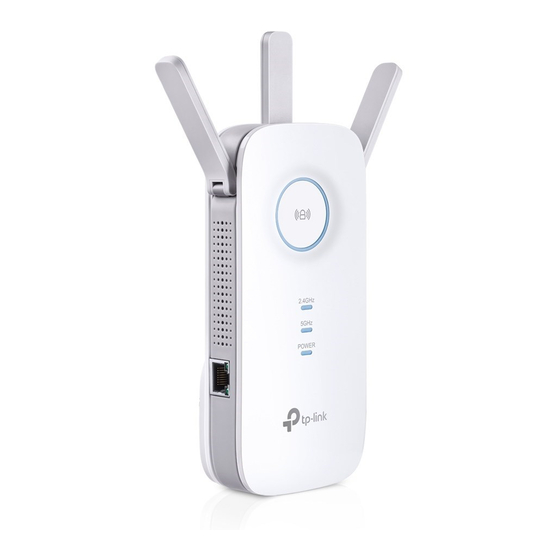
Range Extender
RE455
Setup with videos
Scan QR code or visit
https://www.tp-link.com/download/RE455.html
2
Set Up
Set up your extender via any of the methods below.
Method 1: Via the Tether App
1. Get the up-to-date Tether app.
or
Scan for Tether
2. Connect your smartphone to the extender's
network.
Note: If you can not find the extender's network, follow FAQ > Q3
to reset the extender.
TP-Link_Extender_2.4GHz
TP-Link_Extender_5GHz
3. Launch the Tether app, and select your extender.
Create a password to log in.
My Devices
Local Device
RE455
XX-XX-XX-XX-XX-XX
4. Follow app instructions to complete the setup.
The
LED should turn solid on, indicating
successful connection to your router.
Note: If the LED does not turn solid on, refer to FAQ > Q2.
Solid On
3
Relocate
1. Plug in the extender about halfway between your router and the Wi-Fi dead
zone. The location you choose must be within the range of your router.
2. Wait for about 2 minutes until the
the extender closer to the router to achieve better signal quality.
Tip: For more intuitive location assistance, access extender settings via the Tether app and go to Tools > Location Assistant.
Enjoy!
Connect your devices to the extender wirelessly or via an Ethernet cable, then
enjoy the internet.
Tip: You can also set up the extender in Access Point mode to transform your existing wired network
to a wireless one. For details, refer to the user guide at https://www.tp-link.com/support.
Method 2: Via a Web Browser
1. Connect your computer or smartphone to the
extender's network. If you are using a computer,
unplug the Ethernet cable if any.
Note: If you can not find the extender's network, follow FAQ > Q3
to reset the extender.
Tether
TP-Link_Extender_2.4GHz
TP-Link_Extender_5GHz
2. Launch a web browser, and enter
http://tplinkrepeater.net or http://192.168.0.254
in the address bar. Create a password to log in.
Note: If the login window does not appear, refer to FAQ > Q1.
3. Follow web instructions to complete the setup.
The
LED should turn solid on, indicating
successful connection to your router.
Note: If the LED does not turn solid on, refer to FAQ > Q2.
LED turns solid blue. If it doesn't, relocate
1
Power On
Plug the extender into a power outlet next to your router. Wait until its
POWER LED turns solid on.
http://tplinkrepeater.net
Create Password
Low
Middle
High
Confirm Password
Start
Solid On
Next to
Method 3: Via the WPS Button
1. Press the WPS button on your router.
The WPS button might
look like one of these:
2. Within 2 minutes, press the WPS button on the
extender for 1 second. The
from blinking to solid on, indicating successful
connection.
Note: If the LED does not turn solid on, try again or use Method 1
or 2.
Blinking
3. If the extender connects to a dual band router but
only the 2.4GHz or 5GHz LED is on, repeat steps 1
and 2 above to connect to the other band.
Extended Network Names:
Same as your router
Passwords:
Same as your router
Solid On
Note: If you want to change the extended network
names, refer to Manage the Extender on the back page.
Blue: Suitable location
Red: Too far from router
Router
Halfway
Smartphone
Tablet
Smart TV
Game Console
Solid On
LED should change
Solid On
Devices
Laptop
Desktop
Advertisement

Related Manuals for TP-Link RE455


Summary of Contents for TP-Link RE455
- Page 1 Connect your devices to the extender wirelessly or via an Ethernet cable, then enjoy the internet. Tip: You can also set up the extender in Access Point mode to transform your existing wired network Smart TV Game Console Desktop to a wireless one. For details, refer to the user guide at https://www.tp-link.com/support.
- Page 2 If you have enabled wireless MAC filtering, wireless access control, or access control list (ACL) on your router, disable them first, then follow any method on the TP-Link hereby declares that the device is in compliance with the essential requirements and other relevant provisions of directives 2014/53/EU, 2009/125/EC, 2011/65/EU and front page to complete the configuration.
Need help?
Do you have a question about the RE455 and is the answer not in the manual?
Questions and answers