
Summary of Contents for Micromagic systems MSR-H01
-
Page 2: Safety First
Therefore, micromagic systems cannot be held accountable for irresponsible, careless or reckless behavior of the builder. - Page 3 Hitec Servo Preparation Guide Updated: 18-Aug-2008 Before attaching servos to your robot, it is necessary to check that the servo horn is fitted correctly and in the center position. This guide will explain how this is achieved. Print this single page document with the following settings: Paper A4 or Letter, Margins 0.4", Scale 70%.
- Page 4 p.Brain-hexEngine: 6V dc is supplied to the VS terminal via Open up a connection in your terminal a switch, with JP3 1-2 link in place to supply VL from VS. software on the host system, set the baud to match that of your HexEngine ( default = 115200,N,8,1).
- Page 5 Index Coxa Bottom Plate Assembly MSR-H01_ASSY01 Coxa Top Plate Assembly MSR-H01_ASSY02 Coxa Top Plate & Servo Assembly MSR-H01_ASSY03 Coxa & Femur Servo Assembly MSR-H01-ASSY04 Tibia Plate & Servo Assembly MSR-H01-ASSY05 Right Leg Finish Assembly MSR-H01-ASSY06 Left Leg Assembly MSR-H01-ASSY07 Lower Body Assembly MSR-H01-ASSY08 Upper Body Assembly MSR-H01-ASSY09 p.Brain-SMB Circuit Board Installation...
- Page 6 Coxa Top Plate & Servo Parts List Assembly MSR-H01_ASSY03 ITEM PART NUMBER DESCRIPTION MSR-H01-ASSY02 MSR-H01 Coxa Assembly MSR-P006 M4 x 10 Hexagon Socket Button Head MSR-P012 M4 Hex Full Nut MSR-HS225BB/MG Hitec HS-225BB or HS-225MG Servo MSR-HSH24 Hitec 24mm Servo horn (from HS-225 servo)
- Page 7 Parts List Assembly MSR-H01-ASSY06 ITEM PART NUMBER DESCRIPTION MSR-H01-ASSY04 MSR-H01 Coxa assembly MSR-H01-FEMUR MDR-H01 Femur plate MSR-P008 N0.2 x 6.4mm Self tapping screw MSR-H01-ASSY05 MSR-H01 Tibia assembly Take great care when fitting self tapping screws (3). Use the correct size phillips screw driver to avoid slipping or damaging the screw head.
- Page 8 Parts List Assembly MSR-H01-ASSY08 ITEM PART NUMBER DESCRIPTION MSR-H01-BODY02 MSR-H01 Lower Body Plate MSR-P011 M6 x 4mm Insulation Washer MSR-P010 12 x 3.5mm Stick-on Rubber Bumper First insert the insulation washers (2) into the lower body plate, you may find these should insert easier on one side of the body.
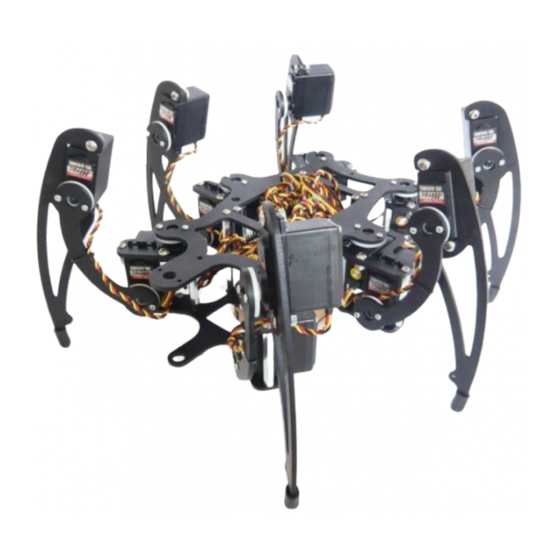
- Page 9 M3 x 10mm Hexagon Socket Button Head MSR-P009 Rubber End Cap M5 x 13mm Slide the bottom plate assembly (2) over the coxa bearings and fix in place. Add rubber end caps (4) to tarsus feet. This completes the MSR-H01 assembly.
- Page 10 You now need to spend some time carefully routing the servo cables back to the control electronics. The way in which the cables are routed very much depends on the electronics used and personal preference. You may use small cable ties or expandable cable sleeving to tidy servo leads.
-
Page 11: Appendix A Assembly Hardware
M5 x 13mm Rubber End Cap Appendix B Aluminum Leg Parts List Aluminum Leg Parts ITEM PART NUMBER DESCRIPTION MSR-H01-COXA01 MSR-H01 Coxa Top Plate MSR-H01-COXA02 MSR-H01 Coxa Bottom Plate MSR-H01-FEMUR MSR-H01 Femur MSR-H01-TIBIA MSR-H01 Tibia Appendix C Aluminum Body Parts List...
Need help?
Do you have a question about the MSR-H01 and is the answer not in the manual?
Questions and answers