Advertisement
Installation Manual
eSENSE (Disp)
CO
sensor
2
eSENSE
eSENSE Disp
General
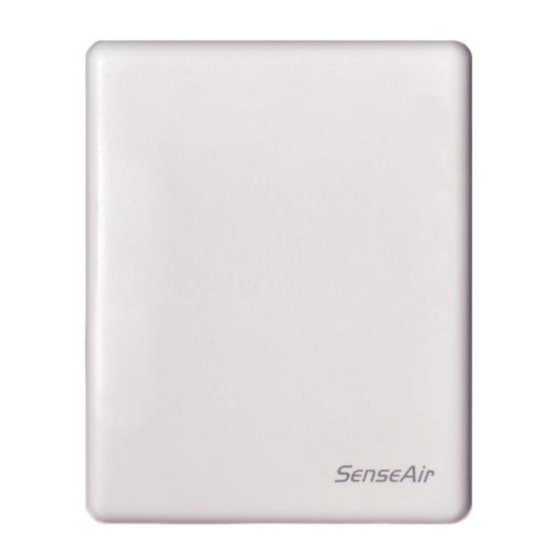
The IAQ-sensor product eSENSE (sensor for wall mounting) is designed to measure carbon dioxide
(CO
) in rooms. Option TR is prepared for temperature measurements by the resistive temperature
2
probe mounted by the user. The temperature probe is potential free (floating). Option Disp, displays
the measured CO
value in ppm (parts-per-million) on the LCD.
2
The units are designed for connecting to Direct Digital Control (DDC) with 0─10V or
2─10V signal inputs. The two parallel signal outputs OUT1 (0─10V) and OUT2 (2─10V or 4─20mA)
give linear signal voltages or currents corresponding to the measuring range.
The output OUT2 also indicates the status by setting the output voltage to 1V or the output current to
2mA when the sensor self-diagnostics detects any error.
Advertisement
Table of Contents

Summary of Contents for AsashiKASEI SenseAir eSENSE
- Page 1 Installation Manual eSENSE (Disp) sensor eSENSE eSENSE Disp General The IAQ-sensor product eSENSE (sensor for wall mounting) is designed to measure carbon dioxide ) in rooms. Option TR is prepared for temperature measurements by the resistive temperature probe mounted by the user. The temperature probe is potential free (floating). Option Disp, displays the measured CO value in ppm (parts-per-million) on the LCD.
- Page 2 To open the wall mounted housing Press here to open. NOTE: ESD sensitive product. Use ESD protection equipment. Figure 1. Closed housing seen from above. The housing is opened by pressing a screw driver on the locking hook. The locking hook is then released. Electrical connections The power supply has to be connected to is considered as system ground.
- Page 3 Option display Figure 2. PCB with jumper to configure OUT2 for current output 4─20mA or voltage output 2─10VDC Figure 3. Enlarged picture of the PCB with the jumper set to current output (left position) Figure 4. Enlarged picture of the PCB with the jumper set to voltage output (right position) Self-diagnostics The system contains a complete self-diagnostic procedure that is executed automatically when the sensor is in operation.
- Page 4 NOTE: The sensor accuracy is defined at continuous operation (at least three (3) ABC periods after installation) Electronic products should be disposed of via a recycling centre. Dimensions 28(1,10) 80(3,15) 4(0,16) 4(0,16) 30(1,18) 60(2,36) Figure 5. Sensor dimensions in mm and (inches) Wall mounting screw head diameter <7.5 mm (0.295 inches) screw head height <2.4 mm (0.094 inches).
Need help?
Do you have a question about the SenseAir eSENSE and is the answer not in the manual?
Questions and answers