Table of Contents
Advertisement
Advertisement
Table of Contents

Summary of Contents for Westinghouse WST5017
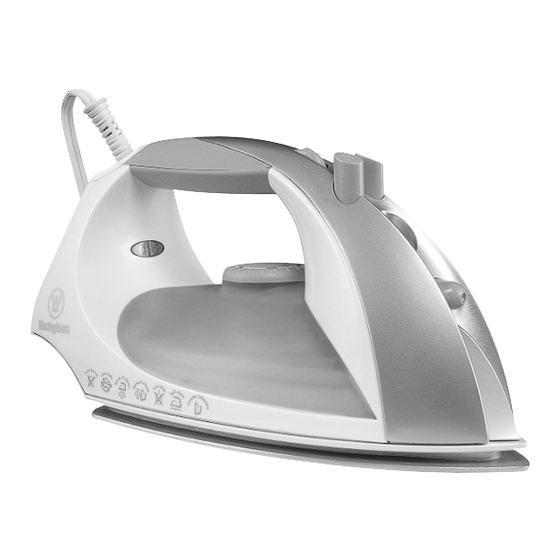
- Page 1 Thermocolor ™ Steam Iron WST5017 As the temperature changes...So does the color!
-
Page 2: Important Safeguards
IMPORTANT SAFEGUARDS When using your Iron, basic safety precautions should always be followed, including the following: 1. Read all instructions. 2. Use iron only for its intended use. 3. To protect against a risk of electric shock, do not immerse the Iron in water or other liquids. -
Page 3: Additional Important Safeguards
ADDITIONAL IMPORTANT SAFEGUARDS CAUTION HOT SURFACES: This appliance generates heat and escaping steam during use. Proper precautions must be taken to prevent the risk of burns, fires or other injury to persons or damage to property. 1. All users of this appliance must read and understand this Owner’s Manual before operating or cleaning this appliance. -
Page 4: Getting To Know Your
Getting To Know Your Westinghouse WST5017 Thermocolor Product may vary slightly from illustrations. FIGURE 1 FIGURE 2: Temperature Control Dial ™ Steam Iron 1. Spray Nozzle 2. Water Fill Opening 3. Blast of Steam Button 4. Spray Button 5. Steam Control Dial 6. -
Page 5: Ironing Tips
Technology: As the temperature changes… Thermocolor ™ So does the color! This Iron features a lighted Water Tank that glows in different colors to let you know when the desired temperature has been reached. When the Iron is heating up or the temperature setting has been adjusted, the Water Tank will cycle through the colors, indicating changes in actual ironing temperature. -
Page 6: Before First Use
OPERATING INSTRUCTIONS Before First Use 1. Remove all packaging materials from the Ceramic Soleplate and the body of the Iron. Unwind and straighten the power cord. 2. Flush the Steam Vents using the Self-Clean function (see USER MAINTENANCE INSTRUCTIONS). NOTE: When the Iron is used for the first time, you may notice a slight amount of smoke;... - Page 7 Using as a Steam Iron When steam ironing, the Temperature Control Dial must be positioned to at least the “ ” symbol -- located midway between the GREEN (• •) and LILAC (• • •) settings. 1. Turn the Temperature Control Dial to the “min” position and the Steam Control Dial to the “X”...
- Page 8 9. When changing from a higher temperature setting to a lower temperature setting, the Water Tank will cycle down through the colors until the Iron has cooled to the proper ironing temperature. When this occurs, the color of the Water Tank will correspond with the new temperature setting, indicating that the Iron is ready for use.
-
Page 9: Vertical Steam
Vertical Steam The Blast of Steam Button can be used in the vertical position to remove wrinkles from clothes while on the hanger, and to freshen the appearance of hanging curtains or drapes. 1. When steaming drapes or curtains on the rods, make sure there is adequate ventilation behind the fabric to prevent moisture build-up and mildew. -
Page 10: User Maintenance Instructions
USER MAINTENANCE INSTRUCTIONS This appliance requires little maintenance. It contains no user serviceable parts. Do not try to repair it yourself. Any servicing requiring disassembly must be performed by a qualified appliance repair technician. Emptying the Water Tank The Water Tank should be emptied after each use. 1. -
Page 11: Storing The Iron
2. Filling the Water Tank: Place the Iron in the horizontal position (on its Soleplate). Using the Filler Cup provided, slowly pour water through the Water Fill Opening until the Water Tank is filled to the Maximum Water Level Line; DO NOT OVERFILL. - Page 12 For more information on our products, visit our website: www.maxim-toastmaster.com. WESTINGHOUSE, and “YOU CAN BE SURE...IF IT’S WESTINGHOUSE” are trademarks of WESTINGHOUSE ELECTRIC CORPORATION and used under license. ©2006 All rights reserved. Made in China...


Need help?
Do you have a question about the WST5017 and is the answer not in the manual?
Questions and answers