Sign In
Upload
Download
Table of Contents
Contents
Add to my manuals
Delete from my manuals
Share
URL of this page:
HTML Link:
Bookmark this page
Add
Manual will be automatically added to "My Manuals"
Print this page
×
Bookmark added
×
Added to my manuals
Manuals
Brands
ViewSonic Manuals
Monitor
VA2013wm-4
Service manual
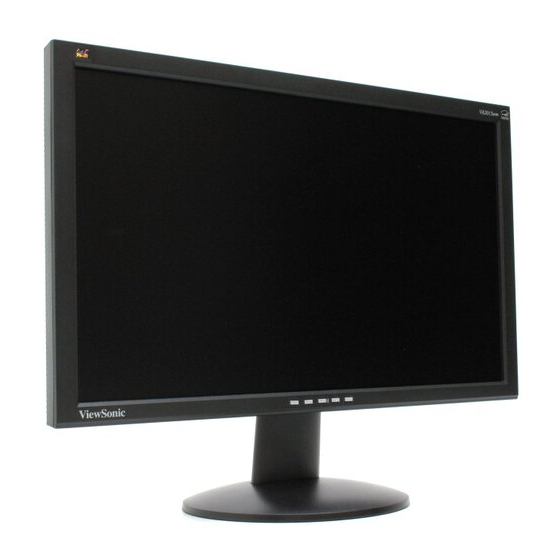
ViewSonic VA2013wm-4 Service Manual
20” color tft lcd display
Hide thumbs
1
2
Table Of Contents
3
4
5
6
7
8
9
10
11
12
13
14
15
16
17
18
19
20
21
22
23
24
25
26
27
28
29
30
31
32
33
34
35
36
37
38
39
40
41
42
43
44
45
46
47
48
49
50
51
52
53
54
55
56
57
58
59
60
61
62
63
64
65
66
page
of
66
Go
/
66
Contents
Table of Contents
Troubleshooting
Bookmarks
Table of Contents
Table of Contents
Precautions and Safety Notices
Specification
Front Panel Function Control Description
Circuit Description
Adjusting Procedure
Troubleshooting Flow Chart
Block Diagrams
Schematic Diagrams
PCB Layout Diagrams
Exploded Diagram and Spare Parts List
Recommended Spare Parts List
Different Parts List
Advertisement
Quick Links
1
Table of Contents
2
Specification
3
Front Panel Function Control Description
Download this manual
Service Manual
ViewSonic VA2013wm-4
Model No. VS12508
20" Color TFT LCD Display
(VA2013wm-4_SM Rev. 1a May. 2009)
ViewSonic 381 Brea Canyon Road, Walnut, California 91789 USA - (800) 888-8583
Table of
Contents
Previous
Page
Next
Page
1
2
3
4
5
Advertisement
Table of Contents
Need help?
Do you have a question about the VA2013wm-4 and is the answer not in the manual?
Ask a question
Questions and answers
Related Manuals for ViewSonic VA2013wm-4
Monitor ViewSonic VA2012WB User Manual
Lcd display (23 pages)
Monitor Viewsonic VA1912wb Supplementary Manual
Viewsonic va1912wb: supplementary guide (9 pages)
Monitor ViewSonic VA2012WB Specifications
20.1" digital multimedia wide-screen lcd display with 8ms clearmotiv™ hd broadcast-quality video (2 pages)
Monitor ViewSonic VA2012WB User Manual
Lcd display (22 pages)
Monitor ViewSonic VA2012w Service Manual
20” color tft lcd display (78 pages)
Monitor Viewsonic VA2016w User Manual
20” widescreen lcd monitor va series with 5ms video response time (25 pages)
Monitor Viewsonic VA2016W Specifications
20" value series widescreen lcd display (2 pages)
Monitor ViewSonic VA2016W - 20" LCD Monitor Service Manual
20” color tft lcd display (79 pages)
Monitor ViewSonic VA2016W User Manual
(23 pages)
Monitor ViewSonic VA2012W Specifications
20" wide-screen lcd with 8ms clearmotiv (2 pages)
Monitor Viewsonic VA2014wm User Manual
50cm / 20” widescreen lcd with 20,000:1 dynamic contrast ratio (25 pages)
Monitor Viewsonic VA2013w User Manual
51 cm / 20" widescreen lcd with 20,000:1 dynamic contrast ratio (25 pages)
Monitor Viewsonic VA2013WM Specifications
20” widescreen lcd (2 pages)
Monitor ViewSonic VA2012w-2 Service Manual
20” color tft lcd display (76 pages)
Monitor ViewSonic VA2012wb-1 Service Manual
20” color tft lcd display (76 pages)
Monitor ViewSonic VA2046a-LED User Manual
Lcd display (24 pages)
This manual is also suitable for:
Vs12508
Table of Contents
Print
Rename the bookmark
Delete bookmark?
Delete from my manuals?
Login
Sign In
OR
Sign in with Facebook
Sign in with Google
Upload manual
Upload from disk
Upload from URL


Need help?
Do you have a question about the VA2013wm-4 and is the answer not in the manual?
Questions and answers