
Summary of Contents for ESP AlertCam
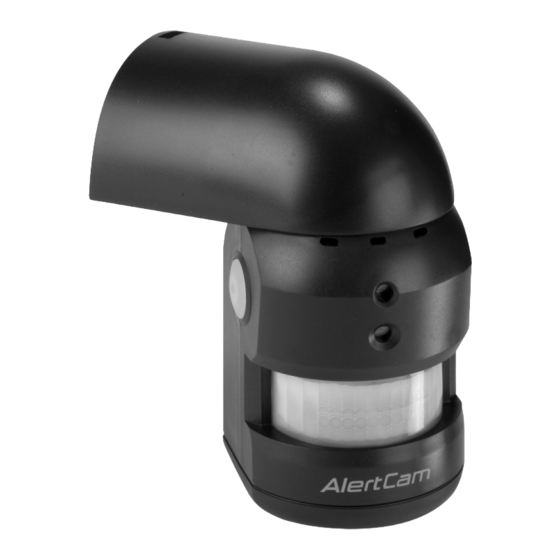
- Page 1 AlertCam Manual_Layout 5 28/02/2013 16:57 Page 1 Standalone combined PIR camera with RF transmitter...
-
Page 2: Table Of Contents
Step 1: Installing the AlertCam ........ -
Page 3: Contents And Optional Extras
AlertCam Manual_Layout 5 28/02/2013 16:57 Page 3 Contents AlertCam User Manual Drivers Disk 1 x Allen key 2 x screws 2G SD card USB Cable 2 x masonry plugs Optional Extras AlertCam RA AlertCam RS Remote chime alarm device Remote 1500w switching device... -
Page 4: Step 1: Installing The Alertcam
3. If AlertCam is to be used without a local lighting unit please see wiring diagram Fig. 2. 4. If AlertCam is to be used to switch a local light unit (max 500w) please see wiring diagram Fig. 3. 5. Ensure all wires are connected securely and that no loose strands are exposed. -
Page 5: Step 2: Insert/Remove Sd Card
AlertCam Manual_Layout 5 28/02/2013 16:57 Page 5 Fig. 2 Fig. 4 BROWN - LIVE IN Important note: NEUTRAL Please remove the plastic RED - SWITCHED LIVE lens cover from camera after installation. Fig. 3 Step 2: Insert/remove SD card Unscrew the waterproofed cover using provided Allen key, then insert the SD card until it automatically locks into place. -
Page 6: Step 3: Adjusting The Settings
AlertCam Manual_Layout 5 28/02/2013 16:57 Page 6 Step 3: Adjusting the Settings Aiming the AlertCam (see Figs. 6, 7 and 8) Alertcam has built in low energy laser device that can be used to aim the camera at a the optimal viewing area. - Page 7 30 seconds of pressing the Off/Rec button to avoid loss of data. RF Switch Code: The AlertCam has a built in RF transmitter (approx 60m open field range) that can send wireless trigger signals to the optional AlertCam RA (remote alarm unit) or AlertCam RS (remote switching unit).
-
Page 8: Step 4: Set The Date And Time
Fig. 10 Important note: In the event of a power failure of less than 50 hours Alertcam has on board power storage to maintain time and date settings. Should the power be switched off for more than 50 hours its is essential to reset the time and date to maintain correct operation of the unit. -
Page 9: Step 5: Viewing Recorded Or Live Footage Via A Pc
AlertCam Manual_Layout 5 28/02/2013 16:57 Page 9 Step 5: Viewing recorded or live footage via a PC or laptop The PC will first need to have installed the bespoke drivers contained on the enclosed CD. To run correctly the minimum requirements of the PC should be... -
Page 10: Step 6: Viewing Video
AlertCam Manual_Layout 5 28/02/2013 16:57 Page 10 Step 6: Viewing video AlertCam records images to the SD card at 2 frames per second in sections of 20secs (ie a 40 frame sequence). The SDR software included will allow the frames to be viewed as a continuous video clip. -
Page 11: Technical Specification
AlertCam Manual_Layout 5 28/02/2013 16:57 Page 11 a: Time scale selection when viewing the video b: Speed selection when playing the video 1-8 c: Forward to previous file folder d: Forward to previous file e: Stop playing the video f: Forward playing the video... -
Page 12: Important Notice - Formatting The Sd Card
Ensure the correct file system is selected FAT16 (or FAT) for SD and FAT32 for SDHC Select quick format Following these simple points will ensure correct operation of AlertCam and should be considered as part of its maintenance schedule. Elite Security Products...
Need help?
Do you have a question about the AlertCam and is the answer not in the manual?
Questions and answers