Advertisement
Quick Links
Advertisement

Related Manuals for MPSC HeRO solo


Summary of Contents for MPSC HeRO solo
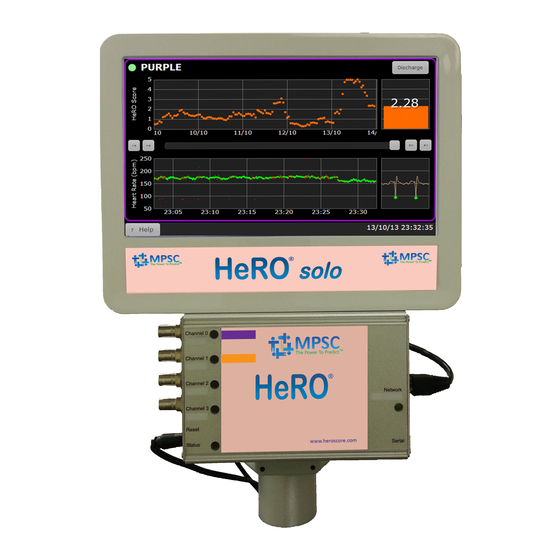
- Page 1 HeRO ® solo/duet Version 3.1 Customer Assembly & Maintenance Procedure...
-
Page 2: Table Of Contents
solo / duet Customer Assembly & Maintenance Procedure Table of Contents Purpose Scope Materials Assembly Procedure – Desktop Mount Assembly Procedure – Pole Mount Maintenance Procedure Change Date and Time Settings on HeRO Duet/Solo... -
Page 3: Purpose
3.2. For maintenance, the following items will be needed: a. USB Keyboard b. USB Mouse HeRO solo / duet should be located in a position that allows access to the electrical mains connection and does not block the mains disconnect device, if present. -
Page 4: Assembly Procedure - Pole Mount
solo / duet Customer Assembly & Maintenance Procedure Figure 1 Figure 2 5. Assembly Procedure – Pole Mount Equipment Required: Philips Screwdriver & Ruler (30mm length minimum) 5.1. Remove all of the items from the large shipping box. 5.2. Put a soft pad on the floor and lay the pole with VESA plate attached on the soft surface with the face of the VESA plate facing up. - Page 5 solo / duet Customer Assembly & Maintenance Procedure 5.5. Attach the roll stand base with the supplied wrench. 5.6. Use these clips to attach the AD2 to the hexagonal clamps . 5.6.1. Slide the clips into the channel on the AD2.
- Page 6 solo / duet Customer Assembly & Maintenance Procedure 5.6.2. The slots in the clips go under the screws in the clamps. Please note the orientation of the VESA mount with respect to the power supply holsters and cable cleat 5.6.3. Adjust the bottom clamp as needed so that the screws are in the slots and then tighten the screws firmly onto the clips and tighten clamps on the pole.
- Page 7 solo / duet Customer Assembly & Maintenance Procedure 5.7. Put two 6 mm M4 screws into the top two holes in the HeRO duet/solo Monitor. 5.8. Slide the HeRO duet/solo Monitor into the slots in the VESA mount. Turn the black lever anti - clockwise to allow the VESA mount to swivel.
- Page 8 solo / duet Customer Assembly & Maintenance Procedure Turn the black lever anti- clockwise to allow the VESA mount to swivel. You may have to loosen the two screws next to the lever with a 5/32” (4mm) Allen wrench to allow the mount to move.
- Page 9 solo / duet Customer Assembly & Maintenance Procedure 5.11. Attach the power cords to the power supplies and the power supply to the appropriate device . HeRO duet/solo AD2 power monitor supply power supply 5.12. Attach the cord management clips to pole as needed. 5.13.
-
Page 10: Maintenance Procedure
Routine maintenance required for HeRO duet/solo includes time/date adjustment. Since the system is not connected to the internet and/or server to synchronize time, the time may drift. To minimize this action, MPSC recommends that time/date settings are checked annually and adjusted if necessary. - Page 11 (Note: Upon restart, the system will automatically start the HeRO application. If the HeRO application does not open, please contact MPSC Technical Support @ +1-800-394-1625 option 5.) 15. Remove the keyboard and mouse from the HeRO duet/solo monitor, and reattach the plastic cover to the back of the HeRO solo/duet monitor.
- Page 12 (Note: Upon restart, the system will automatically start the HeRO application. If the HeRO application does not open, please contact MPSC Technical Support @ +1-800-394-1625 option 5.) 16. Remove the keyboard and mouse from the HeRO duet/solo monitor, and reattach the plastic...
Need help?
Do you have a question about the HeRO solo and is the answer not in the manual?
Questions and answers