
Subscribe to Our Youtube Channel
Related Manuals for PlaneWave CDK 12.5


Summary of Contents for PlaneWave CDK 12.5
- Page 1 PlaneWave CDK Telescope Instructions Setting the spacing and collimation for the CDK12.5/14/17/20/24...
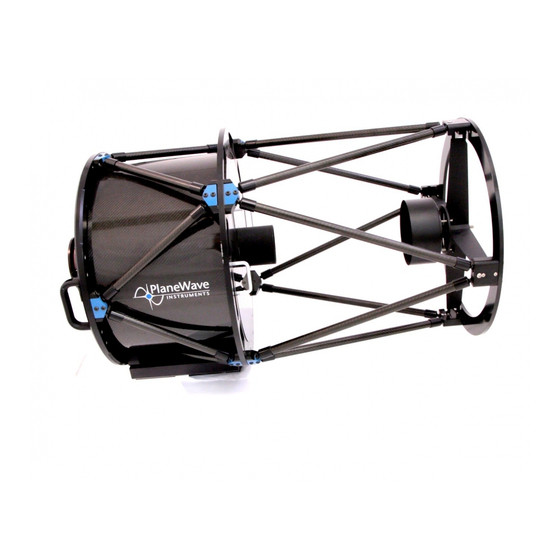
- Page 2 The CDK optical design has four optical elements shown in Figure 1. The primary mirror and the two-element lens group are permanently mounted and aligned at PlaneWave Instruments. The secondary mirror is movable to allow fine collimation and to set the spacing between the primary and secondary.
- Page 3 b. Remove focuser from the back plate of the telescope. c. Place the Ronchi Adapter in the back plate of the telescope and replace the focuser retaining ring to hold the adapter in place. See Fig 4 Note: For packaging purposes the Ronchi Adapter may come in two pieces; the round mounting plate and the adapter.
- Page 4 Ronchi Spacer Ronchi Eyepiece Ronchi Adapter Adapter included with CDK12.5 Step 2: Rough Collimation: To collimate your CDK you will need to have a low power, 1.25” eyepiece inserted into the Ronchi Spacer. a. Point the telescope at a bright star. b.
- Page 5 Figure 6: An example of an approximately collimated defocused star. The CDK uses three ¼-20 socket head cap screws for collimation, as shown in Figure 7. These screws require a 3/16 Allen wrench. It may be necessary to slightly loose the two opposing screws in order to tighten the third screw.
- Page 6 Collimation knobs Central Secondary Spacing Bolt For the CDK12.5 there are four collimation screws and a central bolt used for spacing Step 3: Setting the Primary-to-Secondary Spacing: The primary-to-secondary spacing is set at the factory. You will typically not need to adjust this unless the secondary has been moved.
- Page 7 About the Ronchi Test Figure 8 illustrates the basic idea behind using a Ronchi grating to identify the position of the focal plane. The light from a single bright star passes through the optical system and converges to a point on the focal plane.
- Page 8 Step 4. This is not uncommon because the primary-to- secondary spacing is set at PlaneWave and you most likely will not need to adjust it. If you see two or more lines, you should move the secondary toward or away from the primary.
- Page 9 Focal plane change for Allowable primary-to-secondary every 1mm of secondary spacing tolerance to keep focal spacing change plane within 5mm of optimal 12.5 7.5mm +/- .7mm 4.9mm +/- 1.0mm 4.4mm +/- 1.1mm 5.1mm +/- 1.0mm 4.1mm +/- 1.2mm Figure 9 shows a Ronchi simulation with the Ronchi screen set at the focal plane and also with the focal plane 10mm away from the Ronchi screen.
-
Page 10: Back Focus
**12” 8.5” Table 1: Shows the back focus with and without the focuser installed for the various PlaneWave telescope models. *CDK24 can also use optional spacers to increase back focus to be the same as the CDK17 or CDK14. **The CDK700 is referenced, not from the backplate of the telescope, but from the end of the altitude hub which is the mounting surface for the optical train. - Page 11 1. The face plate of the focuser (200340) has four threaded holes that should be used to mount any of Planewave’s SecureFit adapter. Use the ¼-20 screws provided with your SecureFit adapter to mount it on the face of the focuser.
Need help?
Do you have a question about the CDK 12.5 and is the answer not in the manual?
Questions and answers