Table of Contents
Advertisement
Quick Links
Advertisement
Table of Contents

Summary of Contents for AVP On The Road AVP-ND-100
- Page 1 Sequential LED Turn Signal Light Installation Instruction Tools required: Philips screw driver, 10mm Socket wrench, Trim removal (optional). Step 1 Remove 4 fasteners and trunk end trim in the direction of the arrow shown in the figure.
- Page 2 Step 2 Start from the driver side. Remove one fastener and partially peel back the trunk side trim Step 3 Disconnect the connector. Press the grommet to the outside from inside the body.
- Page 3 Remove the screw using a Phillips screw driver, then remove the nut using a 10mm socket wrench. CAUTION: When removing the rear combination light from the body, it could interfere with the body and cause scratching or damage to the body. When removing the rear combination light from the body, apply protective tape to the body.
- Page 4 Step 4 Pull the rear combination light in the direction of the arrow shown in the figure and pull out the pin and hook from the body. A trim removal tool is very helpful (optional). Step 5 Turn the socket counterclockwise and remove it in the direction of arrow (1) shown in the figure and remove the bulb.
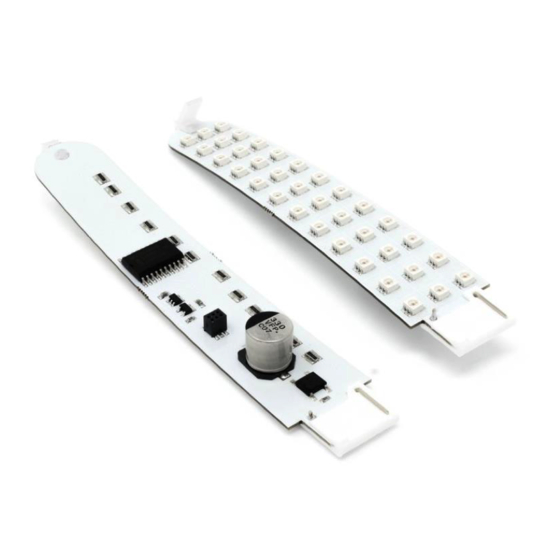
- Page 5 Fully insert the board inside the unit, and at the end, twist the connector counterclockwise a bit and press down to get it fully inserted. Lock the connector by rotating it clockwise. Step 7 Insert the rubber grommet back into position, by pushing with two fingers. Insert the light unit back and install the connector.
Need help?
Do you have a question about the AVP-ND-100 and is the answer not in the manual?
Questions and answers