Table of Contents
Advertisement
Quick Links
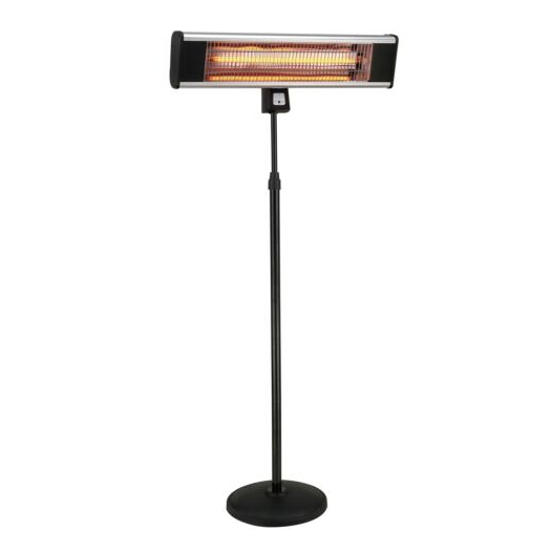
Electric Area Heater
With Remote Control
• Carbon Fibre Heating Element
• 1900W Heat Setting
• Tip Over Safety Switch
• Anodized Aluminium Alloy Housing
• Includes Stand & Wall Bracket
• Powder Coated Stand
• Suitable for Outdoor Entertaining Areas
Wall Bracket Included
Important: Retain these instructions for future use.
JEH425 03367 11/15
Stand Included
Advertisement
Table of Contents

Summary of Contents for Jumbuck JEH425
- Page 1 • Tip Over Safety Switch • Anodized Aluminium Alloy Housing • Includes Stand & Wall Bracket • Powder Coated Stand • Suitable for Outdoor Entertaining Areas Stand Included Wall Bracket Included Important: Retain these instructions for future use. JEH425 03367 11/15...
- Page 2 Installation, Operation & Maintenance Installation Safety Always ensure you select the correct fixing accessories Before attempting to operate this floor/wall heater, the which suit the particular floor/wall material you are following basic safety precautions should be taken to attaching to, if in doubt please discuss with your local reduce the risk of fire, electric shock and personal injury.
-
Page 3: Specific Safety Instructions
Technical Specification • NEVER cover this floor/wall heater. • NEVER carry the floor/wall heater by its power supply cord. Floor/Wall Heater JEH425 • NEVER use with the power cord coiled, bundled up or tied up. Voltage 220-240V AC 50Hz Always extend fully before use. -
Page 4: Stand Assembly
Head Tilt Screw Stand assembly Assembled Head NOTE: Remove any transit protection material 1. Feed tube (9) through base (10+14) with the welded plate against the top of the base. 2. Screw (12) through washer (11) and base (10+14) and into pole (9) tighten firmly. -
Page 5: Wall Bracket Assembly
Wall Bracket assembly 1. The bottom of the wall bracket (2) should be 1.6m. 2. Do not position the wall heater directly above or below a power point or switch. 3. Mark and drill the 4 mounting holes for wall bracket (2) as noted below. 4. -
Page 6: Operation & Cleaning
Operation & cleaning To Operate Cleaning NOTE: REMOTE CONTROL WILL ONLY OPERATE FROM Always ensure that the floor/wall heater has been left for STANDBY MODE. one (1) hour to cool before cleaning. 1. Plug into 240V AC wall socket and turn on. 1. -
Page 7: Product Warranty
P R O D U C T W A R R A N T Y Thank you for purchasing one of our quality Jumbuck products. your Jumbuck product is covered against defects for a period of 12 months for parts and labour, repair or replacement. -
Page 8: Warranty Claims
If you experience any technical issues with your nor in home service. Jumbuck product, in the first instance review • Lack of maintenance, abuse, neglect, the instruction manual or call the warranty misuse, accidental or improper service agent below.
Need help?
Do you have a question about the JEH425 and is the answer not in the manual?
Questions and answers