Advertisement
Quick Links
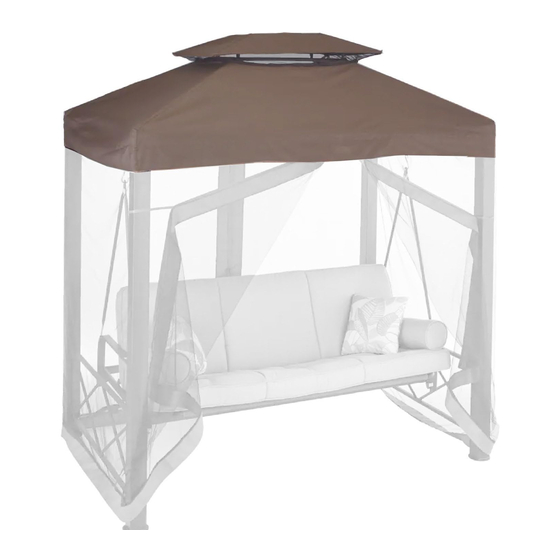
MONTEREY COLLECTION 3-SEAT SWING/DAYBED
ASSEMBLY INSTRUCTIONS
088-1517-8 (SC-392GS)
Please read and understand this manual before any assembly. Before
beginning assembly of product, make sure all parts are present.
Compare parts with packaging contents list. IF any part is missing,
or if you have any questions, contact the vendor's customer
service department at 1-877-729-8315.
1
Advertisement

Subscribe to Our Youtube Channel
Summary of Contents for Numark MONTEREY 3-SEAT SWING/DAYBED
- Page 1 MONTEREY COLLECTION 3-SEAT SWING/DAYBED ASSEMBLY INSTRUCTIONS 088-1517-8 (SC-392GS) Please read and understand this manual before any assembly. Before beginning assembly of product, make sure all parts are present. Compare parts with packaging contents list. IF any part is missing, or if you have any questions, contact the vendor’s customer service department at 1-877-729-8315.
- Page 2 Packaging content Illustration Illustration Qty. Part # Qty. Name Part # Leg posts M6x12 Leg posts M6x25 Side panels M6x30 Long top crossbars M6x36 Short top crossbars M8x15 8 + 1 Rear leg M8x35 crossbar Right arm M8x60 Left arm M8x75 Front seat support bar...
- Page 3 Assembly instruction (A) x 4 (O) x 4 Insert an bolt (A) through the U-shaped bracket (O), and secure into the leg top (1). Do not tighten. Repeat for the remaining 3 legs. (F) x 4 (L) x 4 Attach the side panel (3) with 2 legs (1 & 2) by inserting an bolt (F) through an metal washer (L), through the hole of the side panel (3), and secure into the leg (1).
- Page 4 Assembly instruction (E) x 4 (L) x 4 Insert two long top crossbars (4) into the holes at the top of each leg. Line up the holes. For each hole insert an bolt (E) through an metal washer (L), through the leg, and secure into the long top crossbar (4).
- Page 5 Assembly instruction (D) x 2 (K) x 2 Place the rear leg crossbar (6) between the side panel (3), line up the holes, insert an bolt (D) through an metal washer (K), through the side panel (3), and secure into the rear leg crossbar (6).
- Page 6 Assembly instruction (H) x 2 (J) x 2 (L) x 2 (M) x 2 (11) Unfold the seat and back (11) and lay it on top of the frame. Line up the holes in the arms (7 & 8) with the holes in the side tubes of the seat and back (11). Insert an bolt (H) (from outside to inside) through the bracket of the arm, through a plastic washer (M), through the side bar on the seat and back, through an metal washer (L) and an nut (J).
- Page 7 Assembly instruction (N) x 2 (12) (12) Attach the hanging bars (12) to the arms by sliding the bottom hole in the bars over the pins on the outside of the arms. Position the bars so that the end labeled “TOP” is up and facing toward the swing seat.
- Page 8 Assembly instruction (15) (15) (15) (13) (13) Insert the small canopy frame into the large canopy frame as per drawing. (B) x 2 (16) (K) x 2 (16) (15) (15) (20) (19) Insert an bolt (B) through the metal washer (K), and secure into the Small canopy frame bars (16).
- Page 9 Assembly instruction (20) (14) (C) x 4 (19) (I) x 4 Place the assembled canopy top frame on the assembled swing frame. Insert an bolt (C) through one side of the U shaped bracket at the top of the leg, through the canopy frame bar (14), through the other side of the U shaped bracket, and secure with an nut (I).
- Page 10 Assembly instruction To convert the swing into a hanging bed, release the back support tube from the rear seat support bar (6) and fasten it to the U-shaped bracket on the rear leg crossbar (6). When used as a bed, the seat assembly should be secured by these holders and not allowed to swing.
Need help?
Do you have a question about the MONTEREY 3-SEAT SWING/DAYBED and is the answer not in the manual?
Questions and answers