Table of Contents
Advertisement
Quick Links
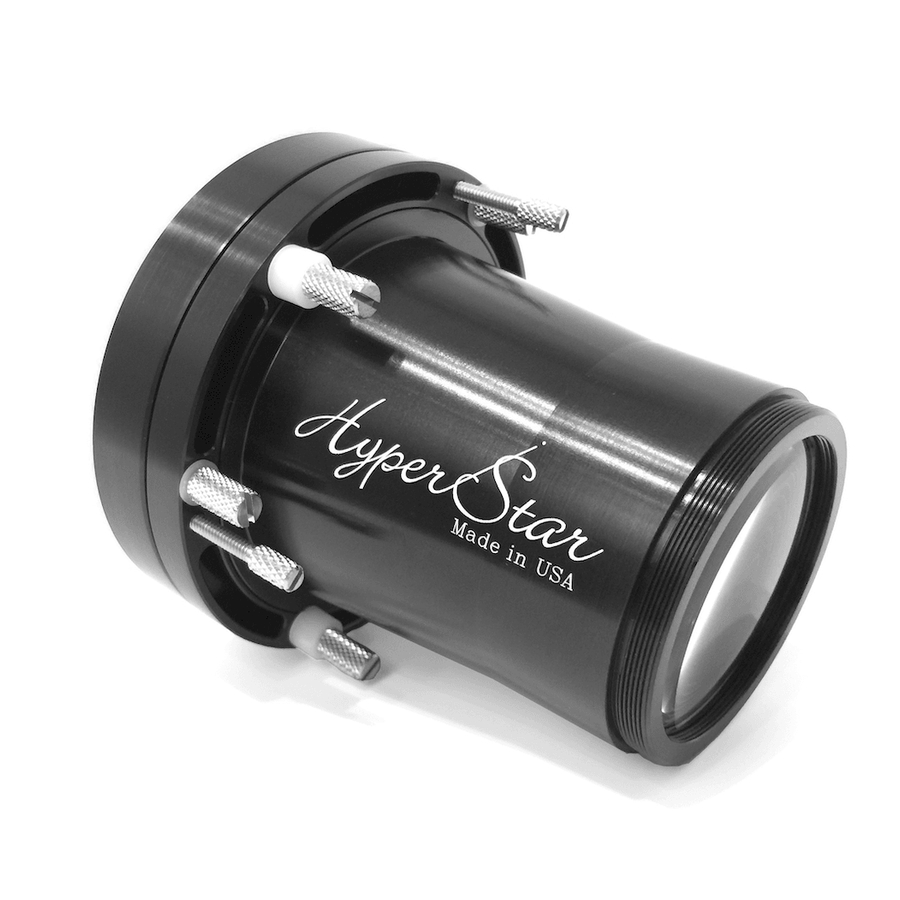
The HyperStar Lens allows CCD imaging at f/2.2 with compatible Celestron 9.25"
Schmidt-Cassegrain telescopes and compatible CCD cameras. These instructions show
the proper methods for installing the HyperStar lens and CCD camera on the telescope,
and for collimating the lens for the best optical performance.
For more details on CCD imaging, visit www.starizona.com and see the Guide to CCD
Imaging, and visit www.hyperstarimaging.com for video tutorials on imaging.
Warning:
When the HyperStar lens and CCD camera are mounted on the telescope,
there is the potential for damaging the corrector plate if caution is not exercised at all
times. Be especially careful not to bump the CCD camera or HyperStar lens while they
are attached to the telescope. Also, be sure that all cables from the CCD camera are
properly tied off to prevent them from pulling on the camera and lens. Additional tips
and warnings are clearly marked throughout the assembly instructions. As long as care
is used, no problems will occur.
Parts List
The HyperStar Lens Assembly includes three pieces:
HyperStar Lens
Secondary Mirror Holder
Counterweight
Secondary holder (shipped attached to lens) & HyperStar lens
Advertisement
Table of Contents

Related Manuals for Starizona HyperStar C9.25


Summary of Contents for Starizona HyperStar C9.25
- Page 1 HyperStar lens and CCD camera on the telescope, and for collimating the lens for the best optical performance. For more details on CCD imaging, visit www.starizona.com and see the Guide to CCD Imaging, and visit www.hyperstarimaging.com for video tutorials on imaging.
- Page 2 Positioning the Telescope 1) Begin by aiming the telescope up at about a 45-degree angle. This will prevent the secondary mirror or HyperStar lens from falling out during installation. Attaching the Counterweight 2) The included counterweight goes into the standard 1.25” visual back on the rear of the telescope.
- Page 3 Removing the Secondary Mirror Holder 3) The secondary mirror holder also functions as the bottom cover for the HyperStar lens. It simply unthreads from the bottom of the HyperStar lens. The holder consists of a metal cylinder with a vinyl cap on the bottom. Removing the Secondary Mirror 4) Unthread the retaining ring from the secondary mirror holder as shown below.
- Page 4 6) Place the secondary mirror assembly into the secondary mirror holder. Note the notch on the side of the secondary holder which accepts the small screw on the side of the mirror assembly. Use the original retaining ring to lock the mirror assembly in place.
- Page 5 Balancing the Telescope 10) While holding on to the telescope tube, release the altitude clutch on the fork arm. Carefully release the telescope tube and see if it is front-heavy or rear-heavy. If the front of the scope moves down, you need to slide the counterweight farther back. If the front of the scope moves up, you need to slide the counterweight forward.
- Page 6 Collimating the HyperStar Lens The HyperStar incorporates a simple collimating system. The three pairs of screws around the base of the HyperStar push and pull to tilt the lens and correct for any alignment error. Warning: Keep in mind that the three pull screws (shown below) hold the lens in place on the telescope.
- Page 7 Adjusting Camera Position The third set of screws (labeled above as ) allow the HyperStar and camera to be ROTATE rotated into a different orientation for the purpose of framing objects. Loosen the three screws slightly. The nylon bushings will allow the lens to rotate with the screws still somewhat snug.
- Page 8 HyperStar C9.25 Specifications Focal Ratio: f/2.2 Focal Length: 525mm Field of View and Resolution with Common Cameras Camera Field of View Pixel Resolution Atik 490EX 81.8' x 65.5' 1.45”/pixel Canon EOS 80D 147.3’ x 98.2’ 1.46”/pixel ZWO ASI183MC 86.4’ x 57.6’...
Need help?
Do you have a question about the HyperStar C9.25 and is the answer not in the manual?
Questions and answers