Advertisement
Quick Links
Advertisement

Summary of Contents for AQUA FILTER EXCITO
- Page 1 www.aquafilter.com Installation Manual...
-
Page 2: Safety Precautions
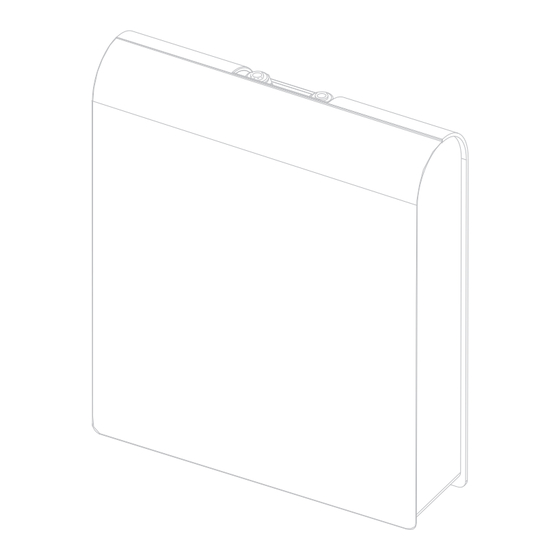
2. Product Description ® Aquafilter EXCITO is a modern filtration system designed for the purification of potable and general-use water. Equipped with four in-line cartridges, the system effectively removes: rust, sand and sediments (cartridges: AIPRO-20MS and AIPRO-1MS); organic contaminants and chlorine (cartridge AICRO-L3); heavy metals such as lead, arsenic, cadmium as well as iron contents (AICRO-L4). - Page 3 ® 5. Connection Scheme for Aquafilter Excito Shut-off ball valve Cold water SEWBV1414 Pressure regulator ADV-REG _K* (not included in the set) *Pressure regulator ADV-REG_K must be installed in systems with capillary membrane. Flexible Tubing Connections A. Water inlet connection B.
- Page 4 6.2. Instructions for connecting and disconnecting filter cartridge and elbow connector (new filter cartridge with elbow connector) Disconnecting elbow connector from filter cartridge: 1) Remove safety clips from quick connector (fig.1). 2) Push quick connector's flange symmetrically and pull the tubing out (fig. 2). 3) Unscrew inlet and outlet connectors from old filter cartridge (fig.3) 4) Remove old Teflon tape (fig.4).
- Page 5 Screw SEWBV1414 valve into chrome-plated adapter Place the nut on flexible tubing and connect it with FT06. SEWBV1414 valve. Next, push the tubing all the way into the valve and tighten the nut. Connect flexible tubing of SEWBV1414 valve with system's water inlet [IN] (red ring).
- Page 6 Screw SEWBV1414 valve into chrome-plated adapter Place the nut on flexible tubing and connect it with FT07. SEWBV1414 valve. Next, push the tubing all the way into the valve and tighten the nut. Screw chrome-plated adapter FT02 onto the hot water pipe. Screw the wall faucet to the installed adapters.
- Page 7 6) Connect other end of flexible tubing with connector [OUT] (white ring) (Fig. 2). COUNTERTOP Fig. 2 Connecting flexible tubing with [OUT] connector Fig. 1 Installing filter faucet on kitchen counter ® 9. Cartridge Connection Scheme in Aquafilter EXCITO System WATER SUPPLY INLET...
- Page 8 9.1 Cartridge Connection Scheme (set EXCITO-CLR-CRT) WATER SUPPLY INLET 9.2 Cartridge Connection Scheme (set EXCITO-HF-CRT) WATER SUPPLY INLET...
-
Page 9: Cartridge Sets
10. Cartridge Sets ® ® Aquafiter offers three sets of cartridges for Aquafilter EXCITO systems: NAME OF SET EXCITO-CRT EXCITO-HF-CRT EXCITO-CLR-CRT CARTRIDGE 1 AIPRO-20MS AIPRO-20MS AIPRO-20MS CARTRIDGE 2 AIPRO-1MS AIPRO3-L AIPRO-3-L CARTRIDGE 3 AICRO-L3 AICRO-L3 AICRO-L4 CARTRIDGE 4 AICRO-L4 AICRO-L4 TLCHF-FP* * capillary membrane is sold separately. - Page 10 12. Filter cartridge replacement – General information IMPORTANT NOTE! Before removing flexible tubing and elbow, remove safety clip and symmetrically push in the flange of quick connector. After installing flexible tubing and installing the elbow, remember to insert safety clip of the quick connector. Shut off water supply valve.
- Page 11 Remove elbow from used AIPRO-20MS cartridge and Insert all replaced cartridges into mounting clips of the connect it with replacement cartridge AIPRO-20MS. Repeat system's housing. Make sure that AIPRO-20MS is first from this action to replace remaining cartridges. the left. IMPORTANT NOTE! During cartridge installation, IMPORTANT NOTE! During cartridge installation, remember to follow proper direction of water flow...
- Page 12 Disconnect tubing from elbow outlet connected to cartridge Unscrew inlet and outlet connectors from AIPRO-20MS AICRO-20MS. filter housing. Proceed as follows: 1) Remove safety clips 2) Symmetrically press quick connector's collar 3) Pull out the tubing NOTE! Described procedure can be found on page 4, point 6.2.
- Page 13 Place filter cartridge into mounting clips. Install AIPRO- Connect tubing with elbow outlet connector attached to 20MS in such way that the cartridge is placed on left side of cartridge AIPRO-20MS. the filtration system. Connect tubing with elbow outlet connector attached to AIPRO-L4 filter cartridge.
- Page 14 Replace the front panel and screw it with the housing. Connect flexible tubing to the system (inlet / outlet). IMPORTANT NOTE! Before the first use and after each cartridge replacement procedure, the system should be flushed with 15 liters of water. Next, allow the system to standby for 5 - 6 hours to activate the filtration media.


Need help?
Do you have a question about the EXCITO and is the answer not in the manual?
Questions and answers