Advertisement
/ Guía del Usuario
User Guide
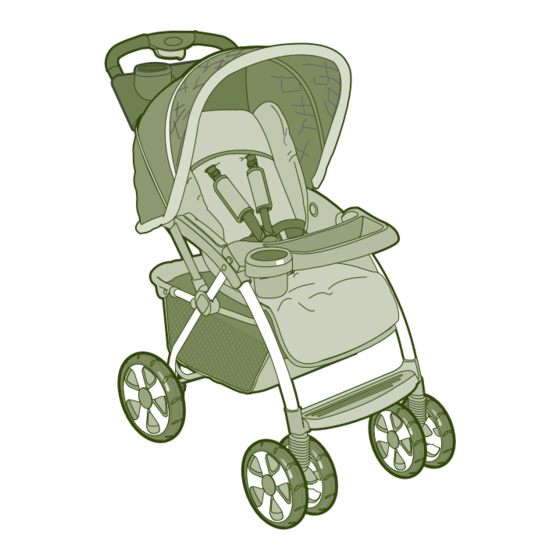
Adventurer Sport Travel System
Weight: up to 50 lbs (22.7 kg)
Sistema de viaje "Adventurer Sport"
Peso: hasta 50 libras (22.7 kg)
Dorel Juvenile Group, Inc. is an authorized licensee of Eddie Bauer, Inc.
Eddie Bauer® is a registered trademark of Eddie Bauer, Inc.
©2011 Dorel Juvenile Group. All Rights Reserved. Todos derechos reservados.
www.djgusa.com (800) 544-1108 www.ebbaby.com
Made in CHINA. Hecho en CHINA.
01603
Styles and colors may vary. Los estilos y los colores pueden variar.
Distributed by (distribuido por) Dorel Juvenile Group, Inc.,
2525 State St. Columbus, IN 47201-7494
Dorel Distribution Canada, 873 Hodge, St. Laurent, QC H4N 2B1
02/08/11
4358-4791D
Advertisement
Table of Contents

Related Manuals for Eddie Bauer Adventurer Sport


Summary of Contents for Eddie Bauer Adventurer Sport
- Page 1 Sistema de viaje “Adventurer Sport” Peso: hasta 50 libras (22.7 kg) Dorel Juvenile Group, Inc. is an authorized licensee of Eddie Bauer, Inc. Eddie Bauer® is a registered trademark of Eddie Bauer, Inc. ©2011 Dorel Juvenile Group. All Rights Reserved. Todos derechos reservados.
- Page 2 WARNING: For the safety of your child, please read the following warnings and assembly instructions and keep for future reference. • Adult assembly required. • CAUTION: Keep small parts away from children during assembly. • NEVER LEAVE CHILD UNATTENDED. ALWAYS keep child in view when in stroller.
- Page 3 ADVERTENCIA: Por la seguridad de su hijo, por favor lea las siguientes advertencias e instrucciones de ensamble, y guárdelas para consulta futura. • El montaje debe realizarlo un adulto. • PRECAUCIÓN: Durante el armado, mantenga las piezas pequeñas fuera del alcance de los niños.
- Page 4 Parts / Lista de piezas car seat (not shown) autoasiento (no se muestra) parent tray charola para los padres adapter bar barra de montaje child tray charola para el niño 1 rear axle 1 eje trasero 2 rear wheels 2 ruedas traseras 2 cotter pins 2 pasadores de chaveta...
-
Page 5: Rear Wheels
Assembly / Armado Unfold Stroller Slide and squeeze button on handlebar. Pull up on handlebar. Stroller will click when completely open and locked (Figure 1). Abra la carriola Deslice y apriete el botón en el manubrio. Tire del manubrio hacia arriba. -
Page 6: Ruedas Delanteras
Assembly / Armado Front Wheels Slide front wheel onto frame tube. Wheel will click when installed properly (Figure 3). Repeat for other front wheel. Turn stroller upright. Ruedas delanteras Front Wheels Deslice la rueda delantera en el tubo Ruedas delanteras del armazón. -
Page 7: Seat Position
To Use / Para Uso Lock Brakes Step down onto brake levers on both rear wheels (Figure 1). To park stroller, BOTH BRAKES MUST BE LOCKED. Unlock Brakes Lift up levers to unlock brakes. Swivel Locks Step down on levers to keep dual wheels from swiveling. -
Page 8: Restraint System
To Use / Para Uso Restraint System Place your child in the stroller, with the crotch strap between the child’s legs. Fasten both buckles (Figure 3). Tighten straps snugly around your child (Figure 3a). NOTE: Push button to release straps. To tighten strap, lift tab and pull down strap end (A) (Figure 3b). - Page 9 To Use / Para Uso Fold Slide and squeeze the button on Fold handlebar (Figure 4). Plegar Push down until stroller clicks/ locks in place (Figure 4a). Stroller will stand alone. Plegar Deslice y apriete el botón del asa del manubrio (Figura 4). Empuje hacia abajo hasta que la carriola encaje con un clic en su lugar (Figura 4a).
- Page 10 To Use / Para Uso To Install Infant Car Seat Para instalar los autoasientos de bebé WARNING To avoid serious injury: • Use ONLY Deluxe Designer 22 (model # 22322) infant car seats with this stroller. • Please refer to the manufacturer’s instructions for the use of your infant car seat. •...
- Page 11 To Use / Para Uso To Install Infant Car Seat (continued) Insert the rigid end of adapter bar through hole in fabric and into hole inside stroller frame (Figure 6a). Push in spring end and insert through hole in fabric, then into the hole on the other side. Test to make sure bar is securely installed.
-
Page 12: Replaceable Parts
To Use / Para Uso Remove Infant Car Seat To remove the car seat, pull the release bar underneath the head rest (Figure 7). Lift car seat. Remove the adapter bar and replace in storage position under the parent tray (Figure 7a). Quitar el autoasiento Para quitar el autoasiento, jale hacia arriba la barra de... -
Page 13: One-Year Limited Warranty
Dorel Juvenile Group, Inc. garantiza al comprador original que este producto (Sistema de viaje “Adventurer Sport”) estará libre de defectos de material y mano de obra cuando se utilice bajo condiciones normales durante un periodo de un (1) año a partir de la fecha de compra. Si el produc- to tuviese defectos de material o mano de obra, Dorel Juvenile Group, Inc.
Need help?
Do you have a question about the Adventurer Sport and is the answer not in the manual?
Questions and answers