Advertisement
Quick Links
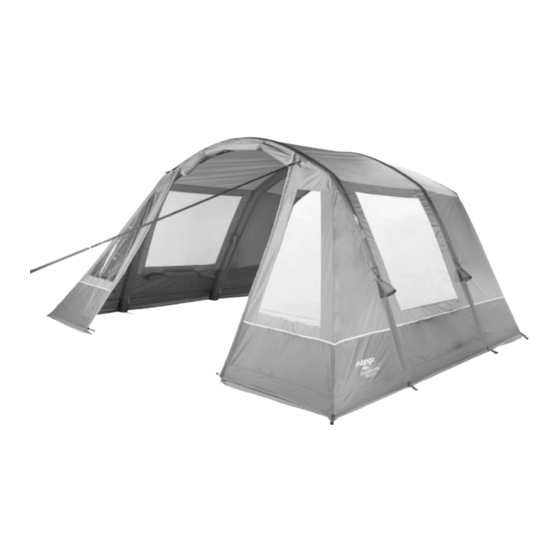
TENT PITCHING INSTRUCTIONS- AIRBEAM EXCLUSIVE/ELITE FRONT AWNING (EN)
Open out flysheet and position in required direction
Secure in position by zipping the awning onto the corresponding zip at the front of the tent
Locate inflation points on each beam
Remove the valve cap (figure 1)
Insert the correct pump adaptor, which will lock onto the valve (figure 2 & 3)
There is no need to turn the white valve button as the adaptor will move this to the correct position
Inflate all tubes to 7psi. The tubes MUST be guided into an arch as they are inflated (figure 4)
Final tube pressure MUST NOT exceed 8psi
DO NOT OVER-INFLATE THE BEAMS
Start with the center tube and guide the beam into an upright position while it is inflating
Inflate the other beams.
A small amount of air may leak from the valve when it is being inflated but this is normal
Remove the pump adaptor as soon as the beam is at the correct psi
Replace the valve cap to create an air tight seal (figure 5 & 6)
Position the open end of the awning toward the tent
Peg out awning base at contact point with the tent and then the front of the awning to tension the material
Secure in position by pulling the guylines attached to the awning roof over the roof of the tent and pegging.
Peg out the remaining poles and pegging points using pin pegs at the base of poles
Peg out ALL guy lines using pin-pegs ensuring that guy line fabric attachment points are evenly tensioned.
Reposition and adjust tensioning where necessary
CORRECT PUMP SET-UP:
Pump Body > Pressure Valve > Pressure Gauge > Hose
(Ensure the valve/gauge/hose are connected to the inflation port of the pump)
In the unlikely event of a puncture:
Deflate the air beam. Unzip the internal flysheet sleeve which contains the affected beam.
Remove the tube and its protective outer.
The zips for the protective outer are cable tied together to prevent accidental access. Cut the cable tie and open the zip.
DO NOT open these zips when the tube inflated.
Remove the clear rubberised tube from the protective sleeve taking care when removing the valve from the sleeve.
Partially inflate the tube and pass through a bucket or basin of water, looking for air bubbles. This will indicate location of puncture
Use the repair patch provided and cover hole, using instructions on patch. Re-insert tube into protective outer, closing zip from both ends, so that zip
pullers are in the flysheet sleeve (this might be easier with the tube partially inflated)
TO DEFLATE AIRBEAM/ AIRAWAY/ AIRAWNING:
To deflate the AirBeam (remove the cap (figure 7)) press & turn (figure 8) the button from CLOSED to OPEN
AIRBEAM INFLATION:
Figure 1
Figure 2
Remove
Insert locking pump
locking cap
connector
AIRBEAM DEFLATION:
Figure 8
Figure 7
Push button to deflate &
Unlock
twist to open position
locking cap
Figure 3
Figure 4
Lock locking pump
Inflate with
connector
AirBeam pump
Figure 5
Figure 6
Insert locking
Lock locking cap
cap
Advertisement

Related Manuals for Vango Airbeam Exclusive


Summary of Contents for Vango Airbeam Exclusive
- Page 1 TENT PITCHING INSTRUCTIONS- AIRBEAM EXCLUSIVE/ELITE FRONT AWNING (EN) Open out flysheet and position in required direction Secure in position by zipping the awning onto the corresponding zip at the front of the tent Locate inflation points on each beam ...
- Page 2 UM DAS AIRBEAM/ AIRAWAY/ AIRAWNING ZU ENTLEEREN: Om de AirBeam leeglopen (verwijder de dop ) pers en draai de knop van gesloten naar open CONSIGNES DE MONTAGE– AIRBEAM EXCLUSIVE/ELITE FRONT AWNING (FR) Déferler le double toit et orienter dans le sens requis: ...
- Page 3 ISTRUZIONI PER IL MONTAGGIO– AIRBEAM EXCLUSIVE/ELITE FRONT AWNING (IT) Aprire il telo esterno e posizionarlo nella direzione richiesta: Individuare i punti di inflazione su ogni trave Fissare in posizione incernierando il telo parasole alla cerniera corrispondente sul lato anteriore della tenda.
- Page 4 INSTRUKCE PRO STAVĚNÍ– AIRBEAM EXCLUSIVE/ELITE FRONT AWNING (CZ) Otevřete tropiko a umístěte jej v požadovaném směru Zajistěte pozici zaplnutím plátěné střechy odpovídající přední části stanu a připněte zadní roletu na přední stanovou tyč. Nalezněte nafukovací ventily pro každý tubus ...