Download Print this page
Dell EMC VNXe3100 Manual

Dell EMC VNXe3100 Manual

Adding a second storage processor

Advertisement

Quick Links

Before you start
®
EMC
VNXe3100/VNXe3150
Adding a Second Storage Processor
P/N 300-012-179
REV 03
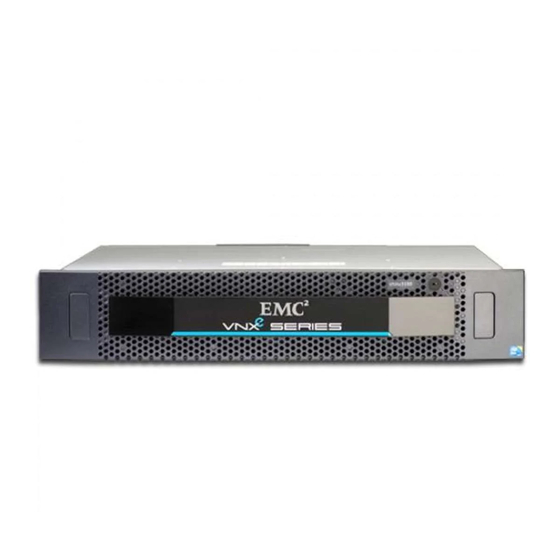
This document describes how to add a second storage processor (SP) to a VNXe3100 or
VNXe3150 disk processor enclosure (DPE).
Before you begin the upgrade procedure
Make sure you have a current backup of your system data before you begin this (or any
other) upgrade procedure.
Make sure your VNXe system is running Maintenance Release 1 Service Pack 1
(version 2.1.1) or later. See the Unisphere online help for information about updating
your system software.
Make sure you have a new storage processor available to replace the cache protection
module, four 4 GB memory modules, and any I/O module required to match the
current SP. You also need appropriate network and SAS cabling to duplicate the
connections to SP A.
Refer to your EMC VNXe online help (Servicing your system > Adding or replacing
faulted hardware components > Add a new hardware component) for instructions on
how to handle hardware components. Take particular care to review the instructions
on avoiding electrostatic discharge (ESD).
IMPORTANT
Since the procedure to upgrade from a single SP to two SPs involves reboots and the
temporary quiescence of the sole processor, your system will not process or make
available any data until the procedure is finished. Plan you upgrade accordingly.
:

Advertisement

loading
Need help?

Need help?

Do you have a question about the VNXe3100 and is the answer not in the manual?

Questions and answers

Summary of Contents for Dell EMC VNXe3100

  • Page 1 VNXe3100/VNXe3150 Adding a Second Storage Processor P/N 300-012-179 REV 03 This document describes how to add a second storage processor (SP) to a VNXe3100 or VNXe3150 disk processor enclosure (DPE). Before you start Before you begin the upgrade procedure Make sure you have a current backup of your system data before you begin this (or any ◆...
  • Page 2 6. Type continue to confirm that you want to proceed with the upgrade. If your system passes the ensuing health check the SP will boot to Service mode. The reboot should take approximately five minutes. EMC VNXe3100/VNXe3150 — Adding a Second Storage Processor...
  • Page 3 3. Squeeze the levers to release the latches and then pull the latches outward. 4. Pull out the latches until they are fully extended and the cache protection module is released from its enclosure. CL4701 EMC VNXe3100/VNXe3150 — Adding a Second Storage Processor...
  • Page 4 5. Use both hands to support the assembly and pull it fully out of the enclosure. 6. Place the assembly on a clean, flat anti-static work surface large enough to hold both the assembly and its replacement. CL4682 EMC VNXe3100/VNXe3150 — Adding a Second Storage Processor...
  • Page 5 Remove the SP cover from both SP A and the new second SP (SP B) assemblies: 1. Press the blue button on the SP cover. 2. Push the cover straight back 1/4 inch. 3. Lift the cover up. CL4683 EMC VNXe3100/VNXe3150 — Adding a Second Storage Processor...
  • Page 6 1. Lift the blue latch carefully until it ejects the I/O filler module from the connector. 2. Remove the filler module. CL4688 3. Unpack the I/O module and place it on a clean, flat, static free work area. EMC VNXe3100/VNXe3150 — Adding a Second Storage Processor...
  • Page 7 5. With the module aligned and parallel to the CPU board, press the latch down to fully seat the module in the connector. 6. Push down on the force point indicated on the I/O module to ensure that the module is completely seated on the processor board. CL4689 EMC VNXe3100/VNXe3150 — Adding a Second Storage Processor...
  • Page 8 The socket and module are keyed to prevent incorrect alignment. 4. Firmly push the module directly into the socket. The latches snap to the closed position when the module is fully inserted in its socket. DIMM 0 DIMM 1 EMC VNXe3100/VNXe3150 — Adding a Second Storage Processor...
  • Page 9 3. Close the right and left latches to fully seat the SP in the chassis. An audible click indicates that the latches are secure. CL4687 4. After installing the SP A assembly, reconnect all SP A network and SAS cables to their original connectors. EMC VNXe3100/VNXe3150 — Adding a Second Storage Processor...
  • Page 10 It may take 15 to 20 minutes for the system to complete its reboot and return to Normal mode. The fault LEDs on the storage processors will cease flashing and go completely off in Normal mode. EMC VNXe3100/VNXe3150 — Adding a Second Storage Processor...
  • Page 11 • In the graphical view, the I/O module is highlighted green. If the system health monitor continues to show the processor, memory, or I/O module as faulted after you commit the I/O modules, contact your service provider. EMC VNXe3100/VNXe3150 — Adding a Second Storage Processor...
  • Page 12 7. Remove and then reinstall the memory on SP A. Refer to “Task 6: Exchange the memory modules” on page 8. Remove and then reinstall the memory on SP B. EMC VNXe3100/VNXe3150 — Adding a Second Storage Processor...
  • Page 13 DIMMs. Refer to “Task 6: Exchange the memory modules” on page 16. Reconnect the power cables that were removed from any DAEs. 17. Reconnect all cables to SP A, including the power cable. EMC VNXe3100/VNXe3150 — Adding a Second Storage Processor...
  • Page 14 All other trademarks used herein are the property of their respective owners. For the most up-to-date regulatory document for your product line, go to the technical documentation and advisories section on EMC Online Support. EMC VNXe3100/VNXe3150 — Adding a Second Storage Processor...

This manual is also suitable for:

Vnxe3150