Table of Contents
Advertisement
Quick Links
Advertisement
Table of Contents

Related Manuals for Viavito BigBounce

Summary of Contents for Viavito BigBounce
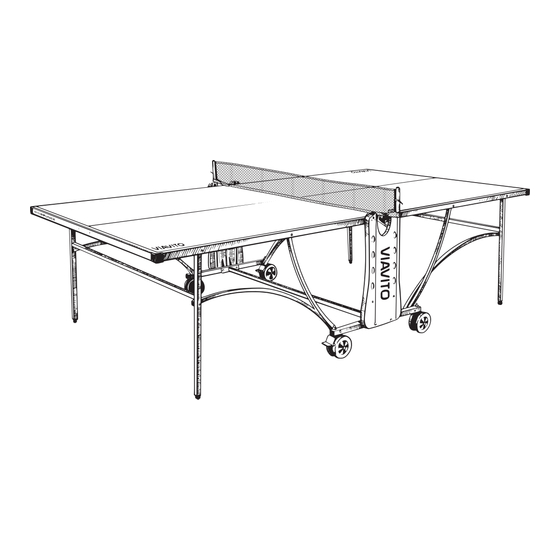
- Page 1 Owner’s Manual BigBounce Table Tennis Table www.viavito.com OUTDOOR...
-
Page 2: Table Of Contents
For more information, or if you require Technical Information any assistance please email us at support@viavito.com Parts List All Viavito products are manufactured in accordance with the latest safety regulations. Our table tennis tables undergo series of quality control tests during the manufacturing process. -
Page 3: Safety Information
Viavito assumes no responsibility for the personal injury or property, and/or IMPORTANT SAFETY NOTICE: damage sustained by or though the use of 01 Retain this manual for future this product. -
Page 4: Warnings
Assembly, positioning and moving the table around must be carried out by an adult or under the direct supervision of an adult person. Children cannot be left unattended around the table. www.viavito.com... -
Page 5: Assembly Instructions
Please use the tools recommended for each assembly stage. Part mark Tool Caution: Any defects and faults in the safety systems should be reported. Immediately replace faulty parts and do not use the table until it has been fully repaired. 274cm (108”) 50kg (110lbs) PLAYBACK www.viavito.com... -
Page 6: Contents Checklist
(e.g. M12x130 is 130mm long). Use the ruler below to identify screws and bolts required for assembly. Plastic wheel Hardware M12X130 M8X85 M6X90 M6X75 M6X75 M6X60 M6X50 M5X25 Tools required for assembly (included) 8X10 12X14 17X19 www.viavito.com... -
Page 7: Assembly
M12 nut (19) under the side brace (4) to let the wheel frame (8) rotate A5 Repeat steps A1 smoothly. and A4 for the other side. A3 Do not fully tighten the M8X85 bolt (12) to allow for a smooth wheel rotation. www.viavito.com... - Page 8 R=6 washers (23) and two M6 nuts (21) using the Phillips screwdriver (26) and the 17x19 wrench (30). Please Note: To securely tighten the M6X75 screws (14) and the M6 nuts (21) use the Phillips screwdriver (26) and the 17x19 wrench (30) together. www.viavito.com...
- Page 9 M6 nut (21) using the Phillips screwdriver (26) and the 8X10 wrench (27). Repeat for the other side. C4 To securely tighten the M6X50 screw (17) and the M6 nut (21) use the Phillips screwdriver (26) and the 8X10 wrench (27) simultaneously. www.viavito.com...
- Page 10 (25) into the hole closest to the table frame. D2 After inserting the rivet (25) oon both sides of the table, insert the table top into the slot in the side cover (5). Once completed, repeat the above step for the other side of the table. www.viavito.com...
- Page 11 (2), second rubber washer (24), long link rod (3) and the R=6 washer. Next, use the 8X10 wrench (27) to secure with the M6 nut (21). Repeat for the other side of the table. www.viavito.com...
- Page 12 Step F F1 Tighten two M5X25 screws (18) into the Side Cover (5). Please remember to get familiar with Safety Information and Precautions (see page 3 and 4) and test functionality immediately after completing the assembly. www.viavito.com...
-
Page 13: Folding And Unfolding
B) Lift the table top up to its C) For added safety, make sure that the handle. Remember to hold storage position. the table top is properly locked. the handle until the table top is in a correct position. www.viavito.com... -
Page 14: Customer Support
• Precise description of the issue or defect. IMPORTANT! Please retain your sales receipt. Viavito Customer Care may request proof of purchase to validate eligibility for warranty service. Warranty cover starts from the date shown on the proof of purchase. -
Page 15: Manufacturer's Warranty
Manufacturer's Warranty Viavito warrants this product to be free Viavito is not responsible or liable for of defects of material and workmanship, direct, indirect, or consequential losses under normal use and conditions, for a arising out of or in connection with the use... -
Page 16: Technical Information
Side Brace Long link rod Nut M12 Nut M6 Nut M8 Plastic wheel Rivet Rubber washer Screw M5X25 Screw M6X50 Screw M6X75 Short link rod Side cover Support beam Table top Washer R=12 Washer R=6 Wheel frame 7, 8 www.viavito.com... - Page 17 www.viavito.com...
Need help?
Do you have a question about the BigBounce and is the answer not in the manual?
Questions and answers