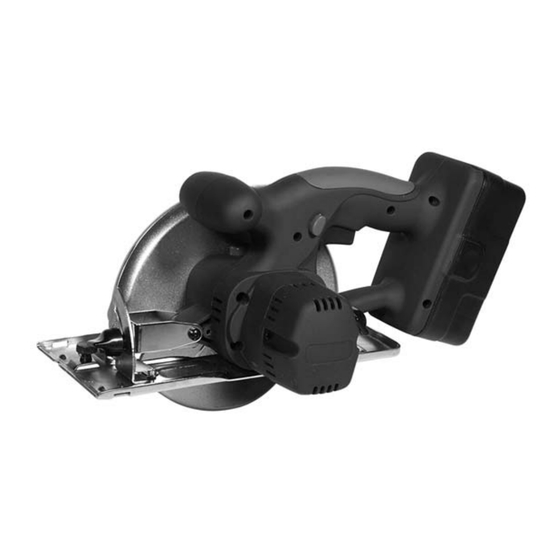
Summary of Contents for KingCraft PCSD180T
-
Page 1: Circular Saw
CIRCULAR SAW INSTRUCTION MANUAL Item#3729 MODEL NO: PCSD180T PLEASE READ THESE INSTRUCTIONS CAREFULLY TO ENSURE THE SAFE AND EFFECTIVE USE OF THIS TOOL... -
Page 2: Functional Description
FUNCTIONAL DESCRIPTION Figure-1 FUNCTIONAL DESCRIPTION CLOCKWISE TO LOOSEN COUNTER CLOCKWISE TO TIGHTEN Figure 2 SWING NUT CUTTING DEPTH Figure-3... -
Page 3: List Of Main Parts
2) Upper guard 7) Saw blade 3) Base 8) Switch lock 4) Flange 9) ON/OFF switch 5) Lower guard TECHNICAL SPECIFICATIONS: Description PCSD180T Rating Voltage 18Volts Nominal power 200W No-load speed 2500min Ø6.49×Ø 0.39inch Saw blade Cutting depth at 90˚... - Page 4 Figure-7 GENERAL SAFETY RULES WARNING! Read and understand all instructions. Failure to follow all instructions listed below may result in electric shock, fire or serious personal injury. SAVE ALL INSTRUCTIONS! WORK AREA 1. Keep your work area clean and well organized. Cluttered benches and dark areas invite accidents.
-
Page 5: Specific Safety Rules
situations. 6. Use safety equipment. Always wear eye protection. Dust mask, non-skid safety shoes, hard hat, or hearing protection must be used for appropriate conditions. TOOL USE AND CARE 1. Use clamps or other practical way to secure and support the workpiece to a stable platform. -
Page 6: Important Safety Instructions For Battery Chargers
guard is covering the blade before placing the saw down on bench or floor. Be aware of the time it takes for the blade to stop after switch is released. 7. NEVER hold piece being cut in your hand or across the legs. It is important to support the work properly to minimize body exposure, blade binding, or loss of control. -
Page 7: Important Safety Instructions For Battery Packs
on a soft surface that might block the ventilation slots and result in excessive internal heat. Place the charger in a position away from any heat source. 11. Do not operate charger if it has received a sharp blow, been dropped, or otherwise damaged in any way. -
Page 8: Installing And Removing The Battery Pack
use the correction screw. Adjusting the Cutting depth (See Fig.3&4) For the cleanest possible cut, set the cutting depth whenever possible 5 mm deeper than the thickness of the material. Slacken the swing nut for adjusting depth of cut, set the cutting depth, and tighten the swing nut again. Adjusting the cutting angle Slacken the swing nut for adjusting angle of cut, set the cutting angle on the scale, and tighten the swing nut again. -
Page 9: Important Charging Notes
2) Insert the battery pack into the charger, as shown in Fig 7, making sure the pack is fully seated in the charger. The red light indicator will illuminate showing that the battery is being charged. 3) When charging is well done green light will illuminate. The minimum charge time is normally 1hour after which the battery should be removed. -
Page 10: Operation
before installing or removing blade. 1. To remove the blade (Fig.8, press the shaft lock so that the blade cannot revolve and use the hex wrench to loosen the bolt clock-wise. Then remove the bolt, outer flange and blade. 2. To install the blade, follow the removal procedure in reverse. BE SURE TO TIGHTEN THE BOLT SECURELY 3. - Page 11 ridge. To avoid a tearing out of the cutting edges when working sensitive area (if the surface is very smooth crepe tape also enables easy drawing of line), fixing a thin board of wood to the workpiece and sawing through both will also avoid tearing out effectively.
- Page 12 Both brushes should be replaced at the same time. Use only identical carbon brushes. Use a screwdriver to remove the brush holder caps. Take out the worn carbon brushes, insert the new ones and secure the brush holder caps. TIPS FOR MAINTAINING MAXIMUM BATTERY LIFE 1.


Need help?
Do you have a question about the PCSD180T and is the answer not in the manual?
Questions and answers