Table of Contents

Related Manuals for Aperia Technologies Halo Connect

Summary of Contents for Aperia Technologies Halo Connect
- Page 1 USER MANUAL IN-100CM Keep this manual in the vehicle for future reference. Read this manual before using this product. Failure to follow the instructions and safety precautions in this manual may result in serious injury or death.
-
Page 3: Important Safety Information
The Halo Connect Gateway and its components should be installed and maintained in accordance with the instructions in this manual. Proper installation of the Halo Connect is critical to ensure safe use of the device. Failure to do so may result in injury or death, damage to equipment, material or property. -
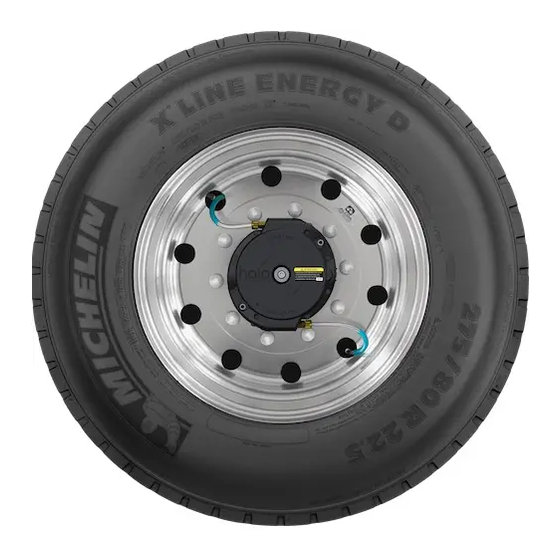
Page 4: Table Of Contents
Contents Safety Important Safety Information Safety Words and Symbols Introduction Halo Connect Web Services Halo Connect Gateway Halo Connect Mobile Application Getting Started System Components Halo Connect Installation Step 1: Affix gateway ID sticker to vehicle Step 2: Determine where to put the Gateway... -
Page 5: Introduction
Access the web portal at: https://haloconnect.aperiatech.com Halo Connect Gateway The Halo Connect Gateway is a tire pressure monitoring device comprised of a durable enclosure that is secured in the cab of the vehicle. It uses a built-in LTE cellular connection to send data to the cloud and a Bluetooth connection to talk to mobile devices. -
Page 6: Getting Started
Getting started SYSTEM COMPONENTS HALO Connect Gateway INSTALLATION TOOLS (not included) 10. 5/16" Hex Head Socket 11. Tool necessary to access fuse panel 12. Wire Crimper 13. Cutters (for cutting cable ties) 14. Isopropyl Alcohol and Wipes 15. Multimeter 16. Mobile device running Android 6.0 or higher... -
Page 7: Halo Connect Installation
HALO CONNECT INSTALLATION Step 1. AFFIX GATEWAY ID STICKER TO VEHICLE The gateway ID sticker is located on the bottom of the gateway. It contains information necessary for pairing and troubleshooting the gateway. Before affixing the gateway ID sticker, make sure the vehicle configuration on the product box matches that of the vehicle. -
Page 8: Step 2: Determine Where To Put The Gateway
HALO CONNECT INSTALLATION, CONT'D Step 2. Determine where to put Gateway Select a location to permanently attach the gateway inside the cab of the vehicle. Consider that the gateway will have power and antenna cables attached to it that need to be routed to locations specified in later steps. -
Page 9: Step 3: Locate Power Source And Ground
HALO CONNECT INSTALLATION, CONT'D Step 3. Locate power source and ground In order for the vehicle's tires to be monitored 24 hours, the Gateway power cable must be connected to a 24 hour continuous or unswitched 12 or 24V power source and be securely grounded to the vehicle chassis. -
Page 10: Step 5: Attach Gps Antenna To Vehicle
HALO CONNECT INSTALLATION, cont'd Step 4. Attach sensor antenna to vehicle The sensor antenna must be placed outside on the rear of the vehicle, and the cable needs to be routed back to the Gateway. Find or make an opening in the cab to route the cable from the Gateway to the outside of the vehicle. -
Page 11: Step 6: Connect Cables To Gateway
HALO CONNECT INSTALLATION, cont'd Step 6. Connect cables to gateway On the gateway, the side label marks the port for each of the cables, as seen below: ANTENNAS Ensure the cables are securely attached to the Gateway to avoid loosening due to vibration during vehicle operation. -
Page 12: Step 10: Download Mobile App
Step 10. Download mobile app On the Gateway, ensure that the Ready LED is emitting blue. You must download the Halo Connect app from the Google Play Store onto a mobile or tablet device running Android 6.0 or later to complete the pairing process. -
Page 13: Step 11: Configure Mobile App
Step 11. Configure MObile App In order to configure the gateway, you will need the following information: • Fleet ID - get this unique code from the primary Aperia account holder at your company or shop, typically a fleet manager or shop manager •... -
Page 14: Regulatory
Regulatory RF Exposure This equipment complies with FCC and IC radiation exposure limits set forth for an uncontrolled environment. This equipment should be installed and operated with minimum distance of 20 cm between the radiator and your body. This transmitter must not be co-located or operating in conjunction with any other antenna or transmitter. - Page 15 Robert Lawson Email: robert.lawson@aperiatech.com Phone No.: 16507413231 Fax No.: 4152734649 Product details Product: Halo Connect Gateway Brand name: Aperia Technologies Model name: GW-10, GW-20 Manufacturer: Volansys Technologies Pvt Ltd. A-503, Mondeal Square, Near Crown Plaza Hotel, S. G Address: Highway, Ahmedabad 380 015, Gujarat.
- Page 16 QTY: Part Number: IN-100CM Description: User Manual, Halo Connect Aperia Technologies, Inc. © 2019 Aperia Technologies, Inc. 1616 Rollins Rd. IN-100CM Burlingame, CA 91040 91-00006672 Phone: (650) 741-3231 PMN: Halo Connect Gateway Fax: (415) 524-2449 Model No.: GW-10 (for xBR type sub-1GHz Rx) www.aperiatech.com...
Need help?
Do you have a question about the Halo Connect and is the answer not in the manual?
Questions and answers